

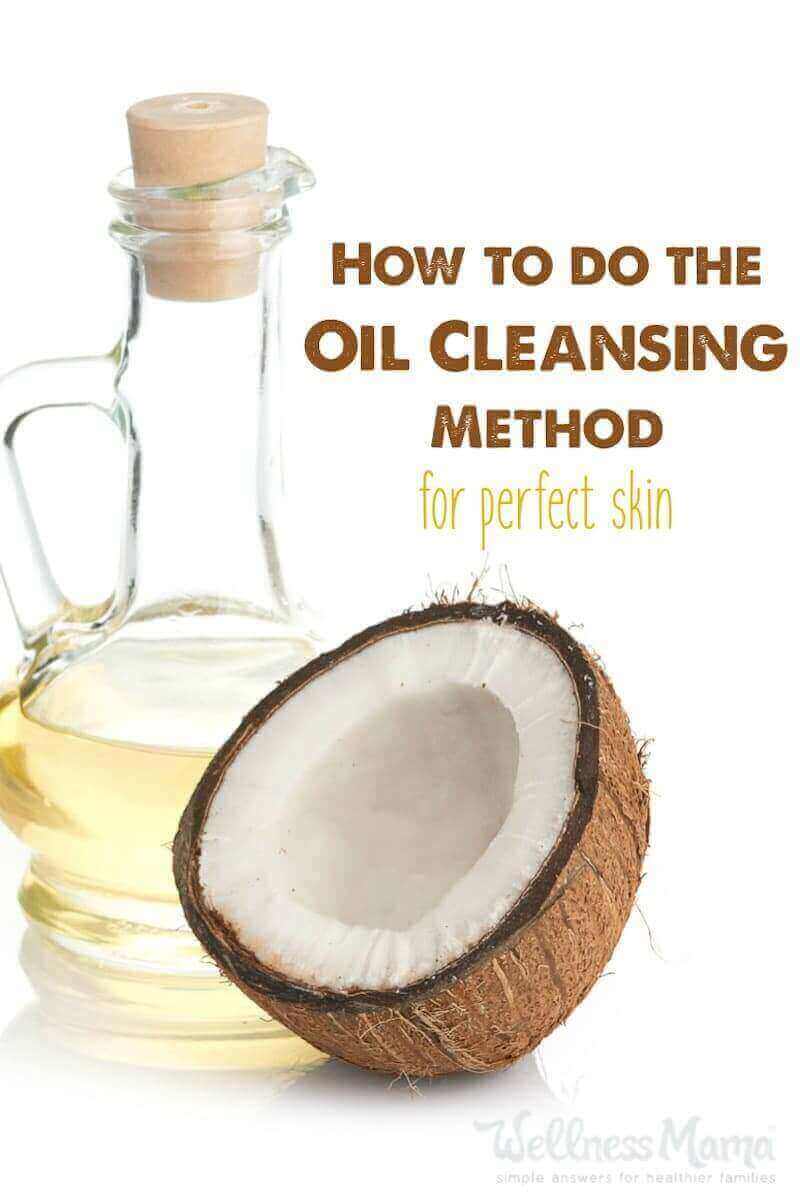
I’ve written about many natural beauty ideas before, but oil cleansing may be one of the simplest. It’s one of the most effective natural beauty tips I’ve found for healthy, clearer skin. Here’s how to add it to your skincare routine and why it can work so well!
I admit, I was skeptical before I first tried this oil-cleansing method. My skin is naturally oily and I wasn’t sure it would work for me. I also had very acne-prone skin when I was younger, and was afraid that a method like this would bring back the acne… I was wrong!
What is Oil Cleansing?
It may sound crazy, but the idea of using natural oils to gently cleanse the skin makes a lot of sense. The basic idea is to use natural oils in a specific combination to cleanse and naturally balance the skin’s natural oils. This produces more nourished and moisturized skin than detergent-based face wash.
The basic concept of oil cleansers is using oil to massage and cleanse the skin. Like dissolves like and the carrier oils help dissolve the impurities stuck in pores. Warm water then opens the pores allowing the grime and sebum to be easily removed.
Fans of the OCM claim it can help with oily skin, dry skin, sensitive skin, blackheads, and whiteheads. The types of oil you choose depend on your skin type.
Natural Makeup Remover
Many makeup products have oil in them and oil cleansing can help remove these too. Use it to remove foundation powder, mascara, and even eye makeup! Here are more DIY makeup remover ideas.
Does the Oil Cleansing Method Work?
This is the part I’m most excited to share! Even in the third trimester of pregnancy, when my skin usually goes a little hormone-crazy, I had ZERO breakouts! I used oil cleansing for several months to help avoid blemishes and remove makeup.
When I first started using oil cleansing, I had an adjustment period where my skin got worse for about a week. Most resources I’ve seen suggest this is a detox reaction as impurities are pulled from the skin. This is definitely what it seemed to be for me. After that, my skin gradually improved and by 3-4 weeks of using only oil cleansing, I had no excess oil, no dryness, and no blackheads.
I asked several friends and family members who now use the oil cleansing method how it’s worked for them, and they seemed to have the same results. Some even noted that the combination of oil cleansing and taking gelatin daily has been the best anti-aging treatment!
Oil Cleansing Ingredients
Want to try oil cleansing and see the results for yourself? All you need are some natural oils and a clean, damp washcloth!
The most common oils used are castor oil and olive oil, though you can use any natural oil. Castor oil is naturally astringent, so it helps pull impurities from the skin. This makes it ideal for oily or combination skin (and even dry skin in lesser amounts). While I use castor oil packs to help detox, it can be too harsh if it’s used undiluted as an oil cleanser.
You’ll mix the castor oil with another carrier oil (or several) that match your skin type. My other favorite oil to use is olive oil, though sunflower, safflower, or even coconut oil can work.
Which Oils Work Best For Oil Cleansing?
Some oils, like rosehip oil and castor oil, are more astringent (drying) than others. Others like olive oil can be too heavy for naturally oily skin. Here are some oil cleansing options and how they work:
Base Oils
These are oils to use in larger amounts along with the castor oil.
- Avocado oil – Good for combination, dry, or mature skin.
- Grapeseed oil – Lightweight oil that’s good for oily or acne-prone skin.
- Sunflower oil – A lighter oil that’s good for combination or oily skin.
- Sweet almond oil – Good for oily, sensitive, or combination skin types.
- Coconut oil – This works really well for some and not so well for others. It can be too drying and pore-clogging, especially for acne. Some people love it in skincare products though.
- Olive oil – My favorite oil to use. Great for mature or dry skin, but I found it worked well for my slightly oilier skin too. Be sure to get real olive oil though since most of what’s in the store is mixed with other, cheaper oils.
Specialty Carrier Oils
These work great to add a little more customization to your OCM blend. They’re a more concentrated source of skin-loving nutrients. You can add just a little bit of these to your oil blend for big benefits.
- Rosehip oil – This astringent oil is great for more oily skin types but in smaller amounts it’s also a good anti-aging oil. Full of vitamins A and C to help with scar tissue, blemishes, and wrinkles.
- Argan oil – Packed with vitamins A and E, antioxidants, and linoleic acid. It’s emollient, helps protect against free radical damage, is anti-aging and moisturizing.
- Jojoba oil – Similar to skin’s sebum, jojoba has vitamins E and B as well as minerals. It won’t clog pores and it’s great for all skin types.
- Essential oils – While these aren’t a carrier oil, they deserve a mention. They offer additional skin benefits to help with anti-aging, inflammation, and blemishes. Some of my favorites are lavender, tea tree, frankincense, sweet orange, and cedarwood. Just add a drop or two to your OCM blend (but be sure to avoid the eyes!).
Want to Buy It?: Don’t want to buy the oils yourself and DIY it? This handmade oil cleansing blend smells divine and works well for oil cleansing.
Oil Cleansing Blends
If you’re new to oil cleansing, it may take a few tries to figure out what oil blend works best for you. I used a mix of 3/4 olive oil and 1/4 castor or hazelnut oil and it’s perfect for my skin. You can also try the following:
- Oily Skin: 1/3 castor oil or hazelnut oil and 2/3 sunflower, grapeseed, or sweet almond oil.
- Combination Skin: 1/4 castor oil or hazelnut oil and 3/4 olive, sweet almond, sunflower, or other oil
- Dry Skin: All nourishing oils like avocado or olive oil, or a very small amount of castor/hazelnut oil added to the nourishing oils.
Start with the suggested amounts above for your skin type and adjust if needed. When I started, I mixed up very small batches until I figured out the right blend for me.
I’ve also found that even pure coconut oil can work well once the skin has adjusted, though it can be drying on some skin types. One friend uses a half and half mix of coconut oil and olive oil that she blends in a blender to create a cream, and this works perfectly for her.
Oil Cleansing Tutorial
Now that you know which oils to use, here’s how to do the OCM!
- Pour a quarter-sized amount of the oil blend into your hand and massage onto your dry skin. Use smooth circular strokes to massage it in for 1-2 minutes. If you’re wearing makeup no need to wash it off first!
- Optional: Leave the oil on for up to 10 minutes to deeply clean skin cells and pores.
- Soak a clean washcloth in very hot water and place the damp cloth over your face for a minute or so. This creates steam to remove any oils and skin impurities. Repeat if needed.
- Use the washcloth to gently remove any remaining oil. There will still be a thin layer of oil on the skin and this is beneficial.
- Most people don’t need a moisturizer after the adjustment period. However, if you still have dry skin, try reducing the castor oil in your blend and use a little lotion to moisturize.
Oil Cleansing Method FAQs
Oil Cleansing With Acne
It’s normal for it to take a week or so for the skin to adjust. You may even see more oily skin or breakouts during this time as impurities leave the skin. If you can, resist the urge to use harsh soaps or facial cleansers as it will make the adjustment period take longer.
You can also speed up the detox process by using a clay face mask once or twice a week.
The Oils Aren’t Working For me
Even if you don’t have acne-prone skin you may still have an adjustment period. And you’ll likely have to experiment with different oils to find your perfect oil ratio. If your skin is too dry afterward then reduce the castor oil (or rosehip oil if using). If it’s way too greasy, try a lighter-weight oil or increase the castor oil used.
If you find your skin really doesn’t like this after a month (and you’ve already tried different oils) then the OCM may not be a good option for your skin.
Cleaning Up Afterward
If you do this in the shower, make sure to clean your shower floor regularly so it doesn’t get slippery! Some readers have also asked how to clean the washcloth afterward. I do a separate load of laundry for them and wash on hot. You can also follow the wash up with a vinegar rinse before drying.
Have you ever tried oil cleansing? Did it work for you? Share below!
Leave a Reply