Find Your Best WordPress Timeline Plugin
- Why Are Timelines Useful
- What types of websites you can present content in the form of a timeline on
- Horizontal vs Vertical Timeline
- Best WordPress Timeline Plugins
- Need more Plugins? Try the Pack with Must-Have WordPress Add-Ons!
- Summing Up
There is no other way to present your brand history or company evolution than exhibiting your unique timeline on a site. WordPress timeline plugins are there to help you make this, and this article will be devoted to all the issues related to the WP timeline plugin.
Why Are Timelines Useful
First of all, it is an exceptional way to represent the history of your brand, when and how it was conceived, and what your project means now. Maybe, it has started with several employees, but now the staff reaches hundreds of people, and this can be vividly demonstrated using a WordPress history timeline.

Also, you can boast of your organization's performance results by integrating a WordPress timeline widget. Show how many countries and when your business has penetrated to, what materials you have used from the beginning of the manufacture and now, how many liters of water your company has filtered through the time of its existence, which branded shops and when have appeared, and so on.
There are many ways how one can demonstrate the progress and history of the brand with a WordPress timeline theme, which gives a prestigious image to the company. It makes your project look large-scale, demanded, and perspective. Showing your history, you prove that you know what you are doing, you've got a valuable experience in this, which is supported by numbers and figures. Thus, working with you or making a purchase from you is a reliable and well-thought-out move.
Note that revealing the history and achievements of the company, you show your expertise not only in the past but also here and now. What's more important, you can show your future plans demonstrating your high potential and healthy ambitions. This will make focus on the development direction of your project and make it a desirable piece for the viewers.
What types of websites you can present content in the form of a timeline on
Let's figure out where WordPress timeline plugins will be viewed most appropriately.
- This instrument can be employed by a business website to show the history of a brand.

- But if you have no extensive history, for instance, if you have a startup and want to show your roadmap on a site, this will also play well. Exhibiting the future plans is a winning move to show your great potential.
- However, if a website is run by an individual and represents some personal project, he or she can assuredly exhibit his or her awards and accomplishments using a timeline WordPress plugin.
- The next alternative how you might use a timeline WordPress theme is for a convenient demonstration of a schedule of events, concerts, exhibitions, and so on.

This is very helpful to put the dates, locations, etc., so the viewers can see which events have already taken place and which of them are going to be performed.
A neat and well-structured timeline can be put in the About Us section of your page, and it will be an accurate representation of your project status and expertise.
Horizontal vs Vertical Timeline
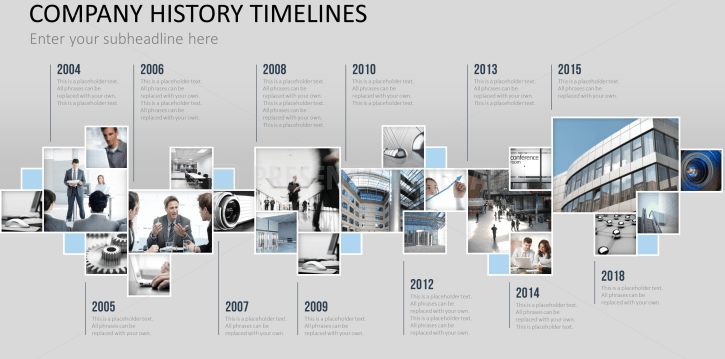
The most common way for us all is to represent the data from the left to the right as we are used to writing in this method. Thus, for our consciousness to comprehend the data in the regular order, it is comfortable to view it from the left to the right.
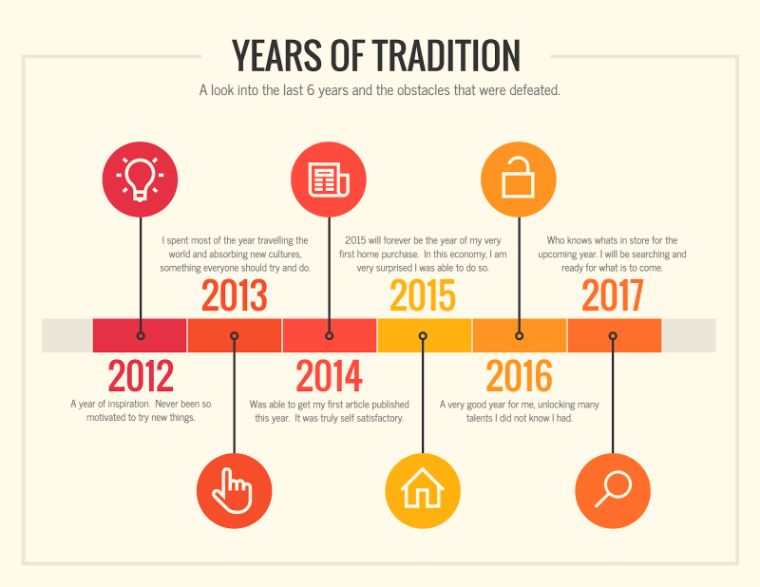
Horizontal timelines consider this characteristic of our brain and habit and are used in most of the chronological timeline themes. In all spheres, including history, geography, sciences, etc., this type of timelines is practiced. Can you imagine the chronological order that moves from the right to the left? It seems ridiculous, but it's just the way we have used to perceive the information.
But what about vertical timelines? There are many cool timelines that represent the information in the vertical order. And here again, we are used to perceiving the content from the bottom to the top as all the texts are written in this way.
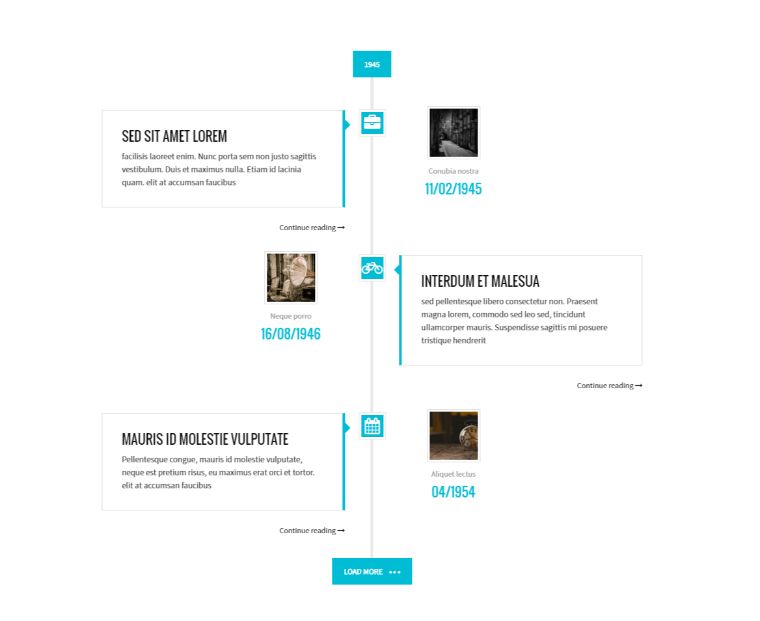
Can you imagine the article that starts from the bottom of the page and moves the body to the very top of it? It's rather challenging. Meanwhile, it's not so hard with a website timeline, and to the contrary, it is quite popular in web design. Most usually, the content in the vertical WP timeline is showcased from the latest dates to the beginning, starting from the top to the bottom. Most probably, it is rather common for us here as we are used to such a timeline in various social media. We always view the most recent posts and scrolling the page down, we can view the past items. The same appeals to the vertical timeline.
We see what the project is like now, and slowly move through its history to observe how it developed until we get the initial point. However, the vertical timeline is used by the most successful websites and is considered to be more modern due to the trends in the digital sphere. But there's no secret behind the model of the instrument, and whatever you pick will work, but of course, it should conform to the general design and style of the project.
Best WordPress Timeline Plugins
In order to devise a timeline on a WordPress site, you should find and install a WordPress timeline plugin. We'll take a look at the most widespread and functional items. By the way, a quick and comfortable guide on how to add a WordPress timeline plugin can be found on TM blog. Also, you may find it interesting to know what other plugins are a must-have option for a new WP site.
Cool Timeline
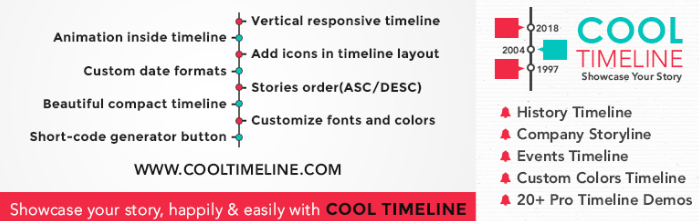
This WordPress history timeline plugin will allow you to display the history of your brand using the vertical or horizontal direction depending on your choice. It is highly responsive and will adapt to any position you decide suits your project. The next thing it offers is adding icons to the layout and also including animated images inside the scheme. Here, you can pick from the date formats, colors, and fonts to customize the timeline upon your preferences. The exploitation and editing the setting in this timeline plugin WordPress is easy, and you'll only need to create posts, images, dates, and the plugin will put it automatically in the perfect form. This instrument has a pro version that will give advanced components and functions. Here, you'll get many animated effects, multiple timelines, incorporating videos, etc.

Timeline Express

This WordPress timeline plugin is among the best ones. With this tool, your page will have a beautiful and creative timeline. Add animation, make announcements, and locate a neat chronological history of your project. This instrument can help to realize all cool timeline ideas. What's more, there are shortcodes available, which you can include almost anywhere on your page. You'll have ascending and descending options for your vertical timeline.
Timeline and History Slider

The next WordPress plugin timeline allows simple installing, editing, and activating the widget. Making all the necessary adjustments, you can put history or timeline sliders on your page. The instrument allows you to devise a vertical or horizontal timeline, the one which will fit better your project style and intentions. Overall, this plugin provides advanced functions and is rather convenient.
Event Timeline – Vertical Timeline
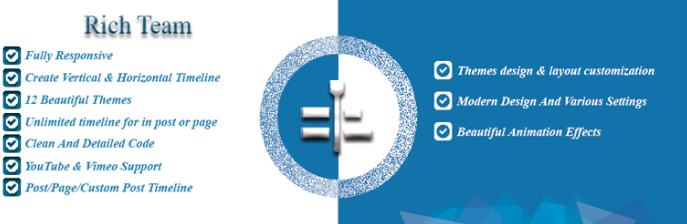
This is a multifunctional WordPress timeline plugin that can display the chronological data vertically or horizontally. The blog posts can also be converted to a timeline. It is fully responsive, has eighteen neat themes, and supports Youtube or Vimeo videos which you can easily integrate into the timeline. The tool also allows for employing animation effects and offers complete customization capabilities.
The Events Calendar Shortcode and Templates Addon
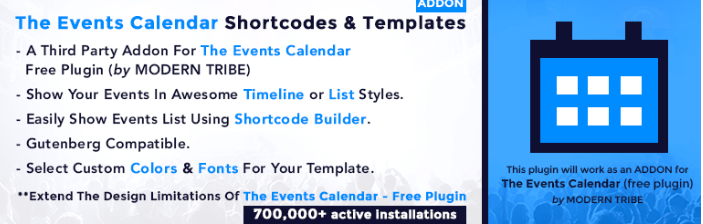
It is a cool one that makes it possible to organize your history and events in the style of a timeline or a list. Here, you can utilize a shortcode builder for a simple showcasing of the events list. The tool also allows all editing variations and is compatible with the Gutenberg editor. The pro version gives a grid, carousel, slider, and masonry layout variants.
Post Timeline
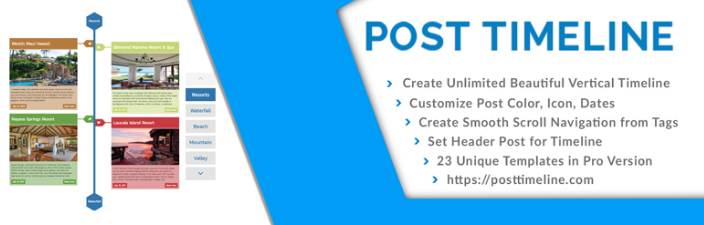
This tool enables devising vertical timelines with beautiful layouts with all possibilities of their modification. With this medium, you'll be able to post your data accompanied by animation and creating smooth scroll navigation.
What's more, you can look through a variety of WordPress timeline themes on TM.
In fact, there are many other plugins that you may select to activate a timeline on your blog, and all of them are rather comfortable and provide the basic features for putting and demonstrating a history, achievements, or events scheduled on a site. Overall, this function may contribute to a better visual presentation of your project as you know most information pieces are provided and are better comprehended in the form of infographics. Combining visuals along with some factual data is rather convenient, which makes a timeline an effective modern instrument to give more useful information about your project.
If you type 'WordPress timeline plugin' in Google, you'll find quite a few results, but most of them are either premium or freemium solutions. Since we needed the timeline functionality in our themes, we decided to create our timeline plugin and make it completely free. Click that cute green 'download' button to try it out on your site:
TM Timeline Plugin allows you to mark specific dates in your history and display them in chronological order. Such a timeline can be very useful for 'About' pages since your visitors would be able to see the most important events and dates associated with your business. Share with your visitors the journey your business has taken from the very beginning.
Installing & Activating
Download the plugin archive and extract its content into the '/wp-content/plugins/' folder of your current WordPress installation. Once installed, activate the plugin through the Plugins menu in WordPress. You'll see a new menu item appeared in your WP admin:

Now when we have the plugin installed, let's see it in action.
Creating Your First Timeline
Our timeline consists of separate posts or events. To create a new post, click 'Add New'. Enter the name of your event, and a short description. Don't forget to specify the date when the event occurred.

Tags
To group your events, you should mark them with tags. You can also assign multiple tags to one event so that it's displayed in different timelines simultaneously.
Create as many events as you like, and then let's proceed to the Settings page.
TM Timeline Settings
We've created a list of events, and now our goal is to generate a shortcode, which would display them in our timeline. We have some settings here:

Layout
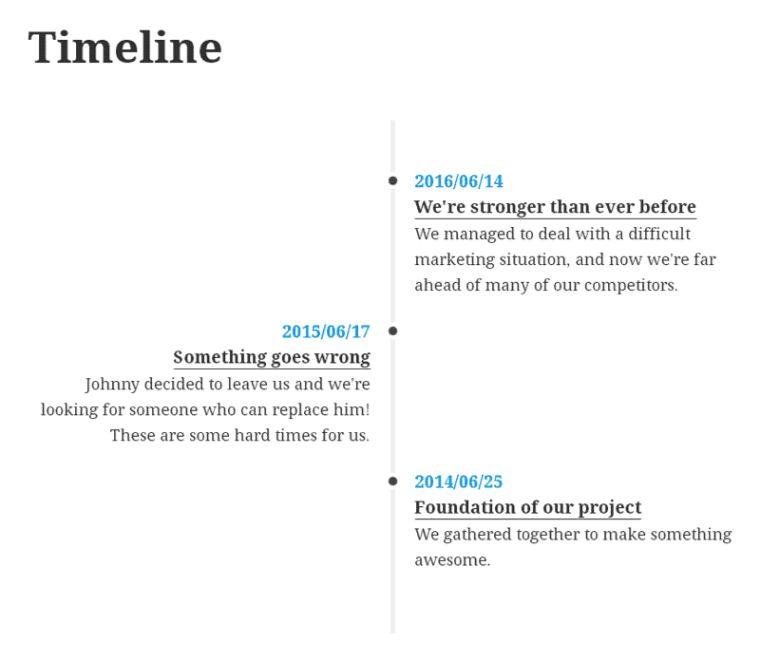
The layout is responsible for how your timeline will be structured. We provide three layouts: horizontal, vertical, and vertical (chess order). This is an example of a vertical timeline:

Visible items limit
This setting applies only to the horizontal layout and allows you to set the number of items to display per view. Below you can see a horizontal layout with a visible item limit set to one.
")
Date format
There are eight formats in which you can output the event date. Choose any one appropriate for your needs.

Tag
If you decide to assign tags to your events, you'll be able to choose which events to display based on their tags. If you leave this field empty, your timeline will contain all of your existing events.
Display anchors
If you check this box, the title of your events will be linking to the corresponding event posts, so that your visitors will be able to read about each of them in detail.
Ready, set, go!
Now when we've adjusted all of our settings, we have to generate the timeline shortcode and insert it into the post. Under your settings, click the 'Generate Shortcode' button.

You'll see your shortcode generated below. Copy and paste it into your post/page. Here's how the timeline looks with default out-of-the-box styles:

In our settings we've set the 'display anchors' option to 'true', so now if you click on an event, it will lead you to the corresponding event page. If after clicking the event link you get a 404 error, you have to update your permalink structure. Go to Settings->Permalinks and click 'Save Changes'.
Need more Plugins? Try the Pack with Must-Have WordPress Add-Ons!
Apart from a timeline plugin, a website needs add-ons to optimize its performance, speed and ranking in search engines.
Still, even in a WordPress repository, there are hundreds of options and it’s so easy to get lost. Plus, non-techies might face some technical difficulties when installing the plugin and it won’t fulfill the task as a result.
To avoid this hassle but increase the functionality of the WordPress website, you can use a cool service from TemplateMonster.
With it, you can get the most important plugins installed and set up on your website by the team with 15+ years of experience. So, how does it work?
- You purchase the service and the project manager contacts you to get the details for the customization team (cPanel and FTP + MySQL access & admin panel login and password of your website);
- the team installs and sets up 7+ must-have WordPress plugins and checks how they work;
- your turn to check it out and approve the work (if something needs fixing, you have one free revision to ask for it).
In 1 to 2 business days, you get a completely new website back – a website that will load faster, be ranked higher, look more appealing.
At an affordable price, you get plugins for:
- optimization toward search engines;
- Google analytics;
- advanced website editing;
- image optimization;
- creating a sitemap;
- changing a login page URL;
- customizing an admin panel.
Why does it worth considering?
You get exactly what particularly your website needs – the customization team knows the subject inside out and can pick up the plugins that will optimize the work of the website without slowing down its work.
You improve the performance of the website without dealing with a technical side. So, you save time but also money because buying plugins separately will be way more expensive.
The benefits for you are obvious, so, don’t miss the opportunity to improve the website’s performance in a matter of a click 🙂
Summing Up
As you can see, creating a timeline is not very difficult. Create your events, adjust the settings, and insert the shortcode wherever you want the timeline to be displayed.
TM Timeline is a completely free plugin. You can use it on any number of sites and projects. You are also more than welcome to help us improve the plugin on GitHub.
If you're interested in seeing more free plugins from TemplateMonster, make sure to check out our TM WooCommerce Package, and TM Youtube Subscribe.
Read Also
Best WordPress Migration Plugins 2020
Popular WordPress Plugins to Prepare your Site for Christmas
Best Job Board Themes and Plugins for WordPress 2020
WordPress E-commerce Plugins: Which to Choose?
Don’t miss out these all-time favourites
- The best hosting for a WordPress website. Tap our link to get the best price on the market with 82% off. If HostPapa didn’t impress you check out other alternatives.
- Website Installation service - to get your template up and running within just 6 hours without hassle. No minute is wasted and the work is going.
- ONE Membership - to download unlimited number of WordPress themes, plugins, ppt and other products within one license. Since bigger is always better.
- Ready-to-Use Website service is the ultimate solution that includes full template installation & configuration, content integration, implementation of must-have plugins, security features and Extended on-page SEO optimization. A team of developers will do all the work for you.
- Must-Have WordPress Plugins - to get the most essential plugins for your website in one bundle. All plugins will be installed, activated and checked for proper functioning.
- Finest Stock Images for Websites - to create amazing visuals. You’ll get access to Depositphotos.com to choose 15 images with unlimited topic and size selection.
- SSL Certificate Creation service - to get the absolute trust of your website visitors. Comodo Certificate is the most reliable https protocol that ensures users data safety against cyber attacks.
- Website speed optimization service - to increase UX of your site and get a better Google PageSpeed score.

Writer and editor with 4 years experience in research writing and 5 years in professional editing. The areas of interest include psychology, online marketing, web design, game design, art, innovation, and scriptwriting. Reach her on Facebook.
Get more to your email
Subscribe to our newsletter and access exclusive content and offers available only to MonsterPost subscribers.

Leave a Reply
You must be logged in to post a comment.