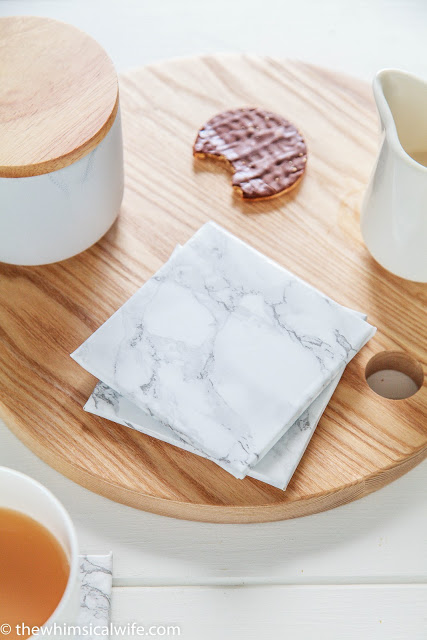
DIY Marble Coaster Hack & Video
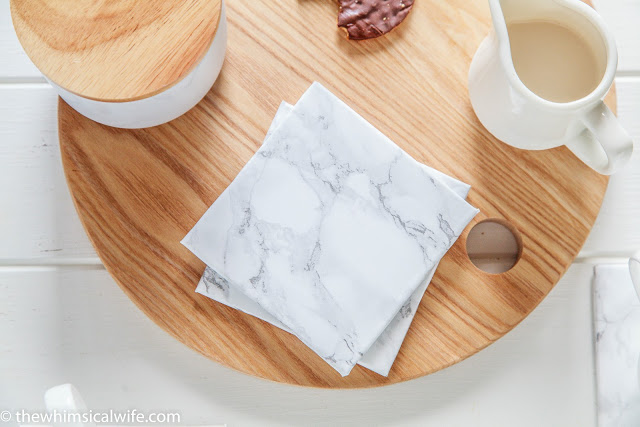
Hello, I'm so excited to share a new and awesome tutorial today which can be made in under 10 minutes. Who doesn't love a quick project? Me - because I am a pretty impatient person! I am totally in love with the marble look which is currently trending at the moment. My heart swoons at the sight of it. Don't get me started on the combination of marble planters and indoor plants - obsessed! I got some Marble contact paper from Amazon the other day, and I had some leftover after using the majority of it for a new photography background. I tapped my chin for a little while thinking what I could possible cover with this contact paper. A few things flitted through my mind such as a notebook, a phone case, a candle holder, my nails (just joking). My eyes landed on our old and manky coasters sitting in our lounge room. They were pretty past there used by date and so my mind conceived a plan in creating some new and pretty ones. I have some leftover 11cm x 11cm square tiles from a past project, and I knew these would be a great base to cover with the contact paper. For extra sticky effect, I used Sikkens Contact Adhesive to make sure the contact paper would properly bond to the shiny tile. I think that was the best decision ever. For the back, I used pieces of felt to create a soft surface for the coaster to sit on and this helped stop the back of the tile scratching any smooth surface. Want to learn how to make your own then come on down and let me teach you how.
If you want to check out my handy dandy video then click on through but full tutorial photographs are below of each step that was taken to create these chic coasters.
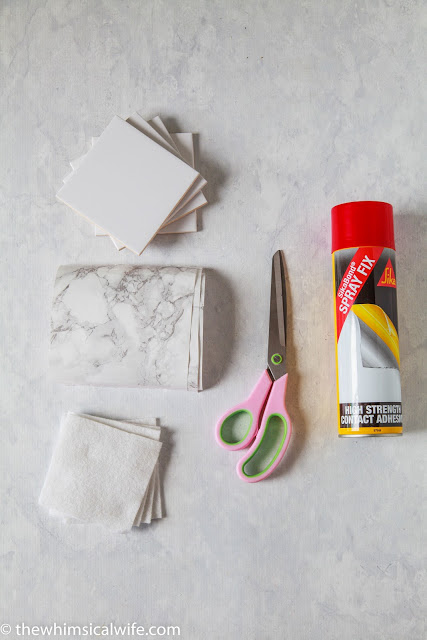
Materials required:
- 4 x square white tiles {Pieces of wood would also work here}
- Marble contact paper - cut 2cm larger than the tile
- Felt Suares - cut 1 cm smaller than the tile
- Scissors
- Sikkens Contact Spray Adhesive
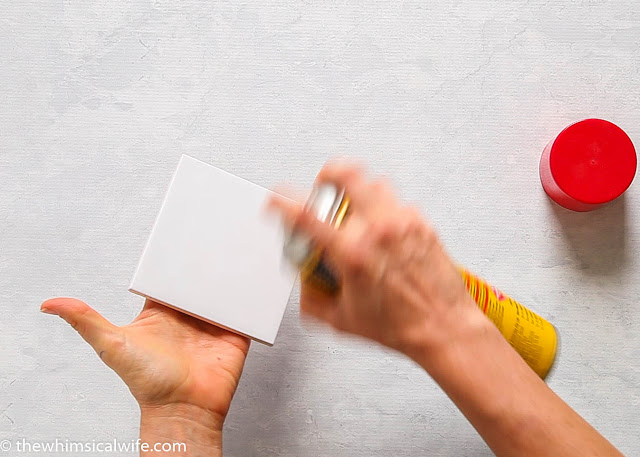
Step 1:
In an open area lightly spray the top of the tile with the contact adhesive. Let the tile sit for 1-2 minutes until the top becomes tacky.
Step 2:
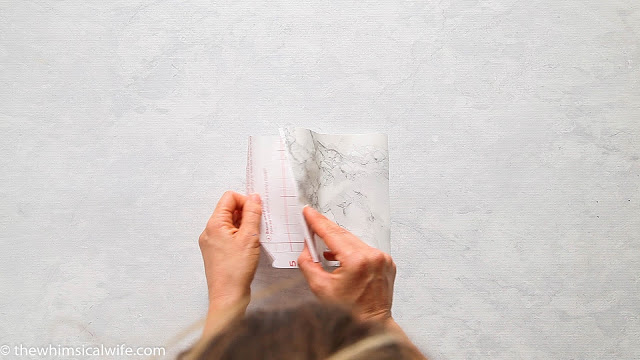
Gently peel off half of the marble contact paper and starting from one edge gently press the paper onto the tile, smoothing with your hand and working your way across the other side of the tile. Gently press out any air bubbles with the palm of your hand.

Step 3: Flip the tile over snip off the corners of the overlapping contact paper.
Step 4:
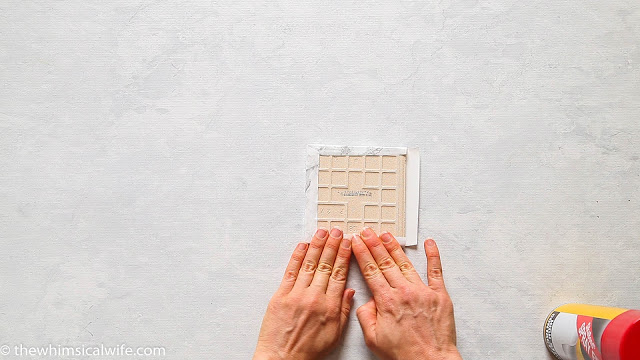
Gently fold and press the edges of the contact paper onto the underside of the tile, tucking in the corners. Repeat with all four sides.
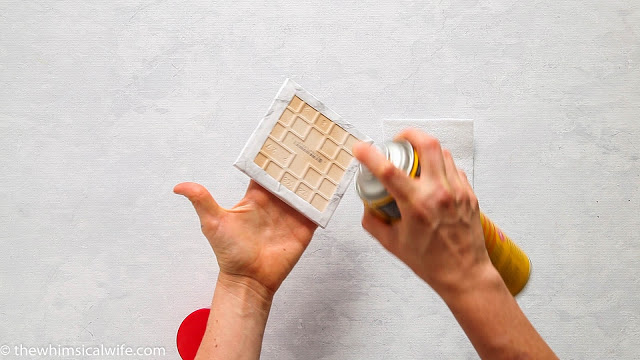
Step 5:
Once all the sides have been stuck down, spray a fine layer of the contact adhesive on the back of the tile and on the felt square. Place the tile down and wait 1-2 minutes until the adhesive becomes tacky.
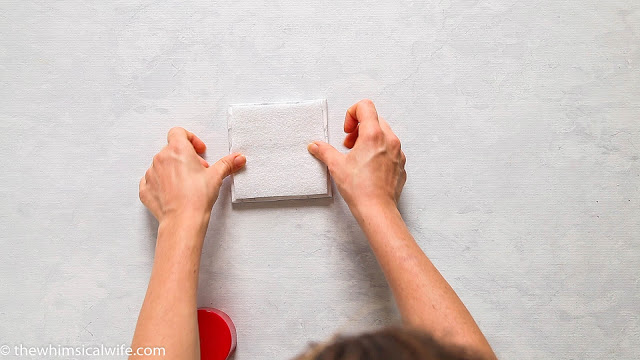
Step 6:
Press the two tacky sides together and press firmly down. Rub over the felt square to make sure that it is firmly glued down. Voila! You are finished. Now repeat with the remaining 3 tiles!
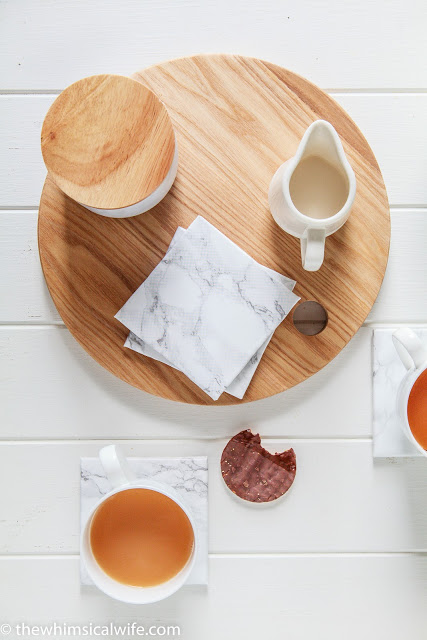
If you have any question don't hesitate to comment below and I will do my very best to answer them. Now I'm going to boil myself a cuppa and polish off another one of those chocolate covered digestives! Heaven.