The previous step, showed the step-by-step instructions to configure “NSX-T Management Cluster Virtual IP” (VIP), how it works and its failure handling. This blog is the “Step 5” of the NSX-T Installation series which shows step-by-step instructions on how to create “IP Pools” that are going to be used for “Tunnel Endpoints” later in the series.
—————————————————————————————————————————————————————
But before we proceed, I would encourage you to briefly skim through my other blogs below, which you may find useful for this step:
- NSX-T Architecture (Revamped)for v2.4 and later
- Series Overview: Step 0 – High Level Design
If you are deploying this in your home lab or performing a PoC in a nested vSphere Environment, I would also suggest you have a quick glance of my blog Home Lab Setup – Nested ESXi Host’s networking for NSX-T.
—————————————————————————————————————————————————————
Tunnel endpoints are source and destination IP addresses on hypervisors (VMkernel network on ESXi Host), which encapsulates and decapsulates a network frame. DHCP or manually configured IP pools for tunnel endpoint IP addresses can also be used, but in majority of cases “IP Pools” are preferred for easier configuration, specifically in case of large vSphere clusters.
Let’s get started…
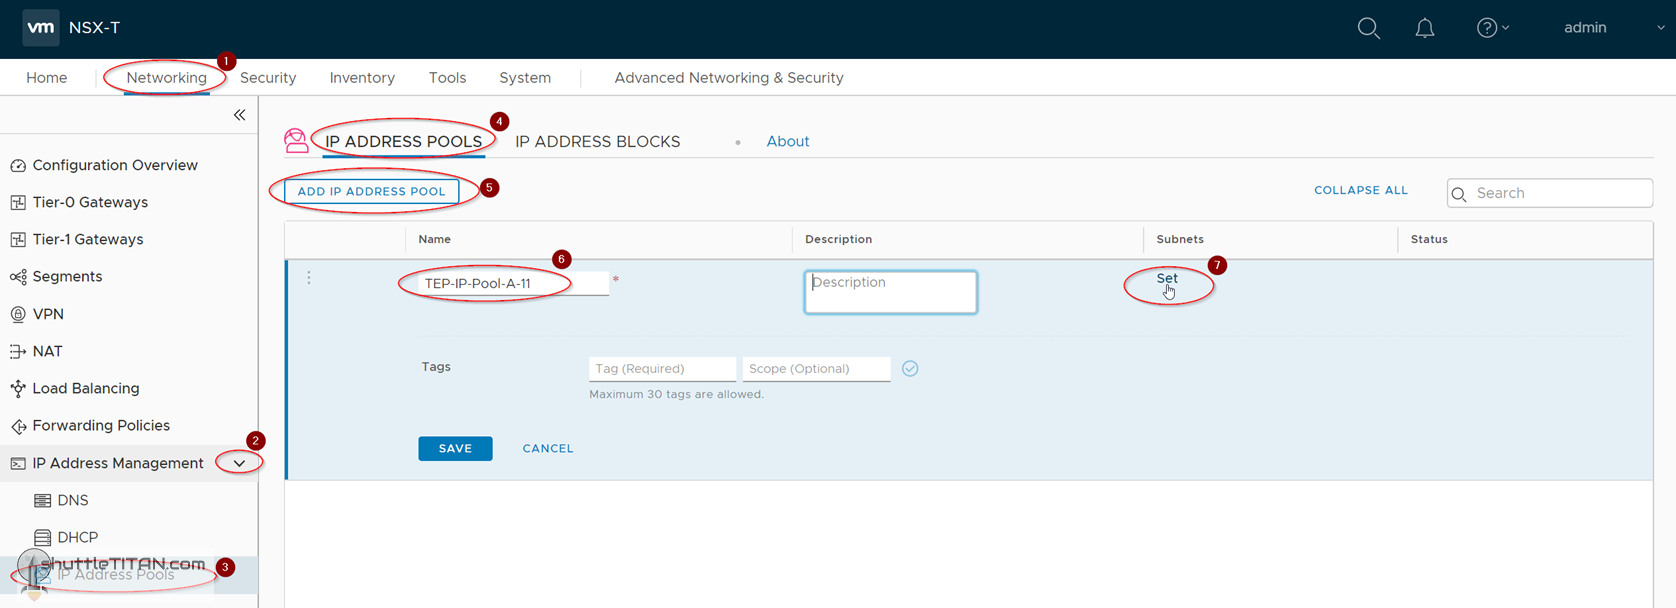
1. Click Networking -> IP Address Management -> IP Address Pools, Click IP Address Pools -> Add IP Address Pool – Specify the name and Click “Set”
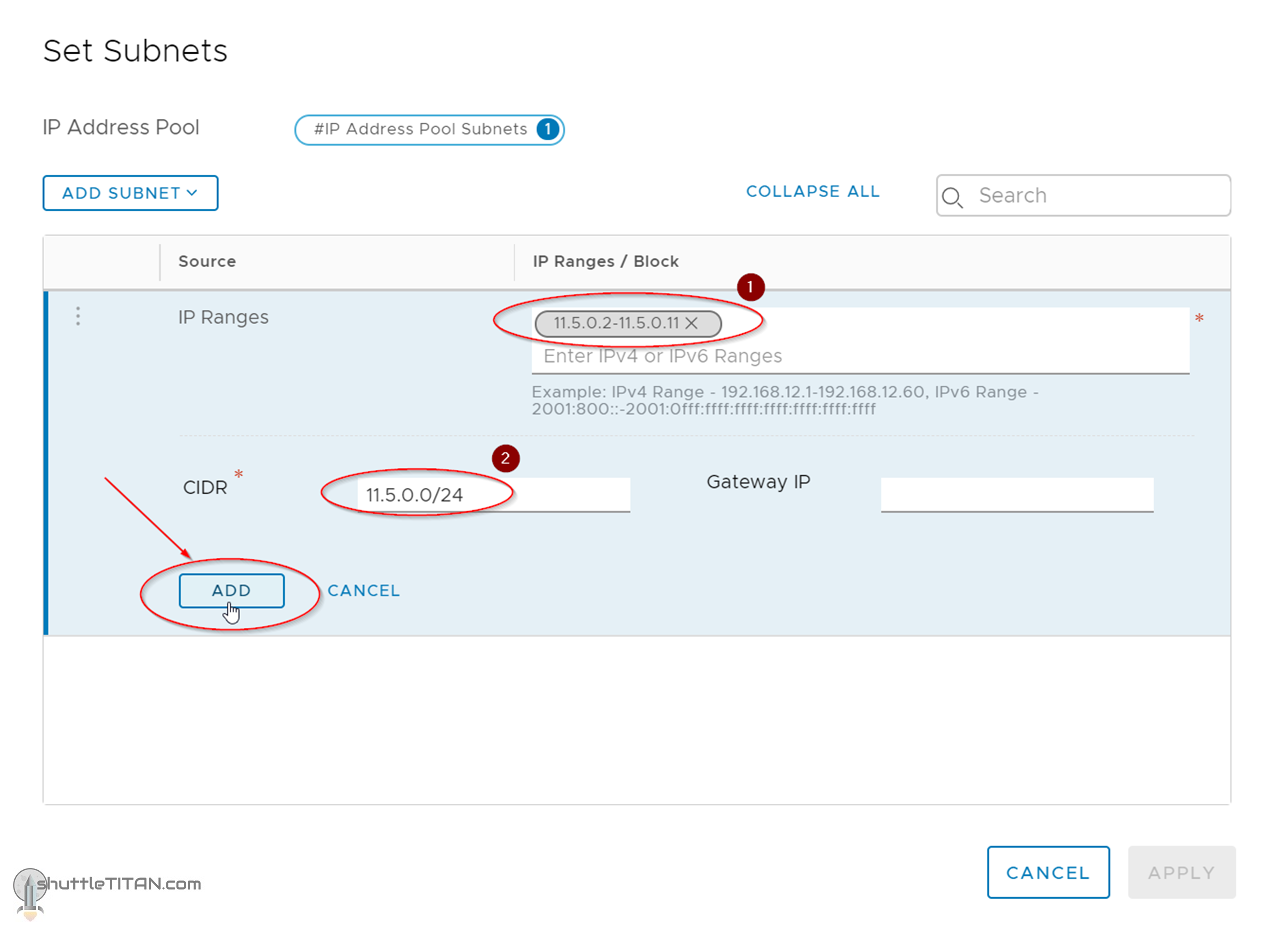
2. Click Add Subnet -> IP Range:

3. Specify the IP Ranges as appropriate, CIDR and click “Add”:
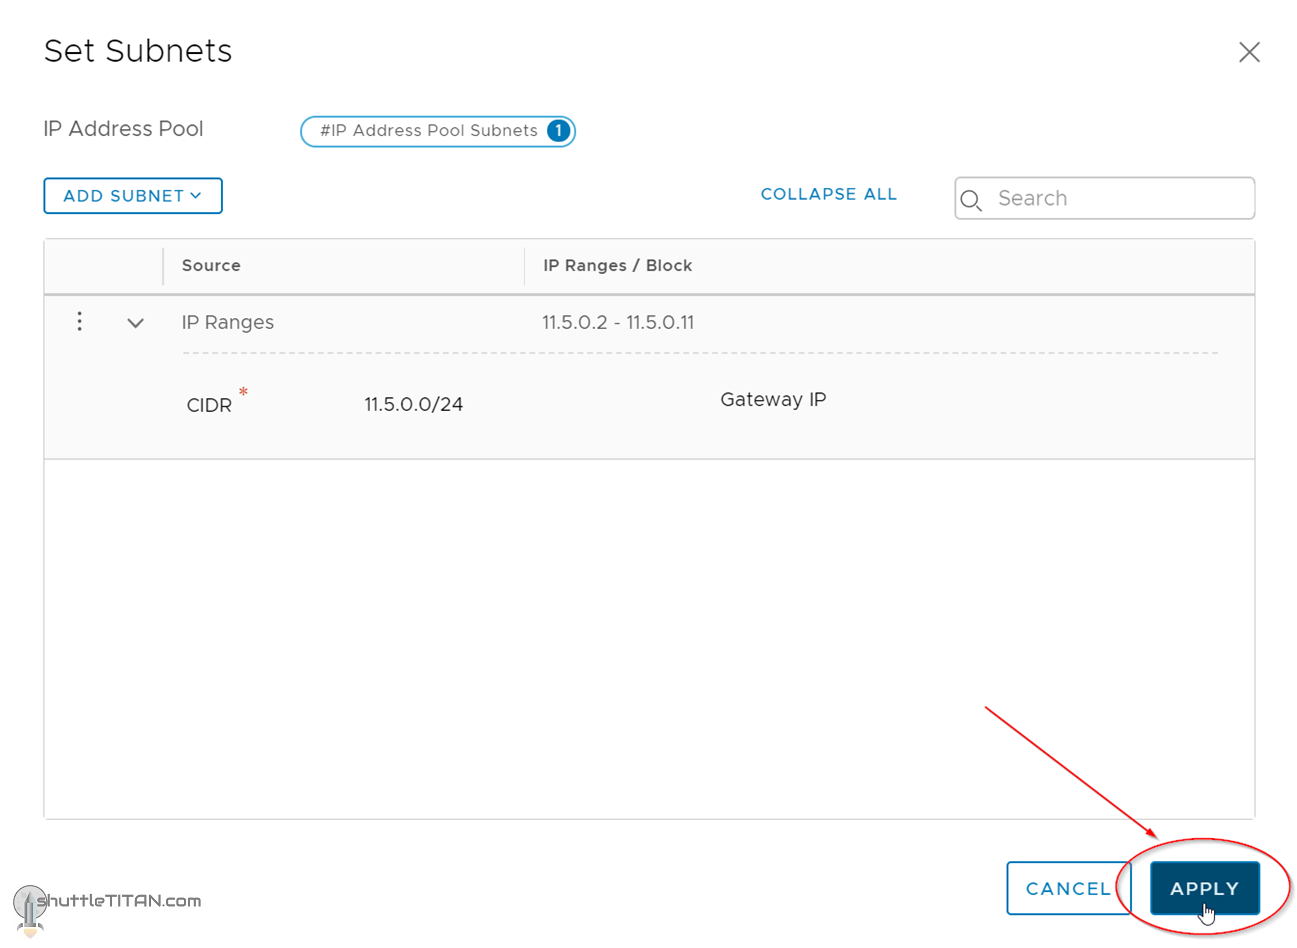
4. Click Apply:
5. Click “Save” to create an IP Pool.
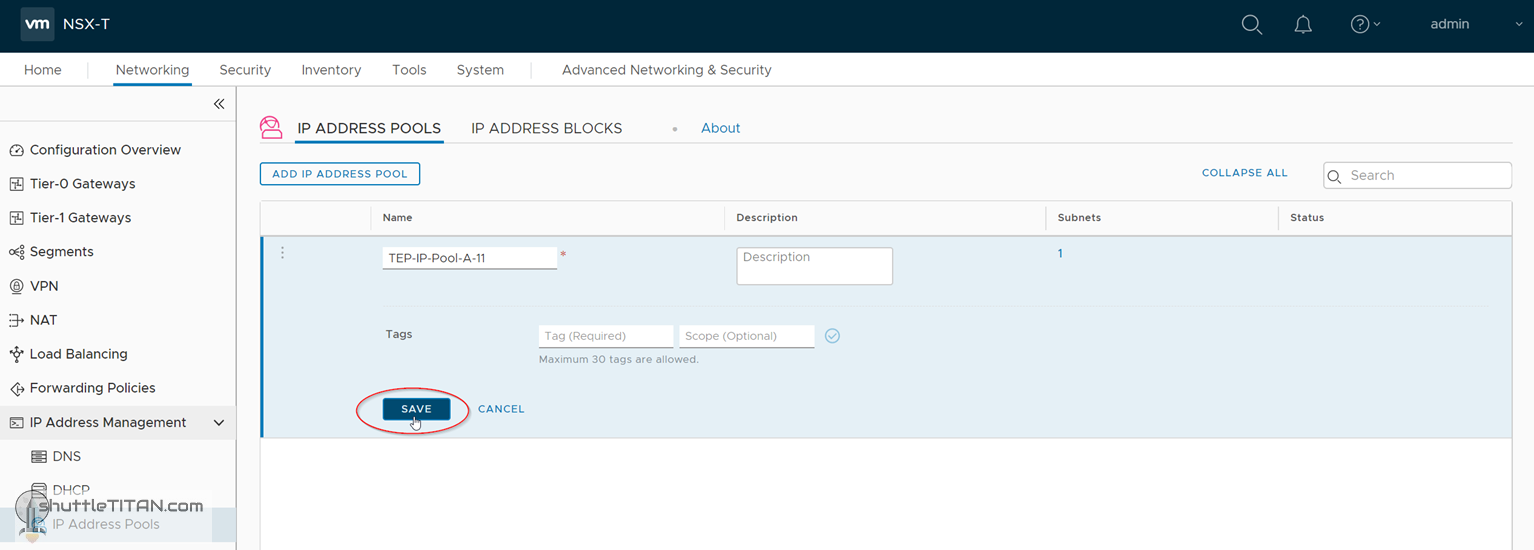
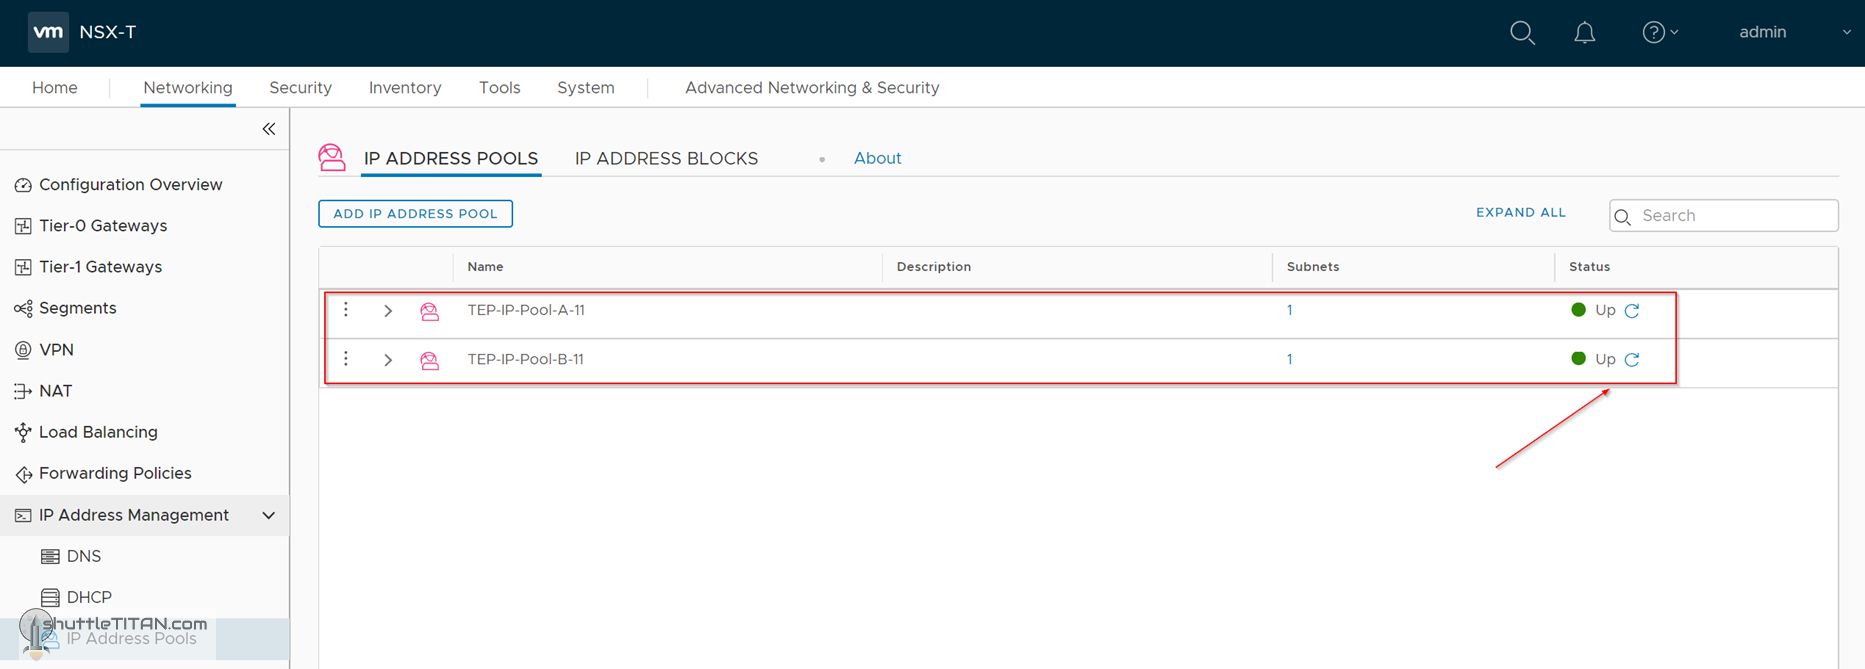
Once the IP Pool is successfully created, the status will show Up, as shows in the screenshot below:

Follow the same steps for creating another IP Pool for Site B Hosts.
Note: This series focusses on a multi-site NSX-T deployment, refer Step 0 for Series Overview.
This concludes, this step of creating IP Pools successfully.
Let’s proceed ahead with the next blog in this series Step 6 – Create Transport Zones.
I confused on 10.5.0.0/24 IP address range.
Does this IP range is internal IP range ?
Does this IP is accessible for NSX manager.?
Do we need to separate VLAN for this IP range?
Do we need to configure gateway for this subnet?
Hi Sachin,
I am assuming you meant 11.5.0.0/24, here you go…
—————————————————-
Does this IP range is internal IP range ? – No, this is for TEPs i.e. Geneve encapsulation/decapsulation.
Does this IP is accessible for NSX manager.? – Depends if the NSX Manager IP/network has a route for it via the physical network.
Do we need to separate VLAN for this IP range? – I have not used any vLANs in this NSX-T Installation Series for simplicity (see the network setup for this series here), but in production environment – I would.
Do we need to configure gateway for this subnet? I have not used DG here and is not necessary, unless your Transport Nodes/Edges are in different L2 network.
—————————————————-
hope this helps… good luck!
Hey, love you blog. Quick question regarding the used ip address pool.
Is there a chance (gui or cli) to check which addresses are allocated ?
Thanks in advance
Michael