Framework for Alfred written in Bash which makes it easy to create workflows to search and look up information without leaving the Alfred interface. This gets around the issue caused by the fact that "Script Filters are the only way to pass feedback to Alfred."
- What it does
- Installation
- Creating an ARF Workflow
- Setting Result-Specific Icons
- Interactivity
- Development
- Examples
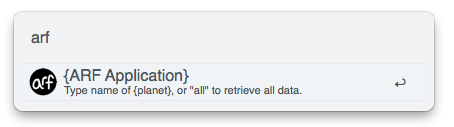
- As with all Alfred Workflows, the user begins by typing in workflow's keyword, in this case, "arf"
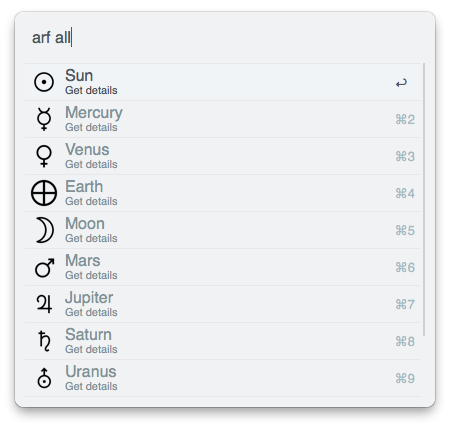
- The user then types in his/her query, and results are displayed. Again, part of the standard Alfred Workflow.
Normally at this point, the user will select a result and something outside of Alfred will occur, whether that's bring up a webpage, open/do something in a third-party application, etc. The limitations of the Alfred interface mean that once results for a query are displayed, selection of the results means Alfred is done.
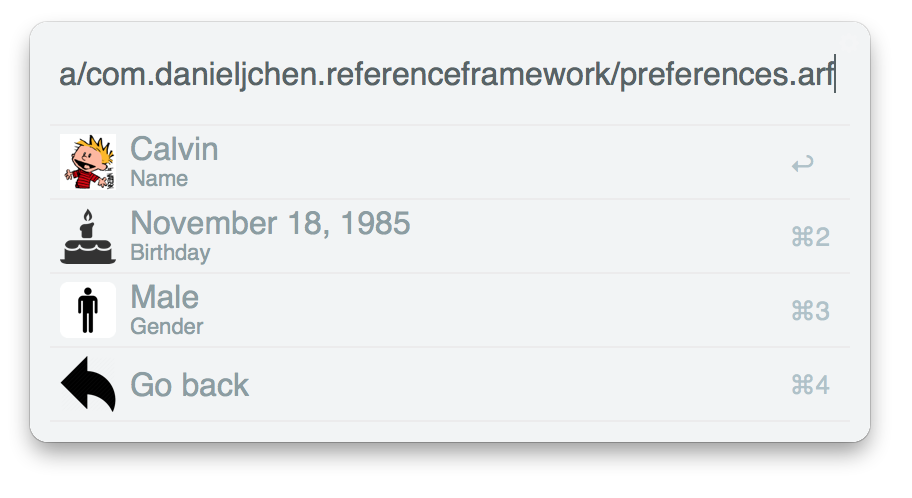
- With the Alfred Reference Framework, however, this is not the case. Selection of one of the search results generates a special query which then displays results without having to leave Alfred.

Another example of a static ARF workflow is the Alfred Tea Master Workflow, which is the code generalized to make ARF.
Download the latest release, or clone the repository into an empty workflow using these instructions:
- Open up Alfred Preferences
- Click on the "Workflows" tab.
- Create a new workflow using the plus button on the bottom left and clicking "Blank Workflow".
- Name it whatever you want, it will get changed.
- Click the "+" on the top right. Go to Inputs>Script Filter
- Click on "Open workflow folder"
- Using Terminal, cd into this directory
- Once in the directory, delete everything inside of it, then run (with period): git clone https://github.com/cheniel/alfred-reference-framework.git .
- You may want to create an alias to make it easy to get to this folder from terminal.
- If you are looking to push this to your own repo, run: git config remote.origin.url [HTTPS of your repo here]
There are two ways to create an ARF workflow: static and dynamic.
Static is best if you have data which does not change. This mode requires no coding and is just a matter of populating a !-delimited text file. The user's input searches over the names of the data.
Dynamic is best if you have data that changes over time (for example, tweets containing a certain hashtag), from computer to computer, or any other variable. It requires using the ARF+ library and you have to create your own method for determining what results to display (as opposed to the simple name-search offered in static mode).
After you've installed ARF and picked which mode you want to use, go to the workflow's entry in the Alfred Preferences and double-click on the script filter module.
If you've picked static mode, make sure the first line of the script portion of the script module is:
./arf/main.sh arf/data/static.arf {query} --static
If you've picked dynamic mode, make sure the first line of the script portion of the script module is:
./arf/main.sh arf/data/static.arf {query}
Both dynamic and static mode have pre-filled examples for you to take a look at.
To create an ARF workflow in static mode, all that is required is modification of static.arf, which is a '!' delimited plain text file in the "data" folder containing the data searched and displayed.
Here's an example of what the data looks like for the results shown in the example in this README:
Sun!1.9891 × 10^30 kilograms!N/A Mercury!0.330 x 10^24 kilograms!1
Venus!4.87 x 10^24!2
Earth!5.97 x 10^24 kilograms!3
...
That is the input for the data. Each line corresponds to one potential result, you can have them as anything you'd like, with any number of fields (determined by "!" separation), although there are some characters that you should avoid which are documented in the comments of static.arf. ARF will automatically search over the first field for you (in this case Sun, Mercury, Venus...) to give the results back to the user. When a result is selected, the rest of the information in the line of that result will be displayed. See the example above for clarification. When defining data, make sure that the last entry contains a carriage return at the end (press enter).
There are five other things you need to define as well, which are and must be the first five lines of the file. These are the "preference lines".
Planet Name!Mass!Order From Sun
arf/img/f1/default.png!arf/img/f2/default.png!arf/img/f3/default.png
no!no!no
no!no!no
!!!
Each line has and must have the same number of "!" as the data. Each field in the preferences correspond to the same field in the data. So, for example, the preferences "Planet Name," "arf/img/f1/default.png," "no," "no," and "" all apply to Sun.
If you are just looking to make a very basic workflow to look up data, you probably only need to modify the first two lines, and the other three should remain the same. Here's what the preference lines are:
- The first line contains the field names which correspond to the data types. This is displayed when a result is selected in the subtext.
- The second line defines the default image displayed for that result. An easy starting point is "icon.png" if you don't have images yet.
- The third line defines the "valid" attribute. This determines whether the "autocomplete" or "argument" attribute is used when the result is selected.
- The fourth line defines the "autocomplete" attribute, only used when valid is no. When the result is selected, the autocomplete attribute replaces the user query. In ARF, an autocomplete attribute of "no" simply does nothing when the result is selected.
- The fifth line defines the "argument" attribute, only used when valid is yes. This passes a query to action.sh, which requires some coding. You could use this to open a webpage, run a script, or do a variety of other things.
Official documentation on the attributes defined in the last three lines.
That's all you need! For more explanation on how to make a ARF workflow in static mode, take a look at static.arf, which is commented with instructions.
Make sure that you remove all non-data and non-preference lines (including empty lines and comment lines) before production, as it slows down your search.
To create a dynamic ARF workflow, you have to modify the dynamic.sh file using the arf+ library. The arf+ library contains methods that you call from within dynamic.sh.
The first thing you must do is set the preferences. At the minimum, this takes 2 method calls, but if you want to customize all the preferences it takes 6. Here is what setting preferences looks like:
setFieldNames "Name" "Birthday" "Gender"
...add optional preference methods here...
establishPreferences
The first and third methods in the snippet are the two required calls. setFieldNames corresponds to filling out the first preference line in the .arf file. It also establishes the number of fields as well as initializing the rest of the lines to default values. establishPreferences uses all of the preference method calls to create a temporary .arf file in the user's volatile data folder. You can make the preferences specific to the user's query, however you should never begin adding data until establishPreferences is called.
The optional preference methods correspond to the other four preference lines. They must be called after setFieldNames and before establishPreferences. Here are the methods:
setIcons "icon.png" "icon.png" "icon.png"
setValidity "no" "no" "no" setAutocomplete "no" "no" "no" setArguments "" "" ""
Each of these calls should have the same number of arguments as setFieldNames. The specific snippet shown above doesn't actually do anything, as the method calls in the snippet all pass in the default values which have already been set by setFieldNames (e.g. default icons are "icon.png" for all fields, validity is "no", etc.). Read about the attribute types here.
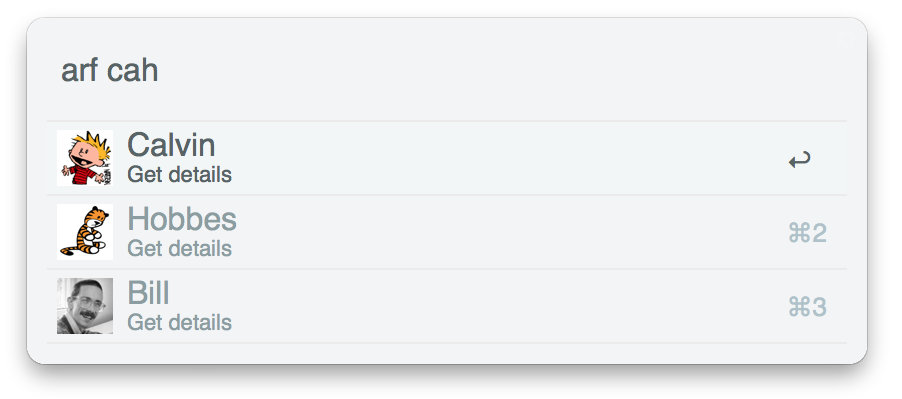
After establishing preferences, you can begin adding data based on the user's query. For your convenience, the user's query is stored in a variable. Here is an example from dynamic.sh which responds to the user's query "cah".
if [ "$userInput" == "cah" ]; then
addData "$userInput" "Calvin" "November 18, 1985" "Male"
addData "$userInput" "Hobbes" "November 18, 1985" "Male"
addData "$userInput" "Bill" "July 5, 1958" "Male"
fi
After finding that the user's query is "cah", the script adds three results using the arf+ method addData. To use add data, you must call the method with the number of arguments that were passed into setFieldNames plus one. The first argument is always just "$userInput", and the other arguments all correspond to the data in the fields. This code snippet produces an Alfred result as below:
Here is the result of selecting "Calvin":
Check out dynamic.sh for another example.
The very last method call in every dynamic.sh should be the ARF+ method pushData. It doesn't require any methods and just gives the data to Alfred to display.
If the user inputs a query that produces no results, arf+ will automatically display an error message when pushData is called. The default error message looks like this:
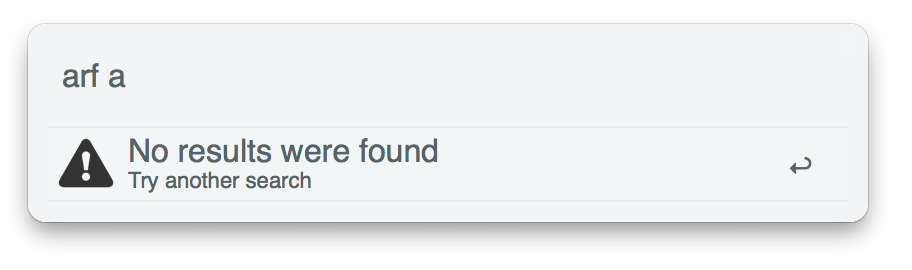
If you want to set a custom error message, use this method:
setError "LARGE TEXT" "SUB TEXT"
To choose what is displayed when no calls to addData are made because of the user's query.
The previous guides for static and dynamic modes show how to set a default icon for a specific field. If you want to generate a custom icon for a specific result in a field, you have to add images to arf/img/fN where N is the number of the field that you want to have a custom icon in.
Here is an example of custom icons for results in field 1.

For the icon to display alongside the result, the name of the file must be the same as the name of the result. Nothing else needs to be done. Running ARF on static mode with the sample data, we can see that this works.
This applies for any and all of the fields that you use. They just have to be in the correct folder (e.g. f1).
Interactivity can be added in either static or dynamic mode. It occurs in the display mode, after a result is selected, as in the image below.

Interactivity in this example refers to the ability to perform a google search on the tea (field 1), view similar types (field 2) and start a timer (field 5).
There are two kinds of interactions that can occur when a user selects a display item; query replacement and script run. In the example above, field 1 and 5 are script runs and field 2 is a query replacement.
- Query Replacement is when the user's argument is modified on selection of a result. This is actually the primary method of navigation in ARF+ and occurs when you select a result or a back button. To enable this, set the field validity to "no" and autocomplete to whatever you want the user's query to be replaced with.
- Script run is when a script is run on the selection of a result. This could include interactions with some API, opening a webpage, or filesystem modification, etc. To create script run interactivity, set validity to "yes" and the argument to some keyword, such as "openHelpWebpage". When the field is selected with script run, the argument is passed to the actions.sh script to be processed. Just create a conditional checking that the argument is "openHelpWebPage" and run the appropriate script.
See guides for static mode and dynamic mode above to see how you can change these attributes based on the field.
Take a look at the Alfred Tea Master Workflow to see an example of what interactivity is.
Please feel free to contribute.
###Future Additions / Potential Pull Requests
- Ability to specify searchable fields
- ARF+ method which enables searching static as well as dynamic data in dynamic mode.
- Display either recent searches (by saving user input when they select a result) or default searches (similar to in Alfred Tea Master Workflow) before user inputs a query
- Ability to add interactively add data from Alfred interface (static only)
Bash Workflow Handler by markokaestner for handling XML.
Let me know if you use it to make a workflow and I'll put it here.