Epilog Laser Cutter Instructions(from Illustrator)1. Get your File to a Windows computer (either through the server, email or USB drive)
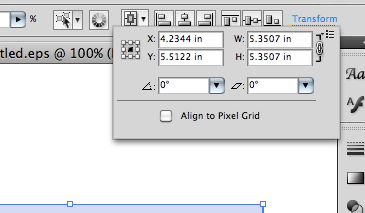
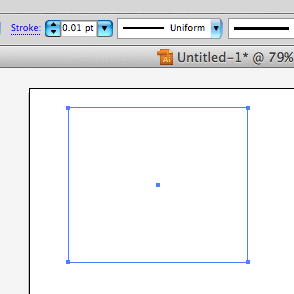
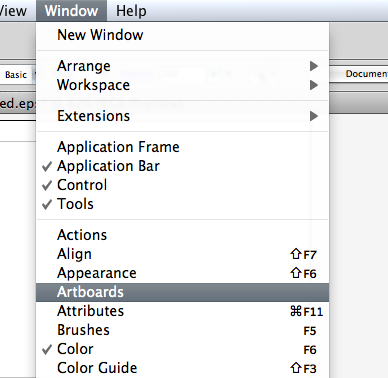
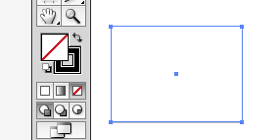
2. Open your file (File > Open) into Illustrator. 3. Select everything for sizing. Either go to SELECT >SELECT ALL or drag a box around your shape with the black selection arrow. 4. At the top of the screen you will see the word “TRANSFORM” highlighted in Blue. Click on it. 5. Make sure the chain is clicked (to preserve proportions) and check your height or width. Your drawing should now be the correct size!! 6. Select any line that you want to cut. All lines and fills with a thickness over “.01” will be engraved not cut. 7. Set the Artboard size so it equals or is smaller than the SIZE OF THE ACTUAL MATERIAL. a. b. click page icon c. set your size d. 8: Make sure your design is in the upper left corner and not in the center of the document. This will conserve material. Be green! 9 There should be NO FILLS unless you want to engrave an area. The selected shape below has the fill TURNED OFF, done by clicking the fill box and then the red slash below it. The black is the outline, which will stay as is.
10 Delete any extra lines (like the box you used for resizing) before you print. This will shorten your cutting time. Use the white arrow or white lasso and the DELETE key to do this:
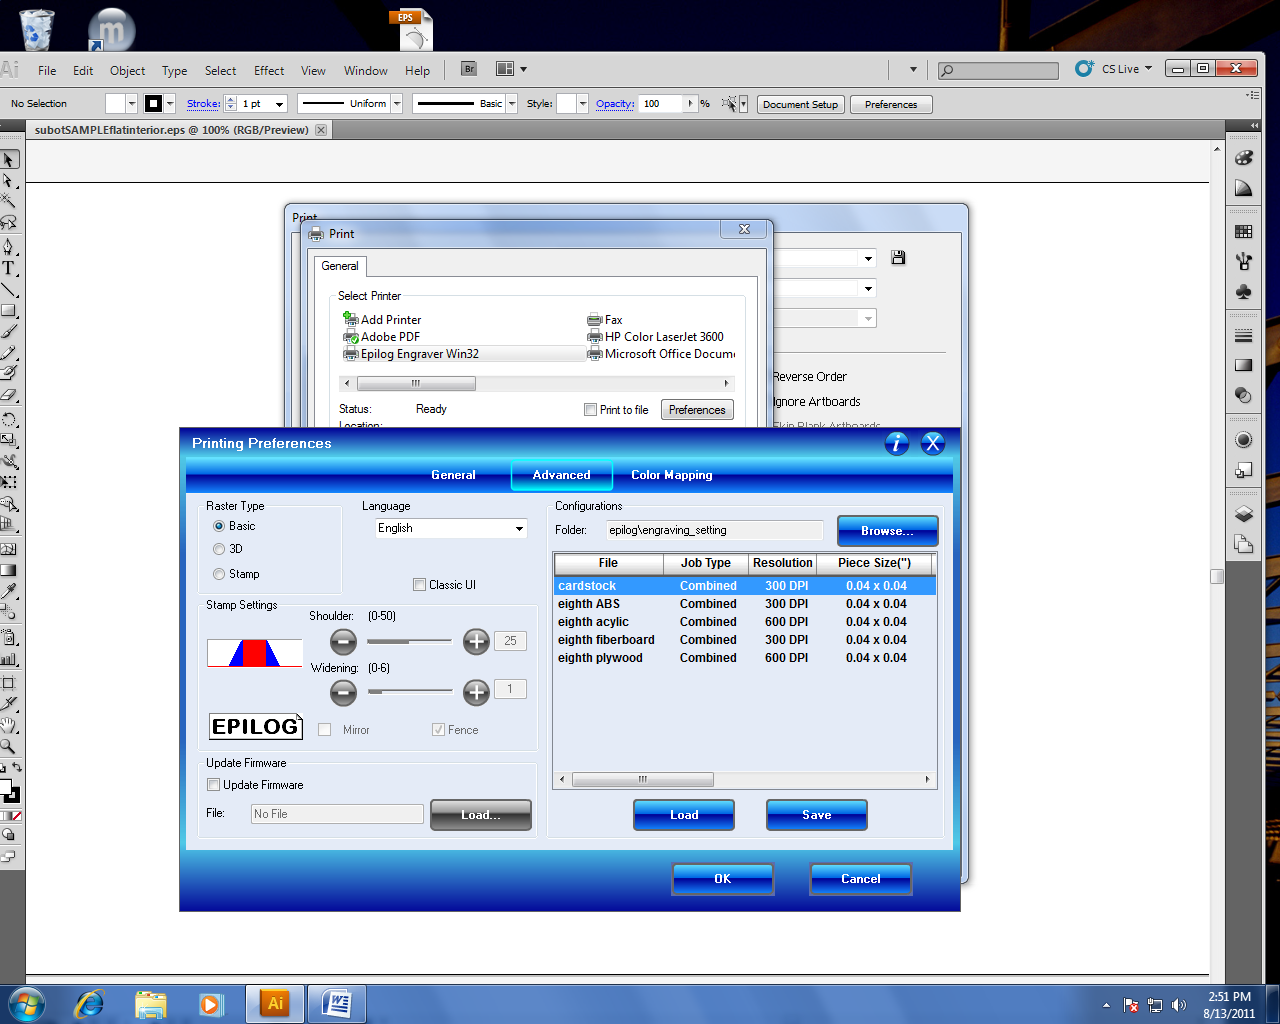
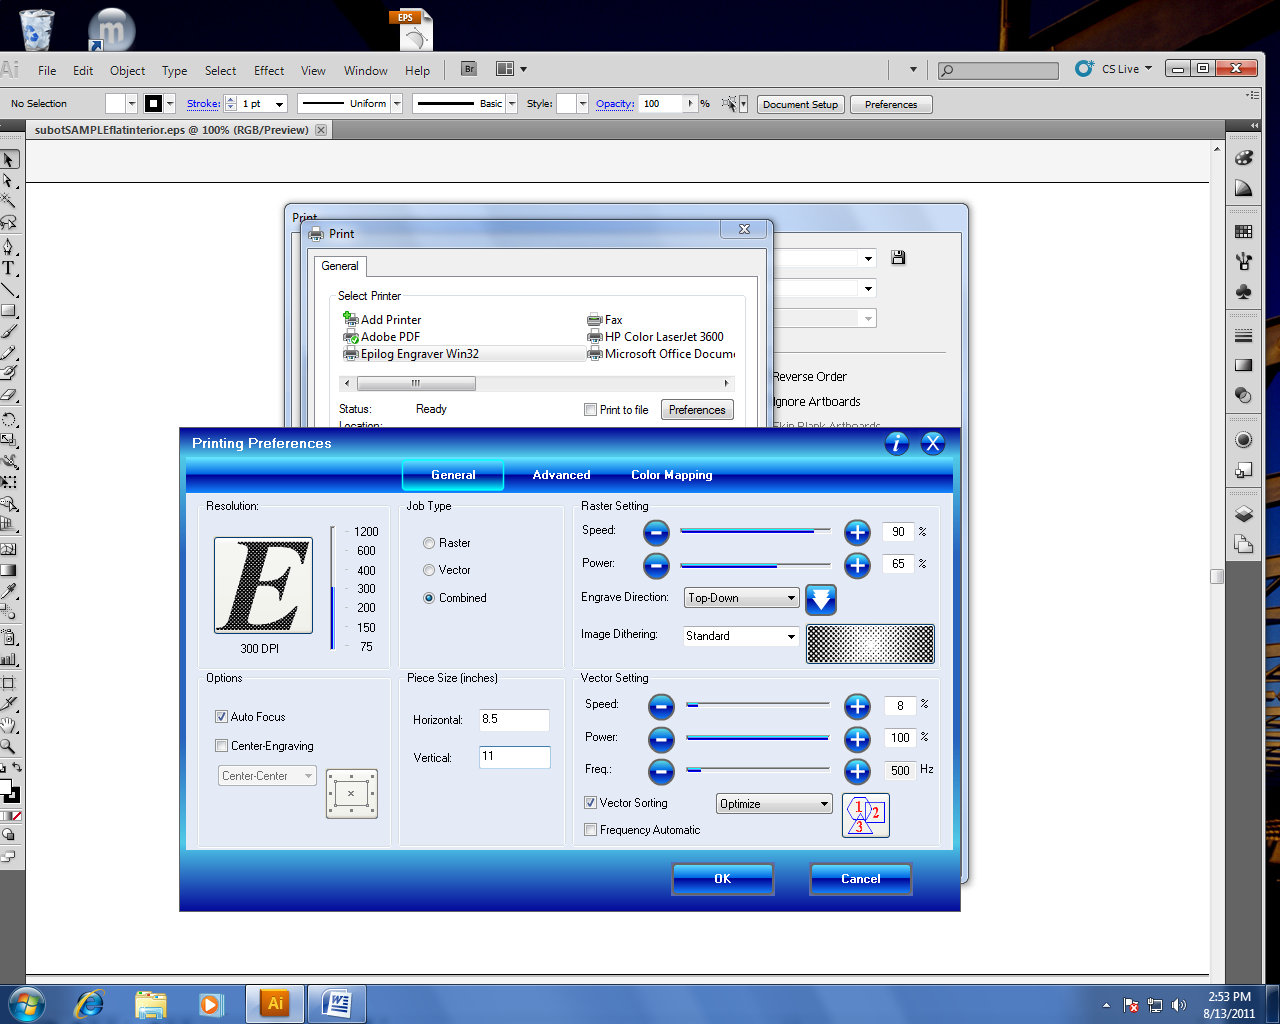
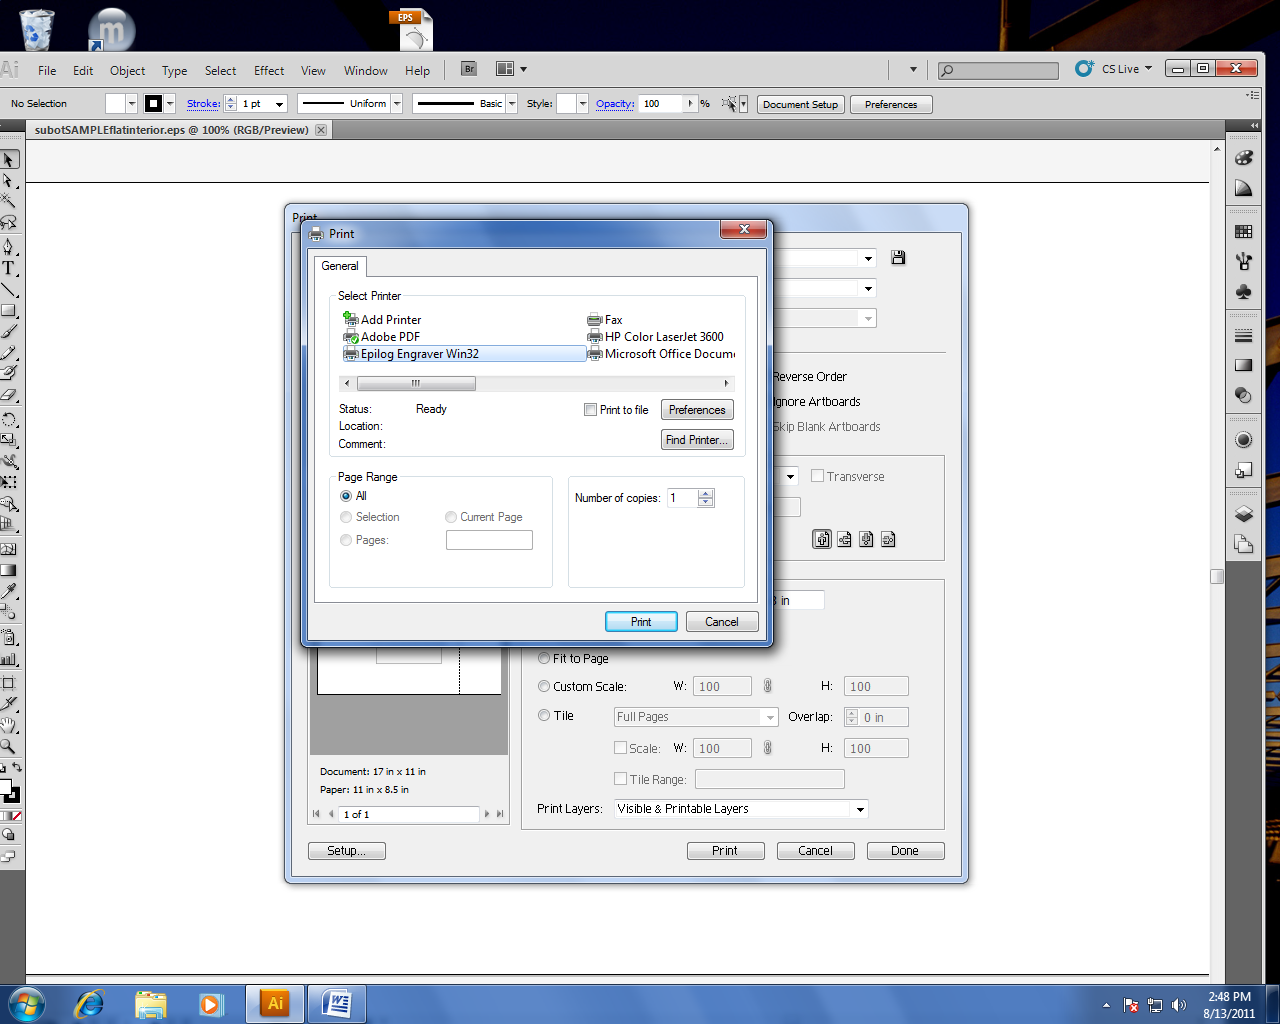
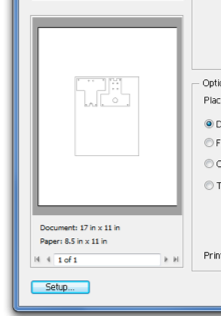
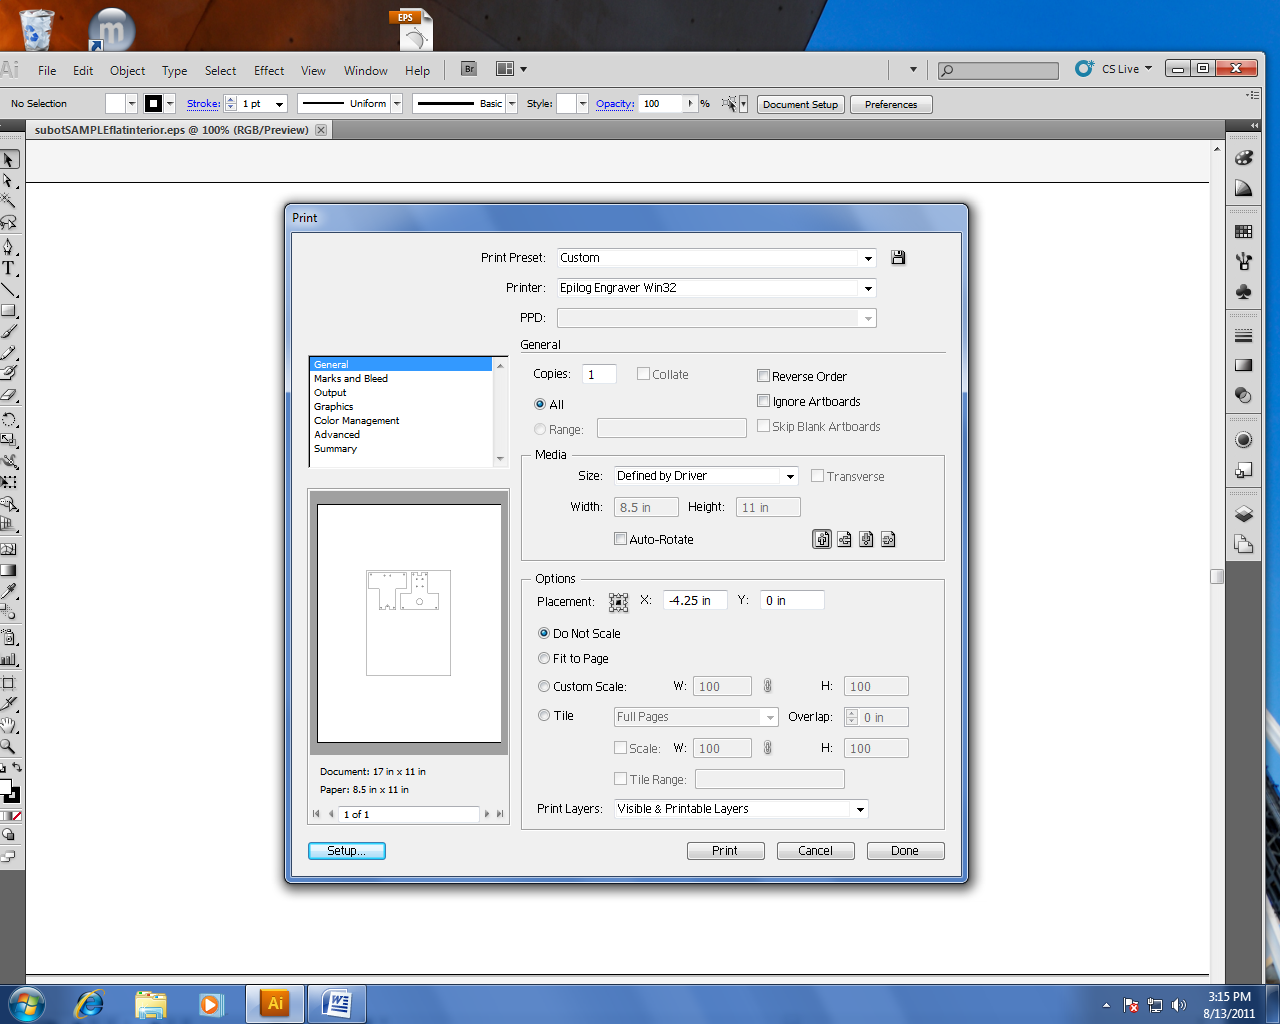
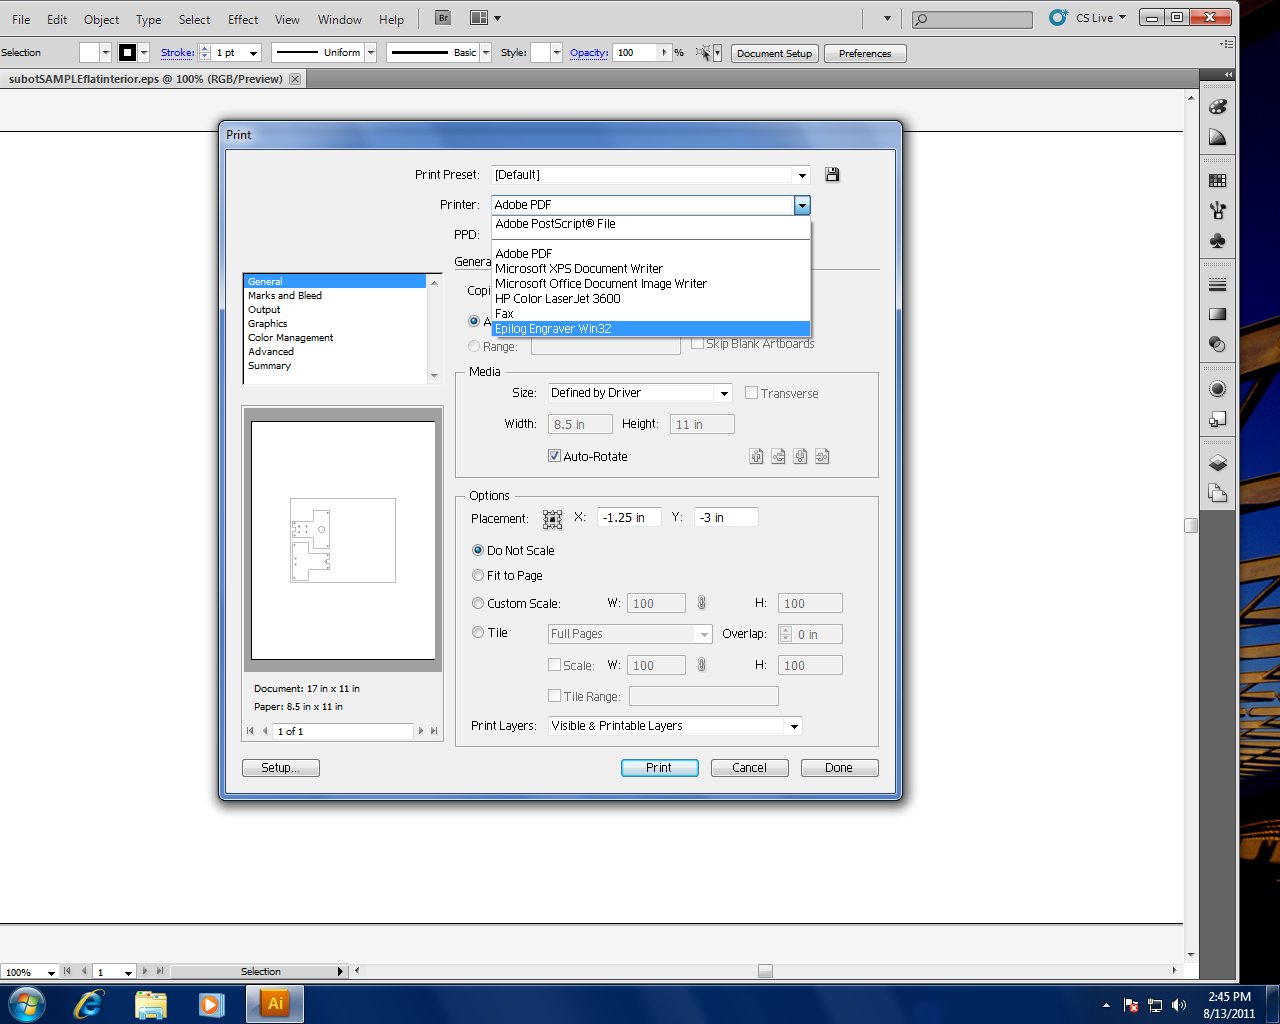
11. Choose File > Print from the menu at the top of the screen. From the “printer” drop-down menu choose: “Epilog Engraver Win32” 12. Make sure the Auto Rotate button is NOT CHECKED 13. Click on the “setup” button at the lower left corner of the print window. 14. From the setup window click on the “Preferences.” 15. Click on the word “Advanced” at the top of the printing preferences dialog box. 16. Choose the preset for the material you are cutting (acrylic, wood, etc.) and click LOAD! 17. Click on the tab “General”. You should now see the settings have changed. (If all settings are at 50% you need to go back to step 5.) Enter the “piece size” of your material. This should be the same as the Illustrator Artboard dimensions. 18. Click “OK” in the preferences dialog box (which will then close) and click “Print” in the print dialog box (which will also close). and 19. Look at the print preview window.
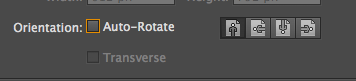
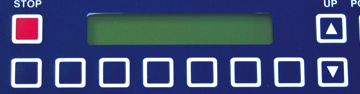
20. Make sure the document orientation is correct (You will see 4 orientation options in the “Media” box). AND that AUTO ROTATE is NOT checked. 21. Click “Setup” one more time and click “print” in the pop up window. This should fix your preview. and >>IF YOUR IMAGE LOOKS WRONG IN THE PREVIEW IT WILL PRINT THAT WAY<< 22. Turn on the laser cutter and the ventilation unit!!! Laser switch is on the left side. Ventilation switch is on the front of the unit near the bottom. 23. Go back to the computer and click “Print” to send your file to the laser cutter queue. 24. Go to the laser cutter and find your file on the LCD. Your job will appear on the screen as you named it. If you don’t name your file you’ll see something like “Untitled”. If needed, use the up and down arrows to scroll through files on the cutter. 25. Put your material in the upper left corner of the laser cutter, close the cover. 26. and press the green “GO” button. ……..WAIT AND LET IT FOCUS AND CUT…… When your file is done the machine will beep and the cutting head will return to the upper left corner of the cutting table. If you realize there is a mistake wait until after the machine is done focusing before you stop it. if you want to restart, Once it is done focusing, push “stop” followed by “reset”. |