


Provision a domain using a Microsoft Azure Resource Manager template

In today’s Ask the Admin, I’ll show you how to provision a new Active Directory domain in Azure, and all the necessary resources, quickly and easily using an Azure Resource Manager (ARM) template.
I’ve been investigating ways to provision an Active Directory domain in Azure and have come to the conclusion that the easiest and quickest way to achieve the goal is using an ARM template. You might remember a previous article on Petri, Automate Domain Controller Deployment in Microsoft Azure, where I described using PowerShell to deploy one or more DCs and a new domain using the classic deployment model and PowerShell Remoting. But with the shift to ARM comes new possibilities.
While PowerShell Remoting is a useful management tool, it’s not the ideal solution for automating OS configuration after initial VM deployment, if only because the PC from which the script is run must remain connected to the Internet while configuration is in progress.
The Azure Custom Script Extension (CSE) solves the problem mentioned above by downloading a PowerShell script to the VM from Azure Storage, and then runs the script locally on the VM. But when configuring a VM on a VNET that doesn’t use Azure-managed DNS, the VM isn’t able to resolve the URI of the script located in Azure Storage so fails to run. While it would likely be possible to work around this issue, it’s a messy solution. For more information on CSE, see Aidan Finn’s article Easier Azure VM Deployment with the Custom Script Extension on the Petri IT Knowledgebase.
PowerShell Desired State Configuration (DSC) is also a possibility, but either requires setting up a DSC server in the Azure cloud or using the Azure DSC Extension, a solution similar to CSE that allows you to configure VMs using DSC without setting up a DSC server. But in my experience, using the Azure DSC Extension is error prone and difficult to debug.
ARM templates
The new Azure Resource Manager is an API that replaces the classic deployment model, and allows easier deployment, manageability and more flexibility when deploying Azure resources. Resource deployment is template driven, in theory making it easier to deploy cloud apps – read ‘developers can deploy cloud resources without help from a sysadmin.’
Much like PowerShell DSC, templates are declarative, i.e. you state what you want and ARM works out how to achieve the desired result. Although unlike DSC, ARM template use JSON, which might be unfamiliar to many Windows system administrators. For more information on JSON, see What is JSON and How Is It Used? on Petri. ARM templates also have the following features:
- Idempotent – templates can be redeployed without affecting existing resources.
- Multi-service – templates can be used to deploy VMs, storage, VNETs, web sites and all available Azure services.
- Multi region- work across all Azure regions.
- Extensible – the ARM API is extensible and can support additional resource providers.
Quickstart templates
ARM templates look a bit scary a first sight, and authoring one from scratch isn’t the easiest undertaking. So to get you started, a repository of templates for deploying common configurations is hosted on GitHub. For the purposes of this article, I’m going to use the active-directory-new-domain template, which deploys a new Active Directory domain with one domain controller (DC) and all the necessary resources, such as a virtual network (VNET) and NICs.
To follow the instructions in this article, you’ll need to already have an Azure subscription. You can sign up for a one-month free trial here.
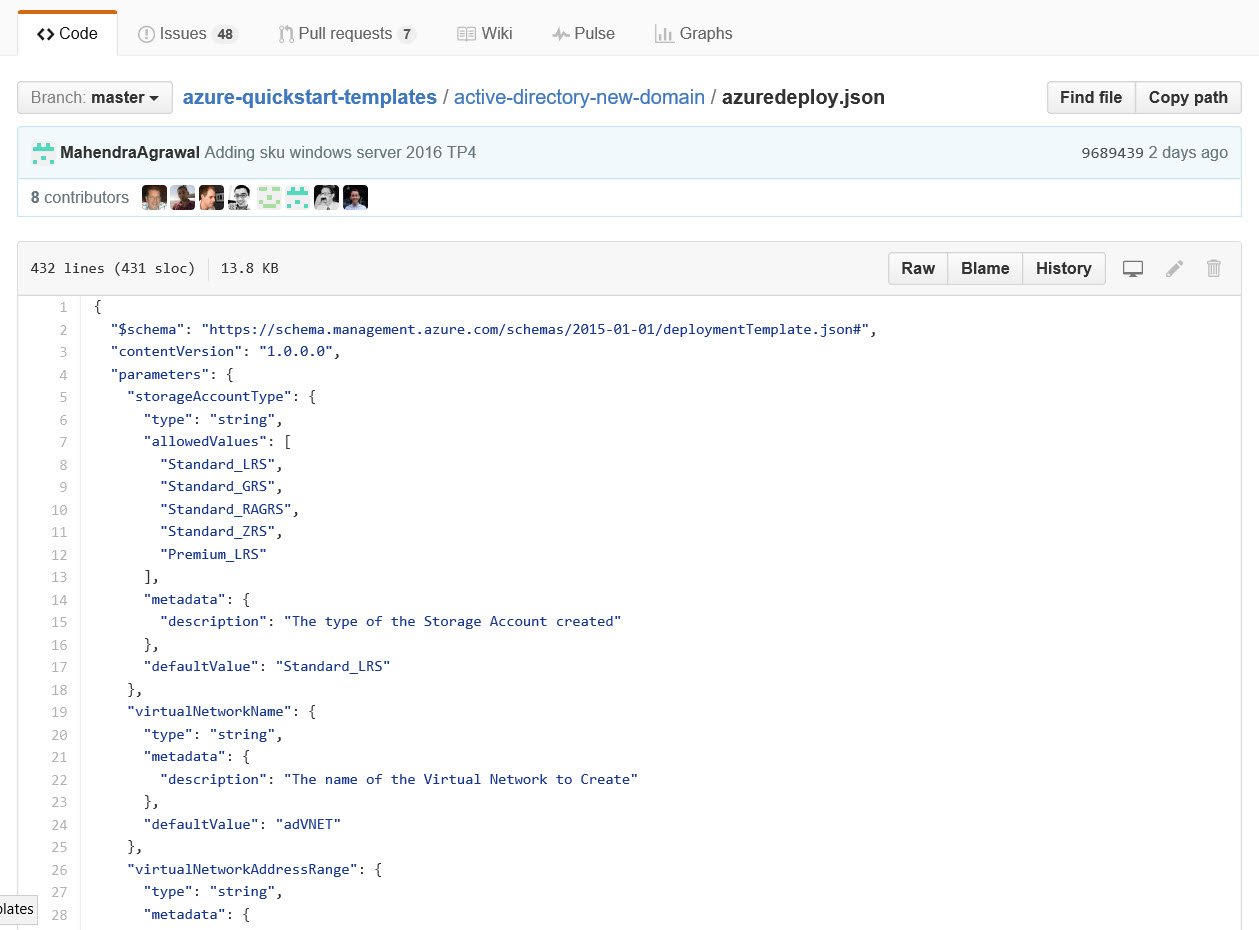
- Start by opening the active-directory-new-domain ARM template in a browser window.
- You’ll see a list of files, below which the readme file is displayed.
If you want to deploy the template using the Azure management portal, click Deploy to Azure, otherwise continue following the instructions below.
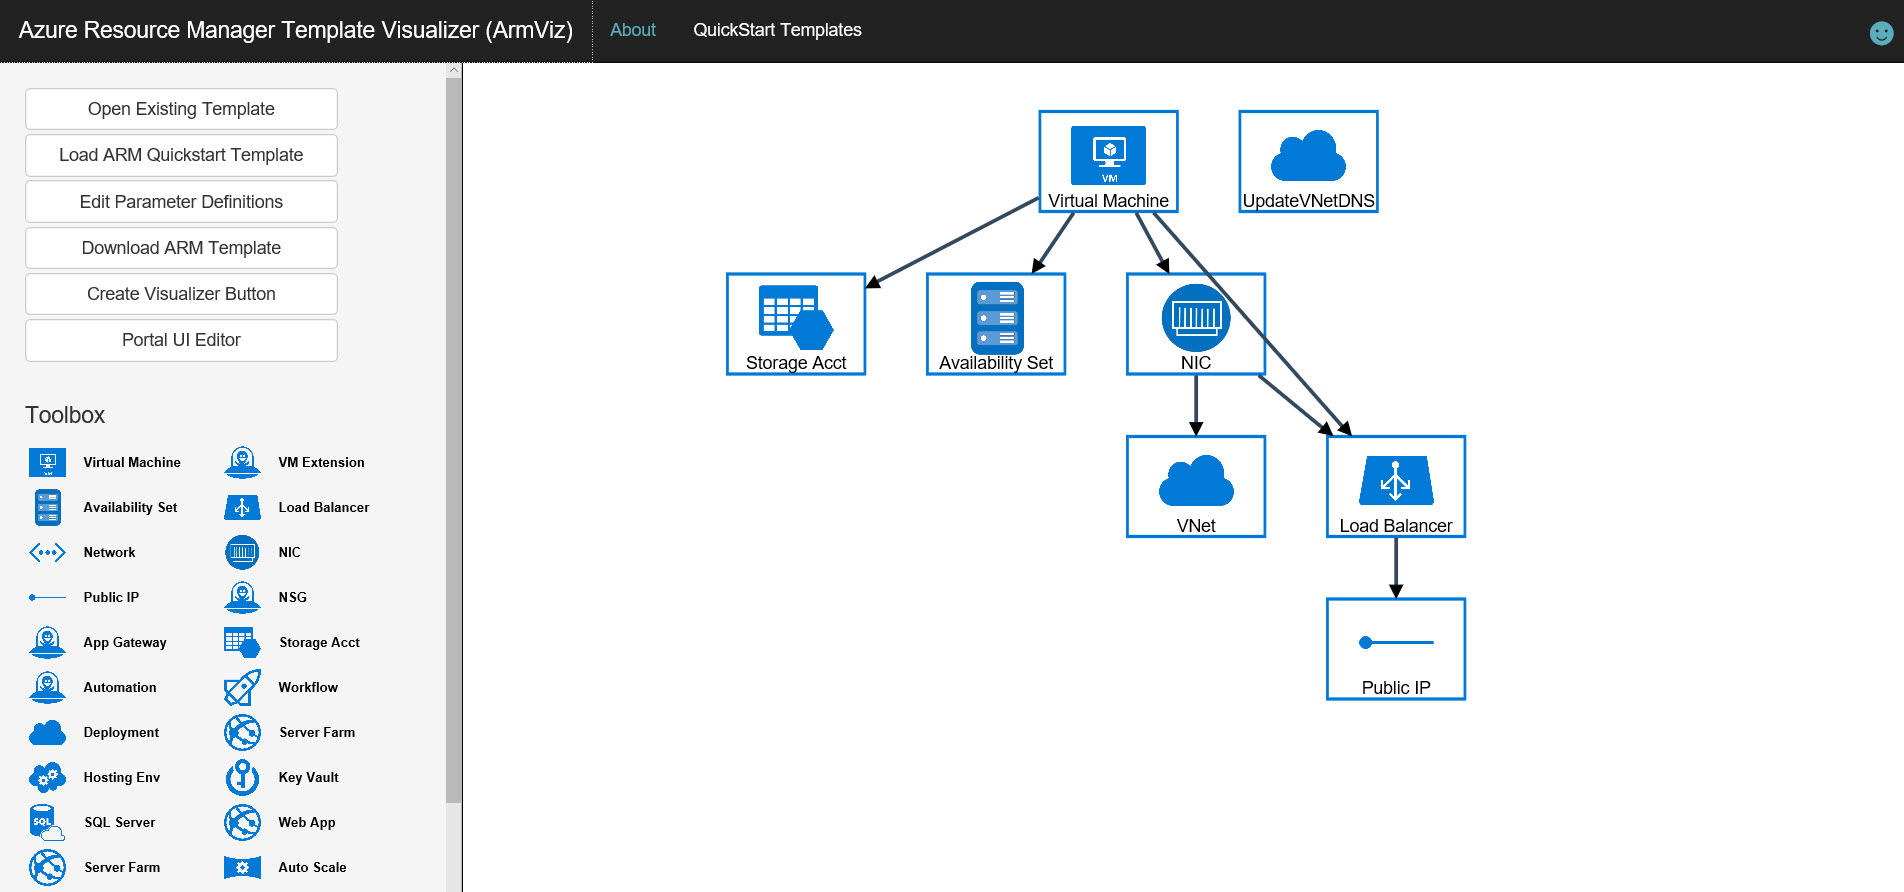
- Click Visualize to open the Azure Resource Manager Template Visualizer (ArmViz).
In ArmViz you’ll see a network diagram to help you better understand how the resources will be deployed. Notice that while ARM doesn’t use cloud services like the classic deployment model, a load balancer is deployed. Cloud services provided implicit load balancing automatically.
- Close the ArmViz browser window.
- Click azuredeploy.json in the list of files.
- Click Raw above the template code on the right.
- Once the browser is displaying the raw template code, copy the URL from the browser address bar. This is the URI for the template required by the New-AzureRmResourceGroupDeployment cmdlet.
PowerShell deployment
Before you can start working with the PowerShell ARM cmdlets, you’ll need to make sure that you’ve got Microsoft Azure PowerShell 1.0 or later installed on your system. For more information, see Install Azure PowerShell 1.0 Preview on Petri.
- Open Windows PowerShell ISE.
Before you can deploy the template, as Resource Group (RG) must already exist in Azure. The code below logs in to Azure ARM and selects the first available subscription associated with the given Microsoft Account. The account credentials must be entered manually when prompted. The RG name is then set ($rgName), Azure region ($location), and then the RG is created if it doesn’t already exist.
Login-AzureRmAccount

$subs = Get-AzureRmSubscription
Select-AzureRmSubscription -TenantId $subs[0].TenantId -SubscriptionId $subs[0].SubscriptionId

$rgName ='contosodcs'
$location = 'North Europe'

# Create New Resource Group

try {
    Get-AzureRmResourceGroup -Name $rgName -Location $location -ErrorAction Stop
    Write-Host 'RG already exists... skipping' -foregroundcolor yellow -backgroundcolor red
} catch {
    New-AzureRmResourceGroup -Name $rgName -Location $location
}
Each time the template is deployed it can be provided with user configurable parameters. You’ll notice a list of parameters at the top of the template. Also defined in the template are possible values for each parameter and a default value to be used if one is not passed during deployment.
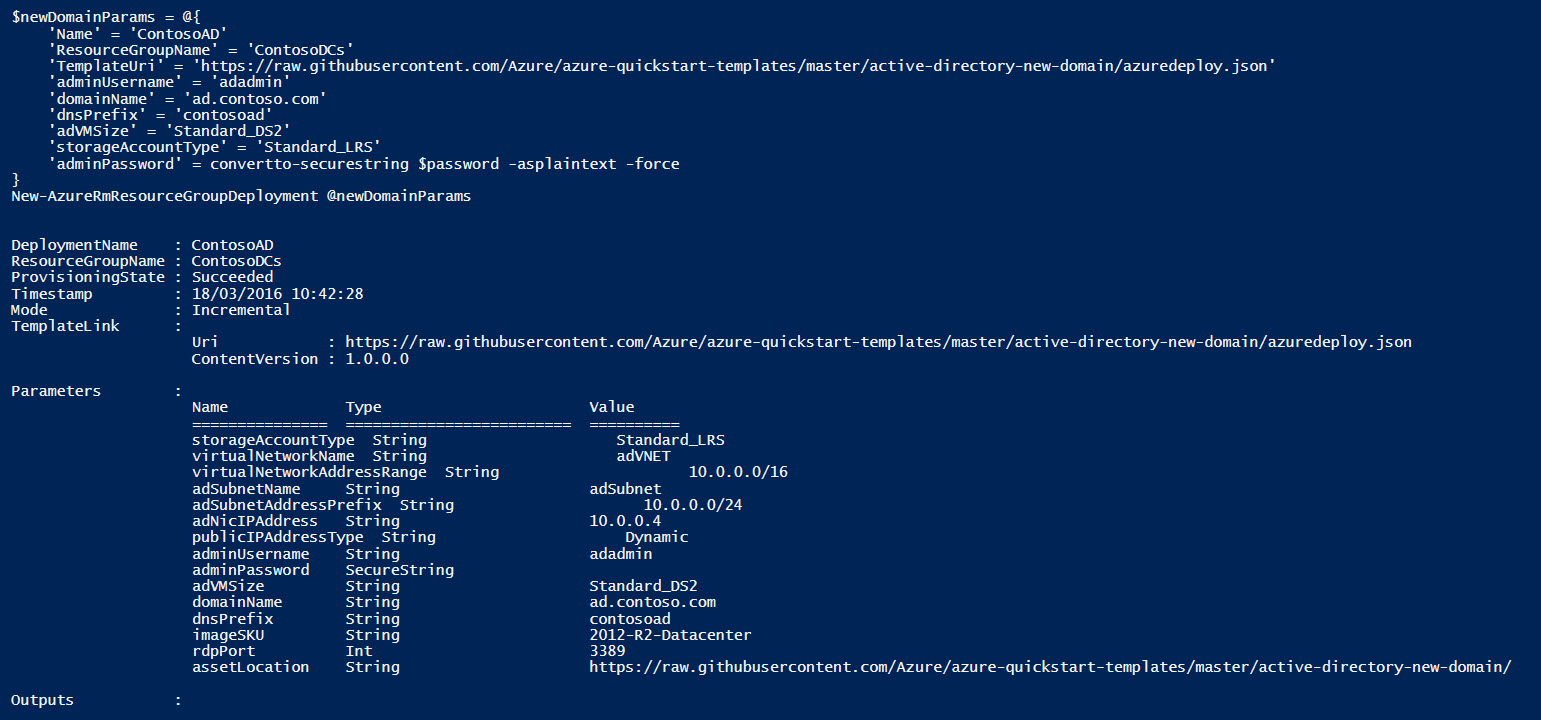
Notice that I pasted the URL copied from the browser window in the steps above as the value for ‘TemplateURI’. Also I declare a variable ($password) for the clear text password, which then gets converted to a secure string before being passed to New-AzureRmResourceGroupDeployment.
$password = 'passW0rd!'

$newDomainParams = @{
   'Name' = 'ContosoAD' # Deployment name
   'ResourceGroupName' = $rgName
   'TemplateUri' = 'https://raw.githubusercontent.com/Azure/azure-quickstart-templates/master/active-directory-new-domain/azuredeploy.json'
   'adminUsername' = 'adadmin'
   'domainName' = 'ad.contoso.com' # The FQDN of the AD Domain created
   'dnsPrefix' = 'contosoad' # The DNS prefix for the public IP address used by the Load Balancer
   'adVMSize' = 'Standard_DS2'
   'storageAccountType' = 'Standard_LRS'
   'adminPassword' = convertto-securestring $password -asplaintext -force
}
New-AzureRmResourceGroupDeployment @newDomainParams
Once the above code has completed, I want to find out the DNS friendly name assigned to the public IP address used by the load balancer so I can connect to the DC using RDP:
# Display the RDP connection string to the loadbalancer

$rdpVM = Get-AzureRmPublicIpAddress -Name adPublicIP -ResourceGroupName $rgName
$rdpString = $rdpVM.DnsSettings.Fqdn + ':3389'

Write-Host 'Connect to the VM using the URL below:' -foregroundcolor yellow -backgroundcolor red
Write-Host $rdpString
And that’s it! Now you should have a fully functioning Active Directory domain in the Azure cloud. If you want more control over the deployment, you will need to create your own custom template.