by Maya Girimaji & Jennifer Zhan, managing editor & editor-in-chief
Maya can cook. Jennifer cannot. For three months, the two of us are trying to find recipes that people of any skill level can make, whether it’s a full meal, a snack, or a dessert for cheat day.
This month we made chicken dumplings, altering a version of Jennifer’s family recipe. Here’s how we did it:
1. Get your ingredients (hint: you’ll probably need to go to an Asian mart because I doubt you’ll find these in an HEB).

J: This is a pretty simple meal. You’ll need dumpling wrappers, dumpling meat filling, and water. My family normally uses pork, but we tried chicken for the first time today since Maya wanted to try it.
M: The filling smelled really good. What all was in it?
J: Uh….I don’t know…chicken…and…some herbs?? It’s store-bought.
2. Place a wrapper in the palm of your hand and use water to wet the perimeter.
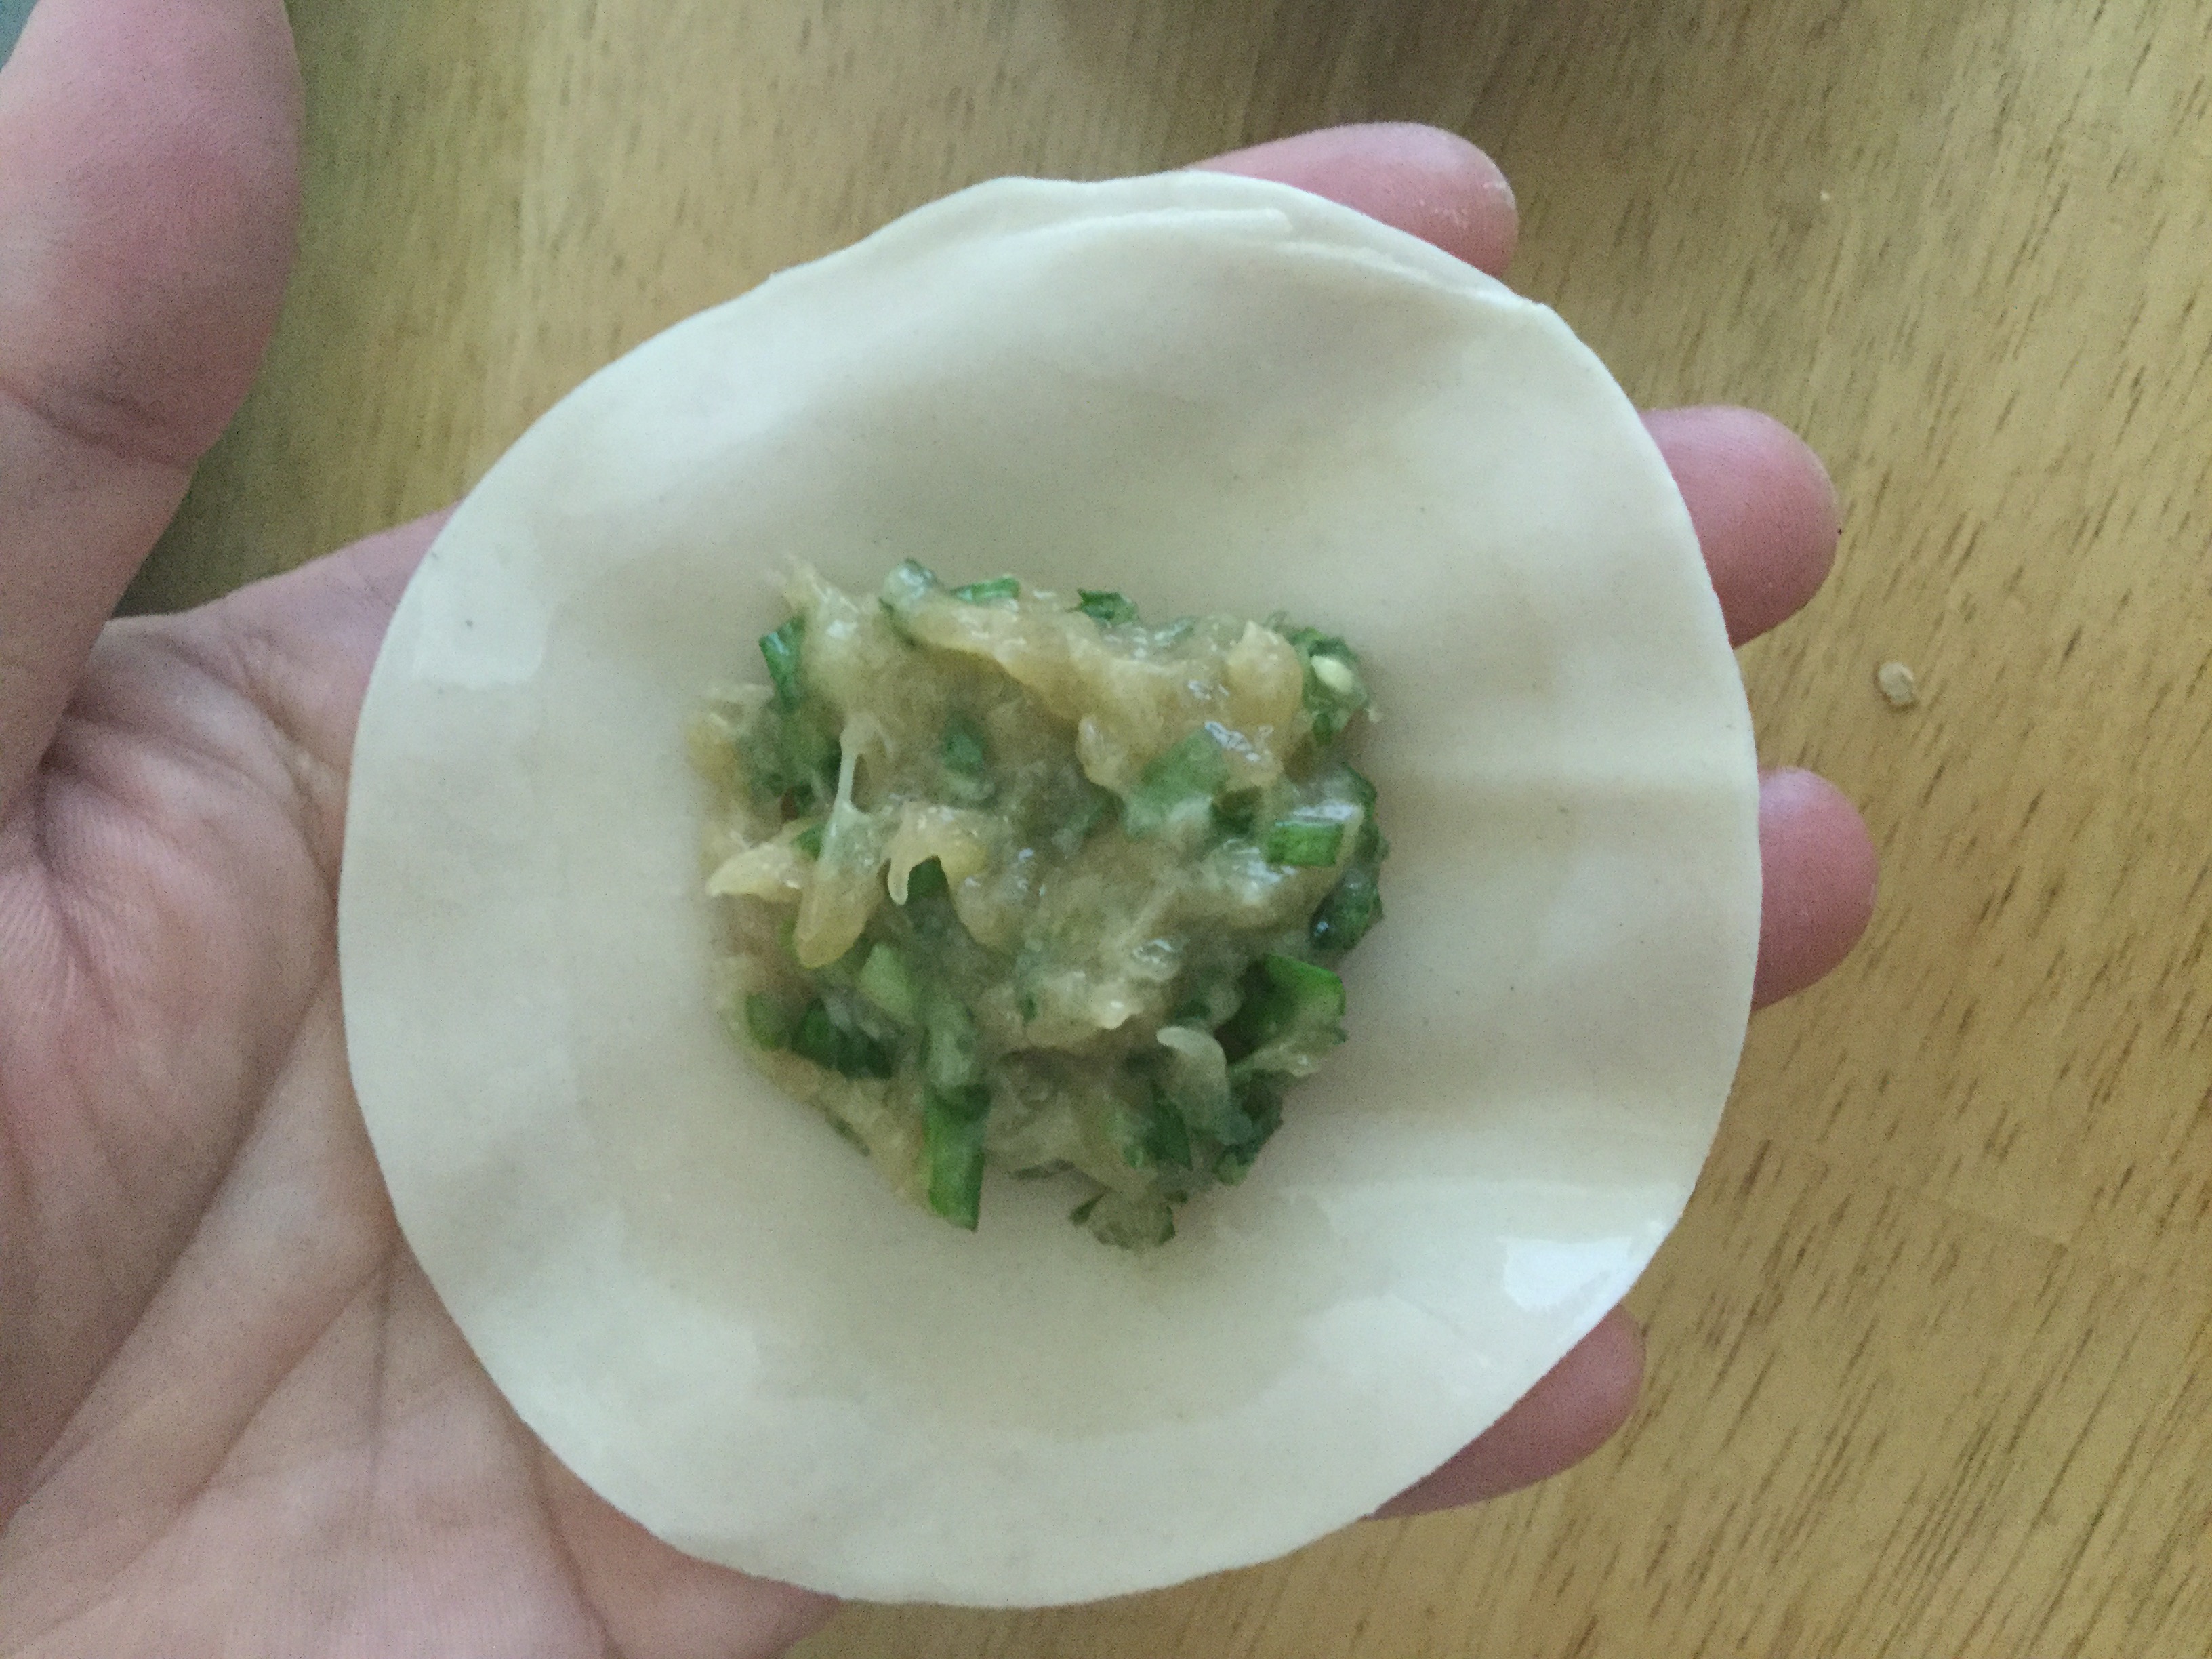
M: Only use the tip of your finger. I discovered that otherwise, you don’t leave much space for the filling inside.
J: The reason you do this is when you fold the wrappers you need the wrapper to seal together, or else the dumplings are going to come apart when you boil them. Or they’re going to fill up with water.
M: As we learned from experience.
3. Place half a tablespoon of the filling in the center of the wrapper. Then, fold it in half like a taco and press the top part to seal.
J: Technically, according to how dumplings are supposed to be made, you seal the sides by folding them in on themselves. I normally do it two times on each side, which makes the wrinkles that you’ll see below. If it’s your first time, that might be beyond your skill level. Don’t worry about how- the most important thing is that, whatever shape, you make sure the dumplings are folded and sealed securely. Use more water if you need a stickier surface.
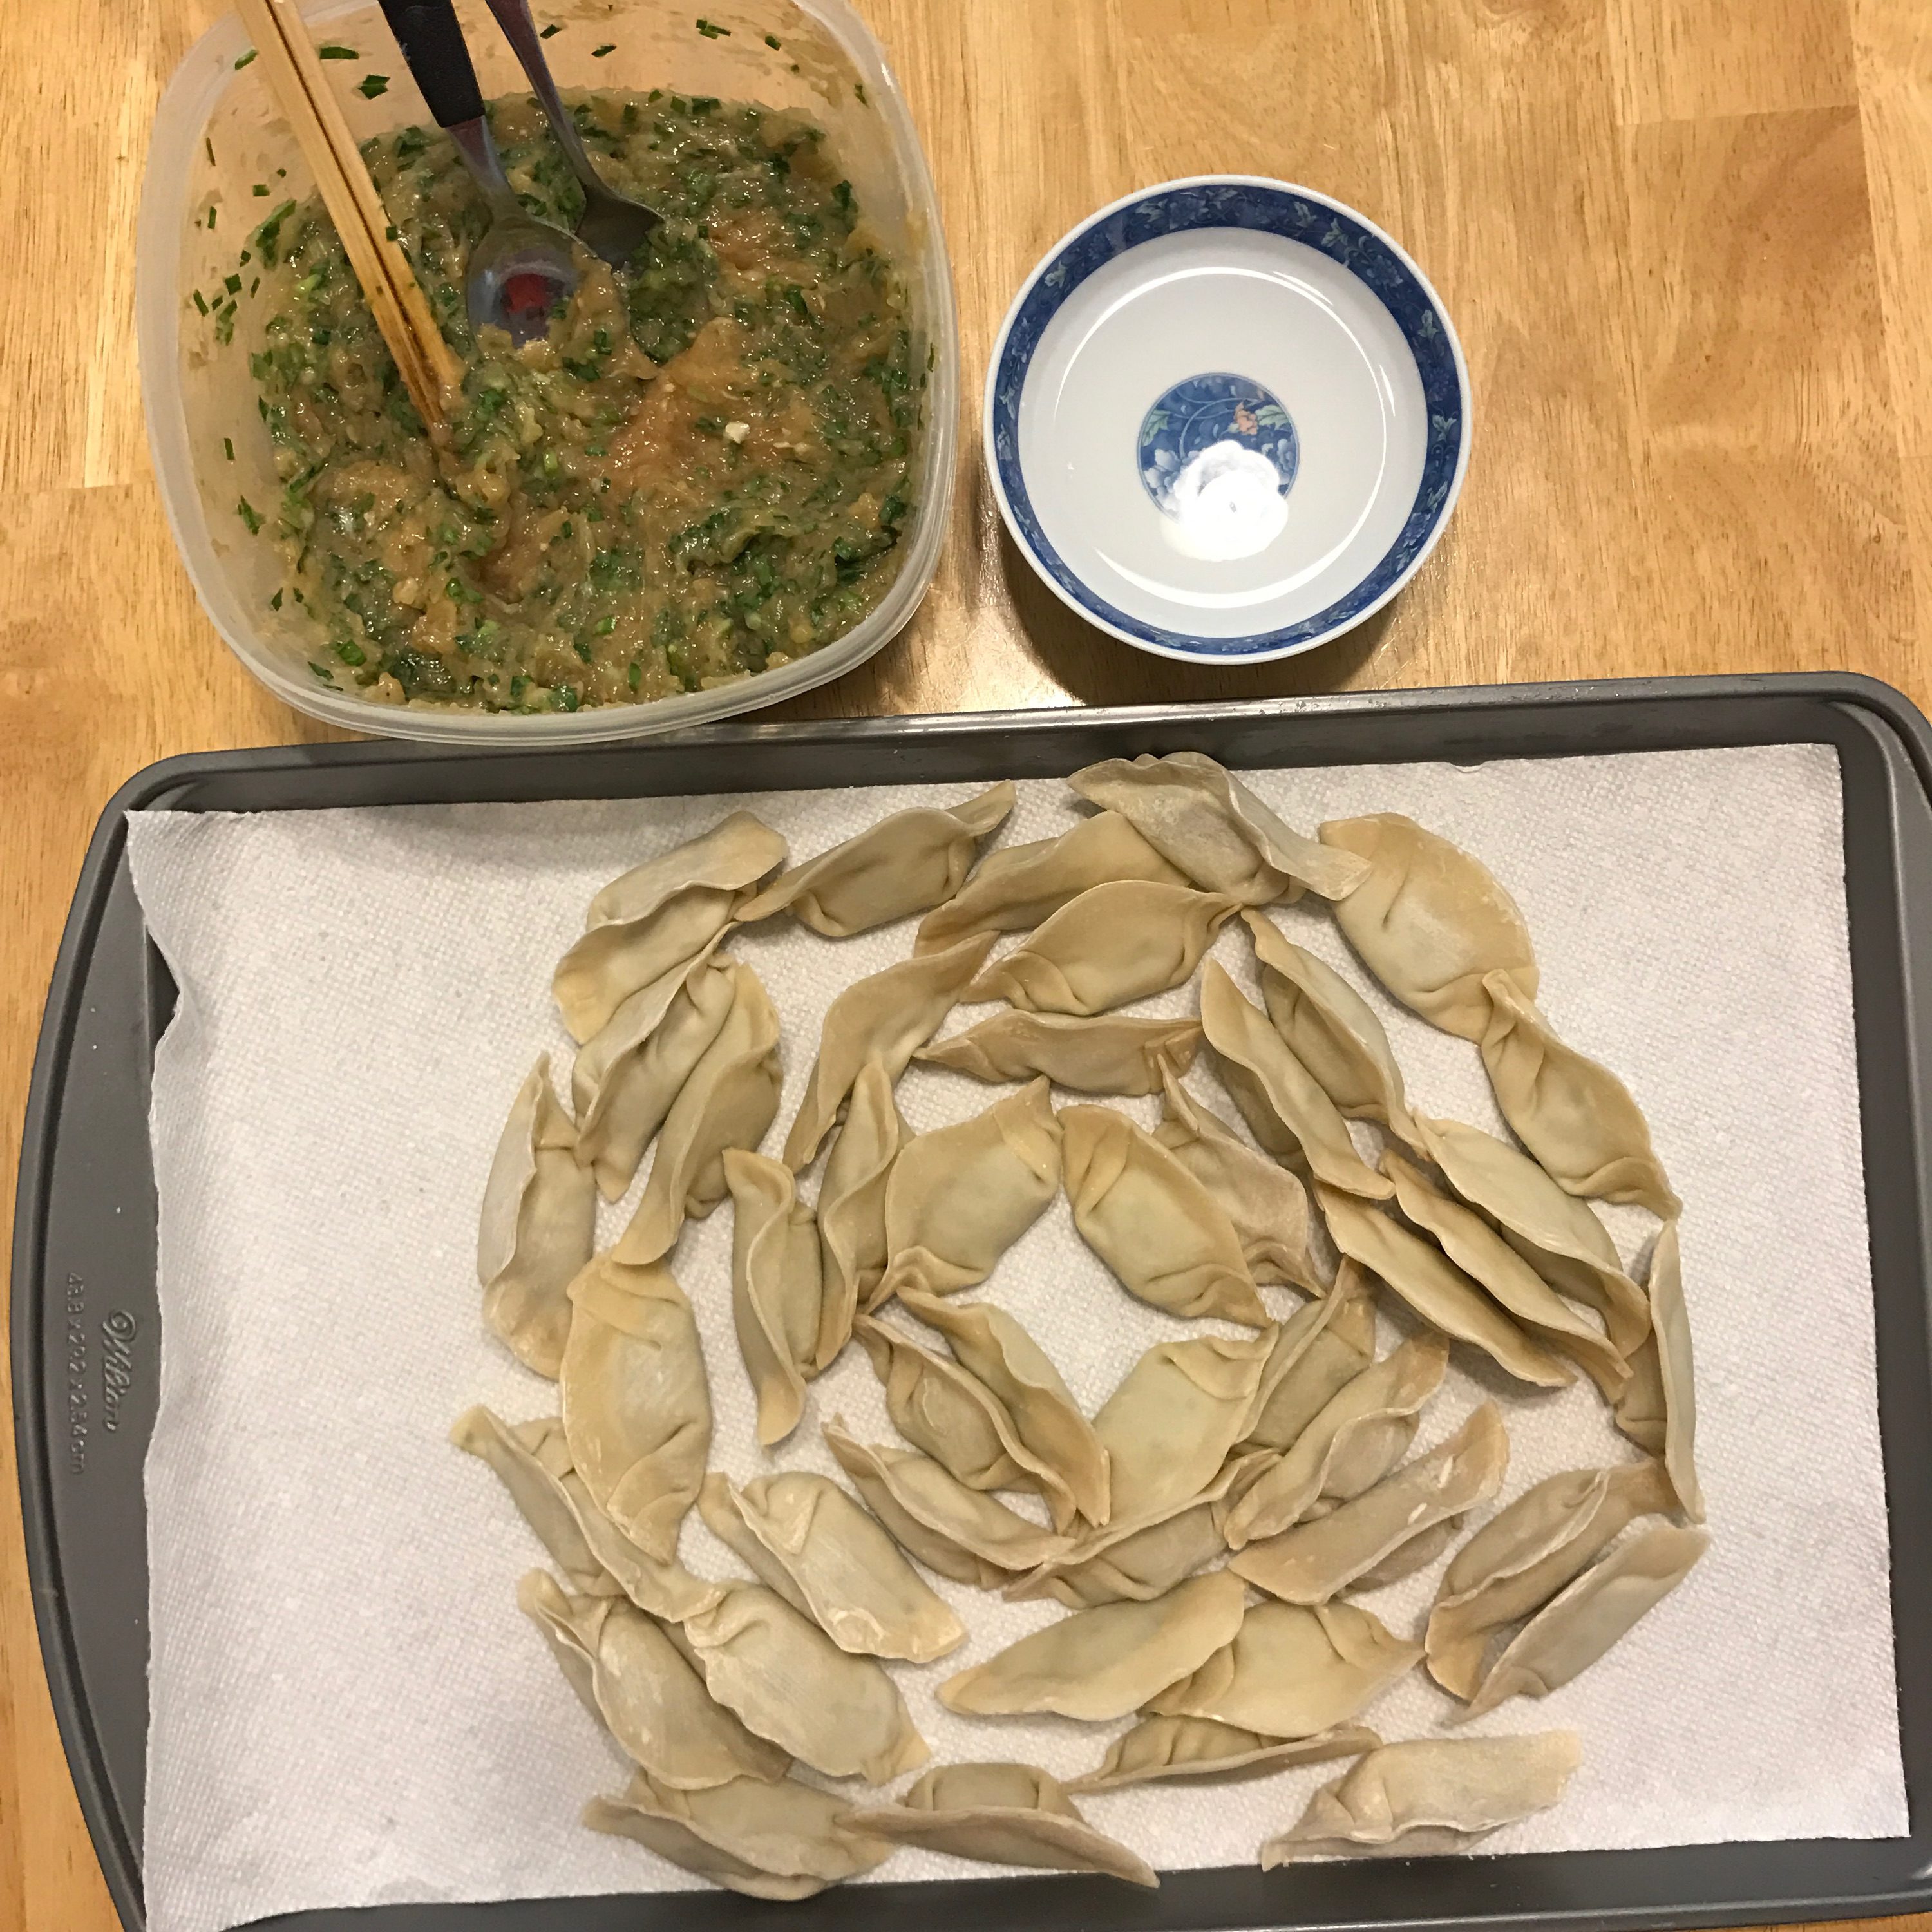
M: We weren’t very good at mastering that, as you can see in the pictures of our failed dumplings.
J: The most important thing isn’t the shape! As long as you seal it properly. You might need to use more water on the sides when you fold to make sure things won’t come loose. And don’t be afraid to press hard.
M: Yeah, I didn’t press hard enough on any of mine. And they all turned out…..like….water balloons.
J: Making dumplings is traditionally a social event! You’re just repeating the same action over and over again. It’s no fun without friends. You need someone to talk to.
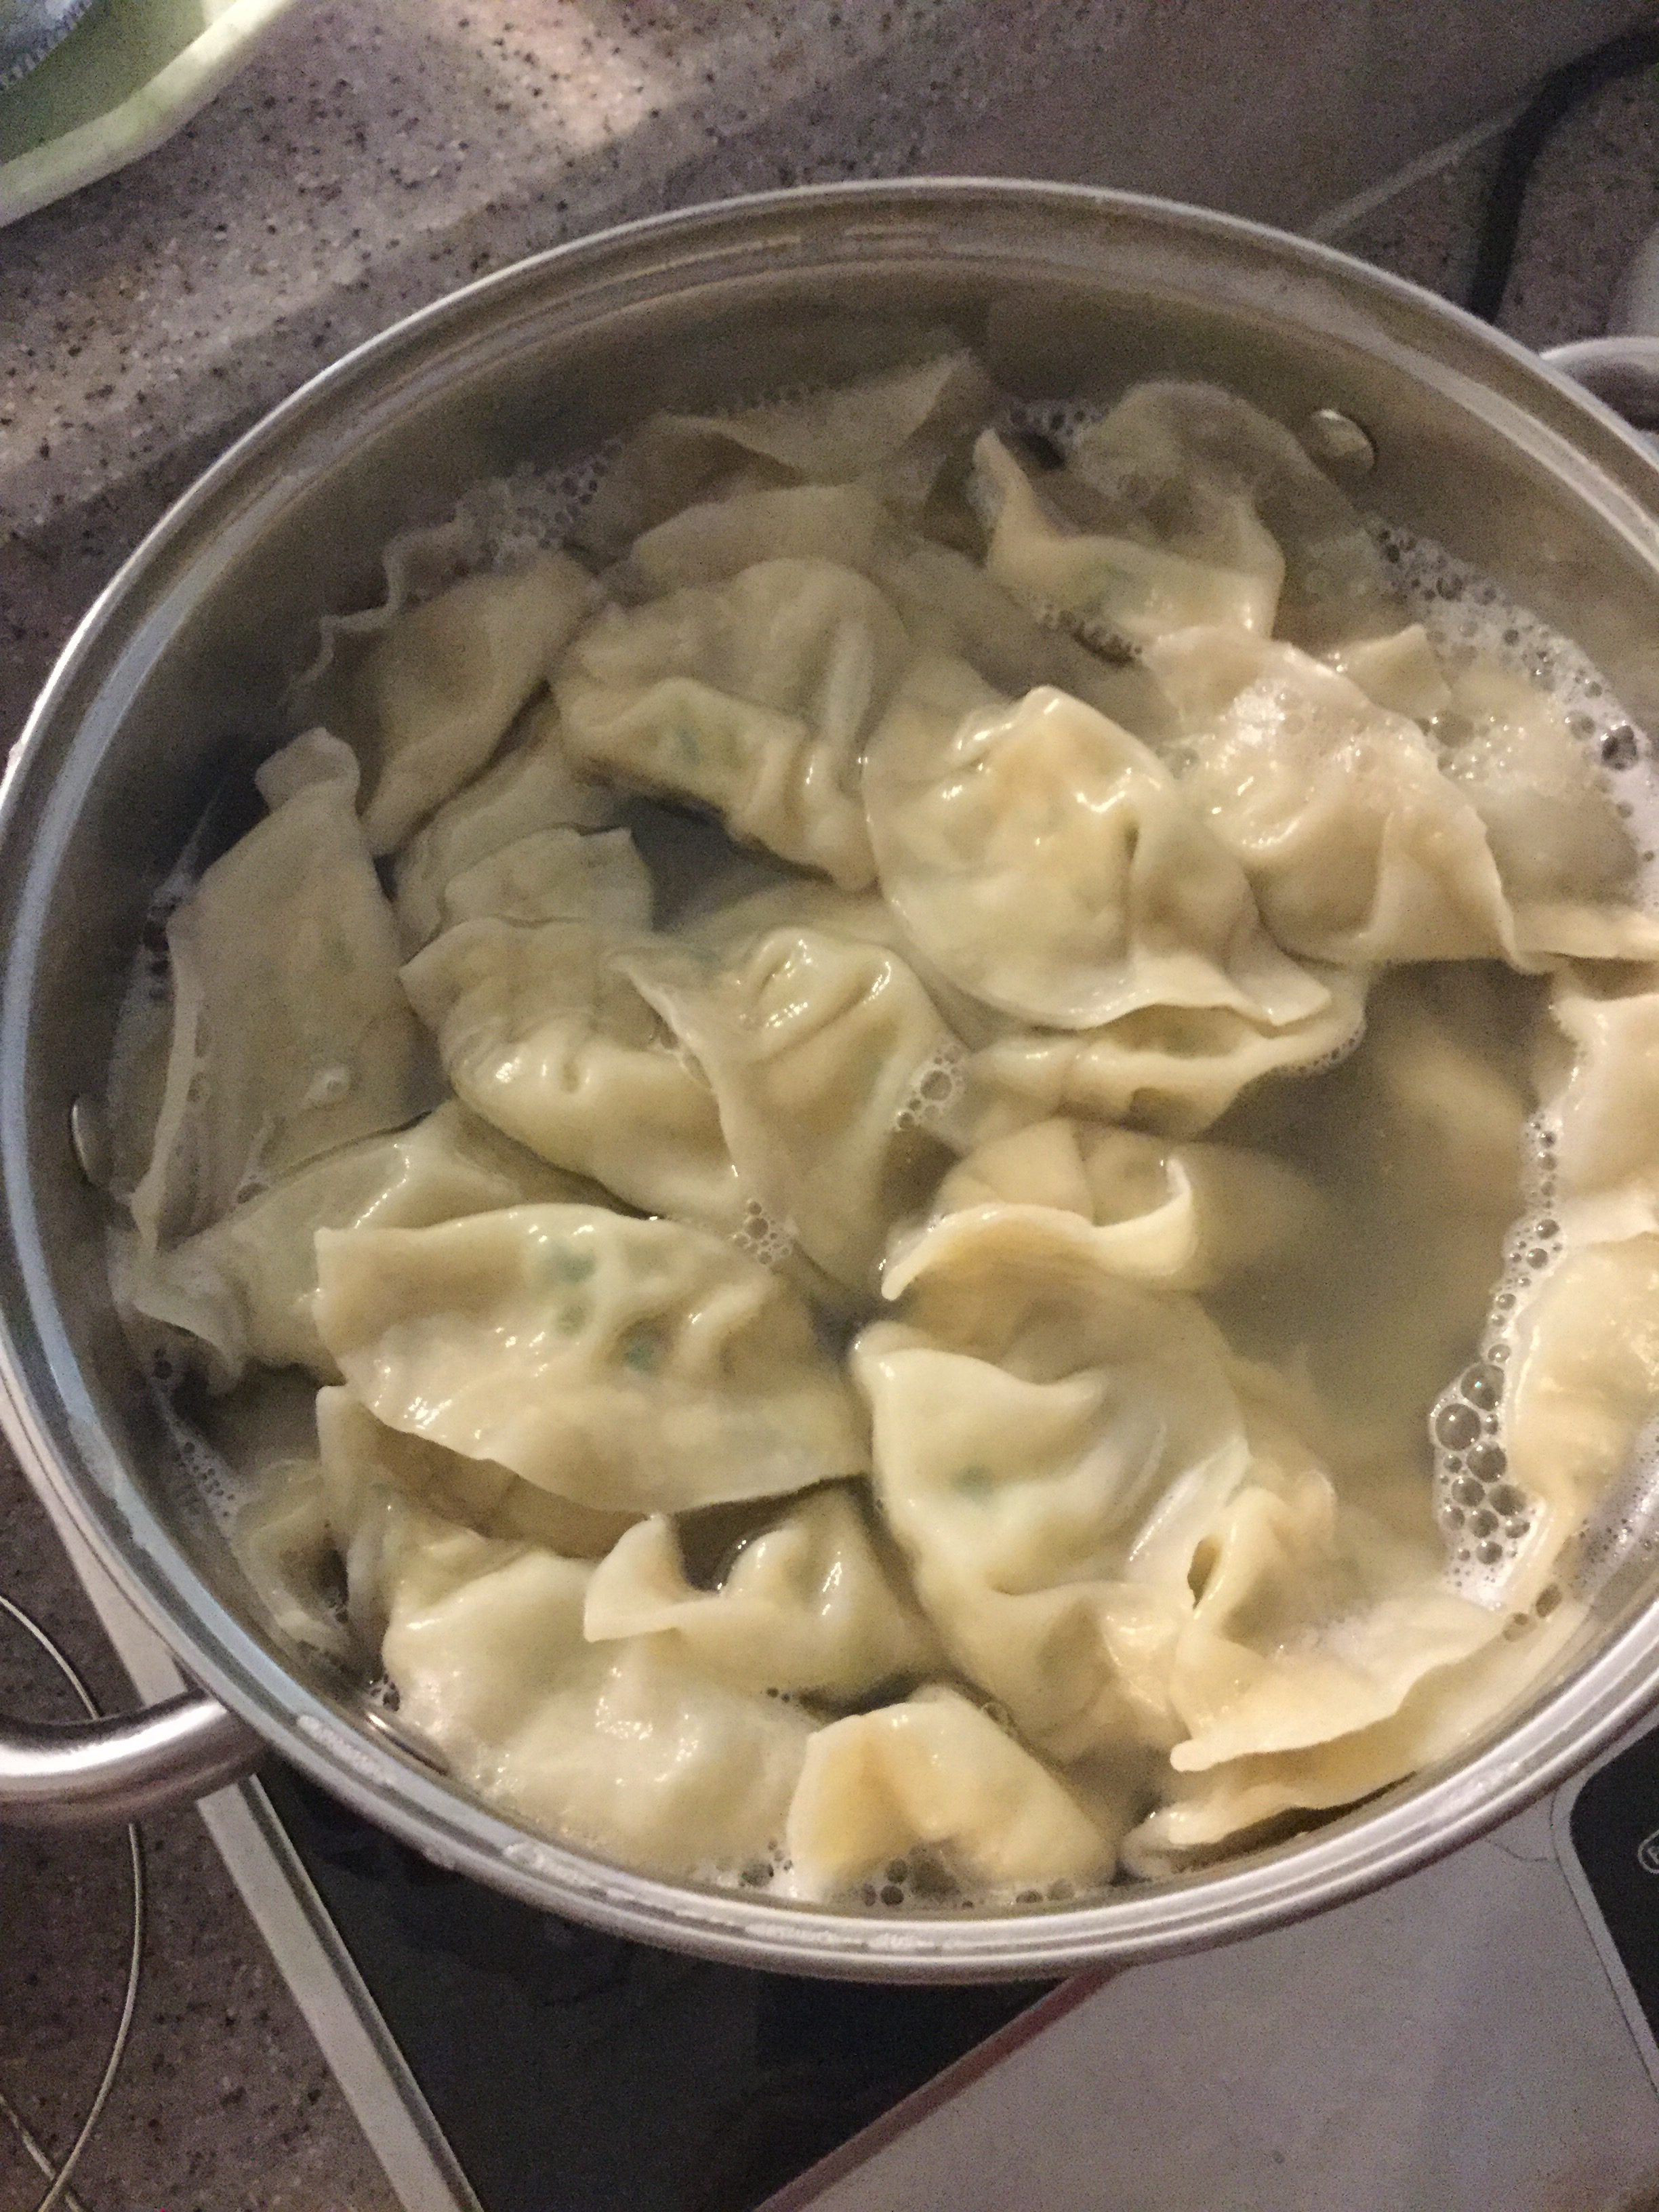
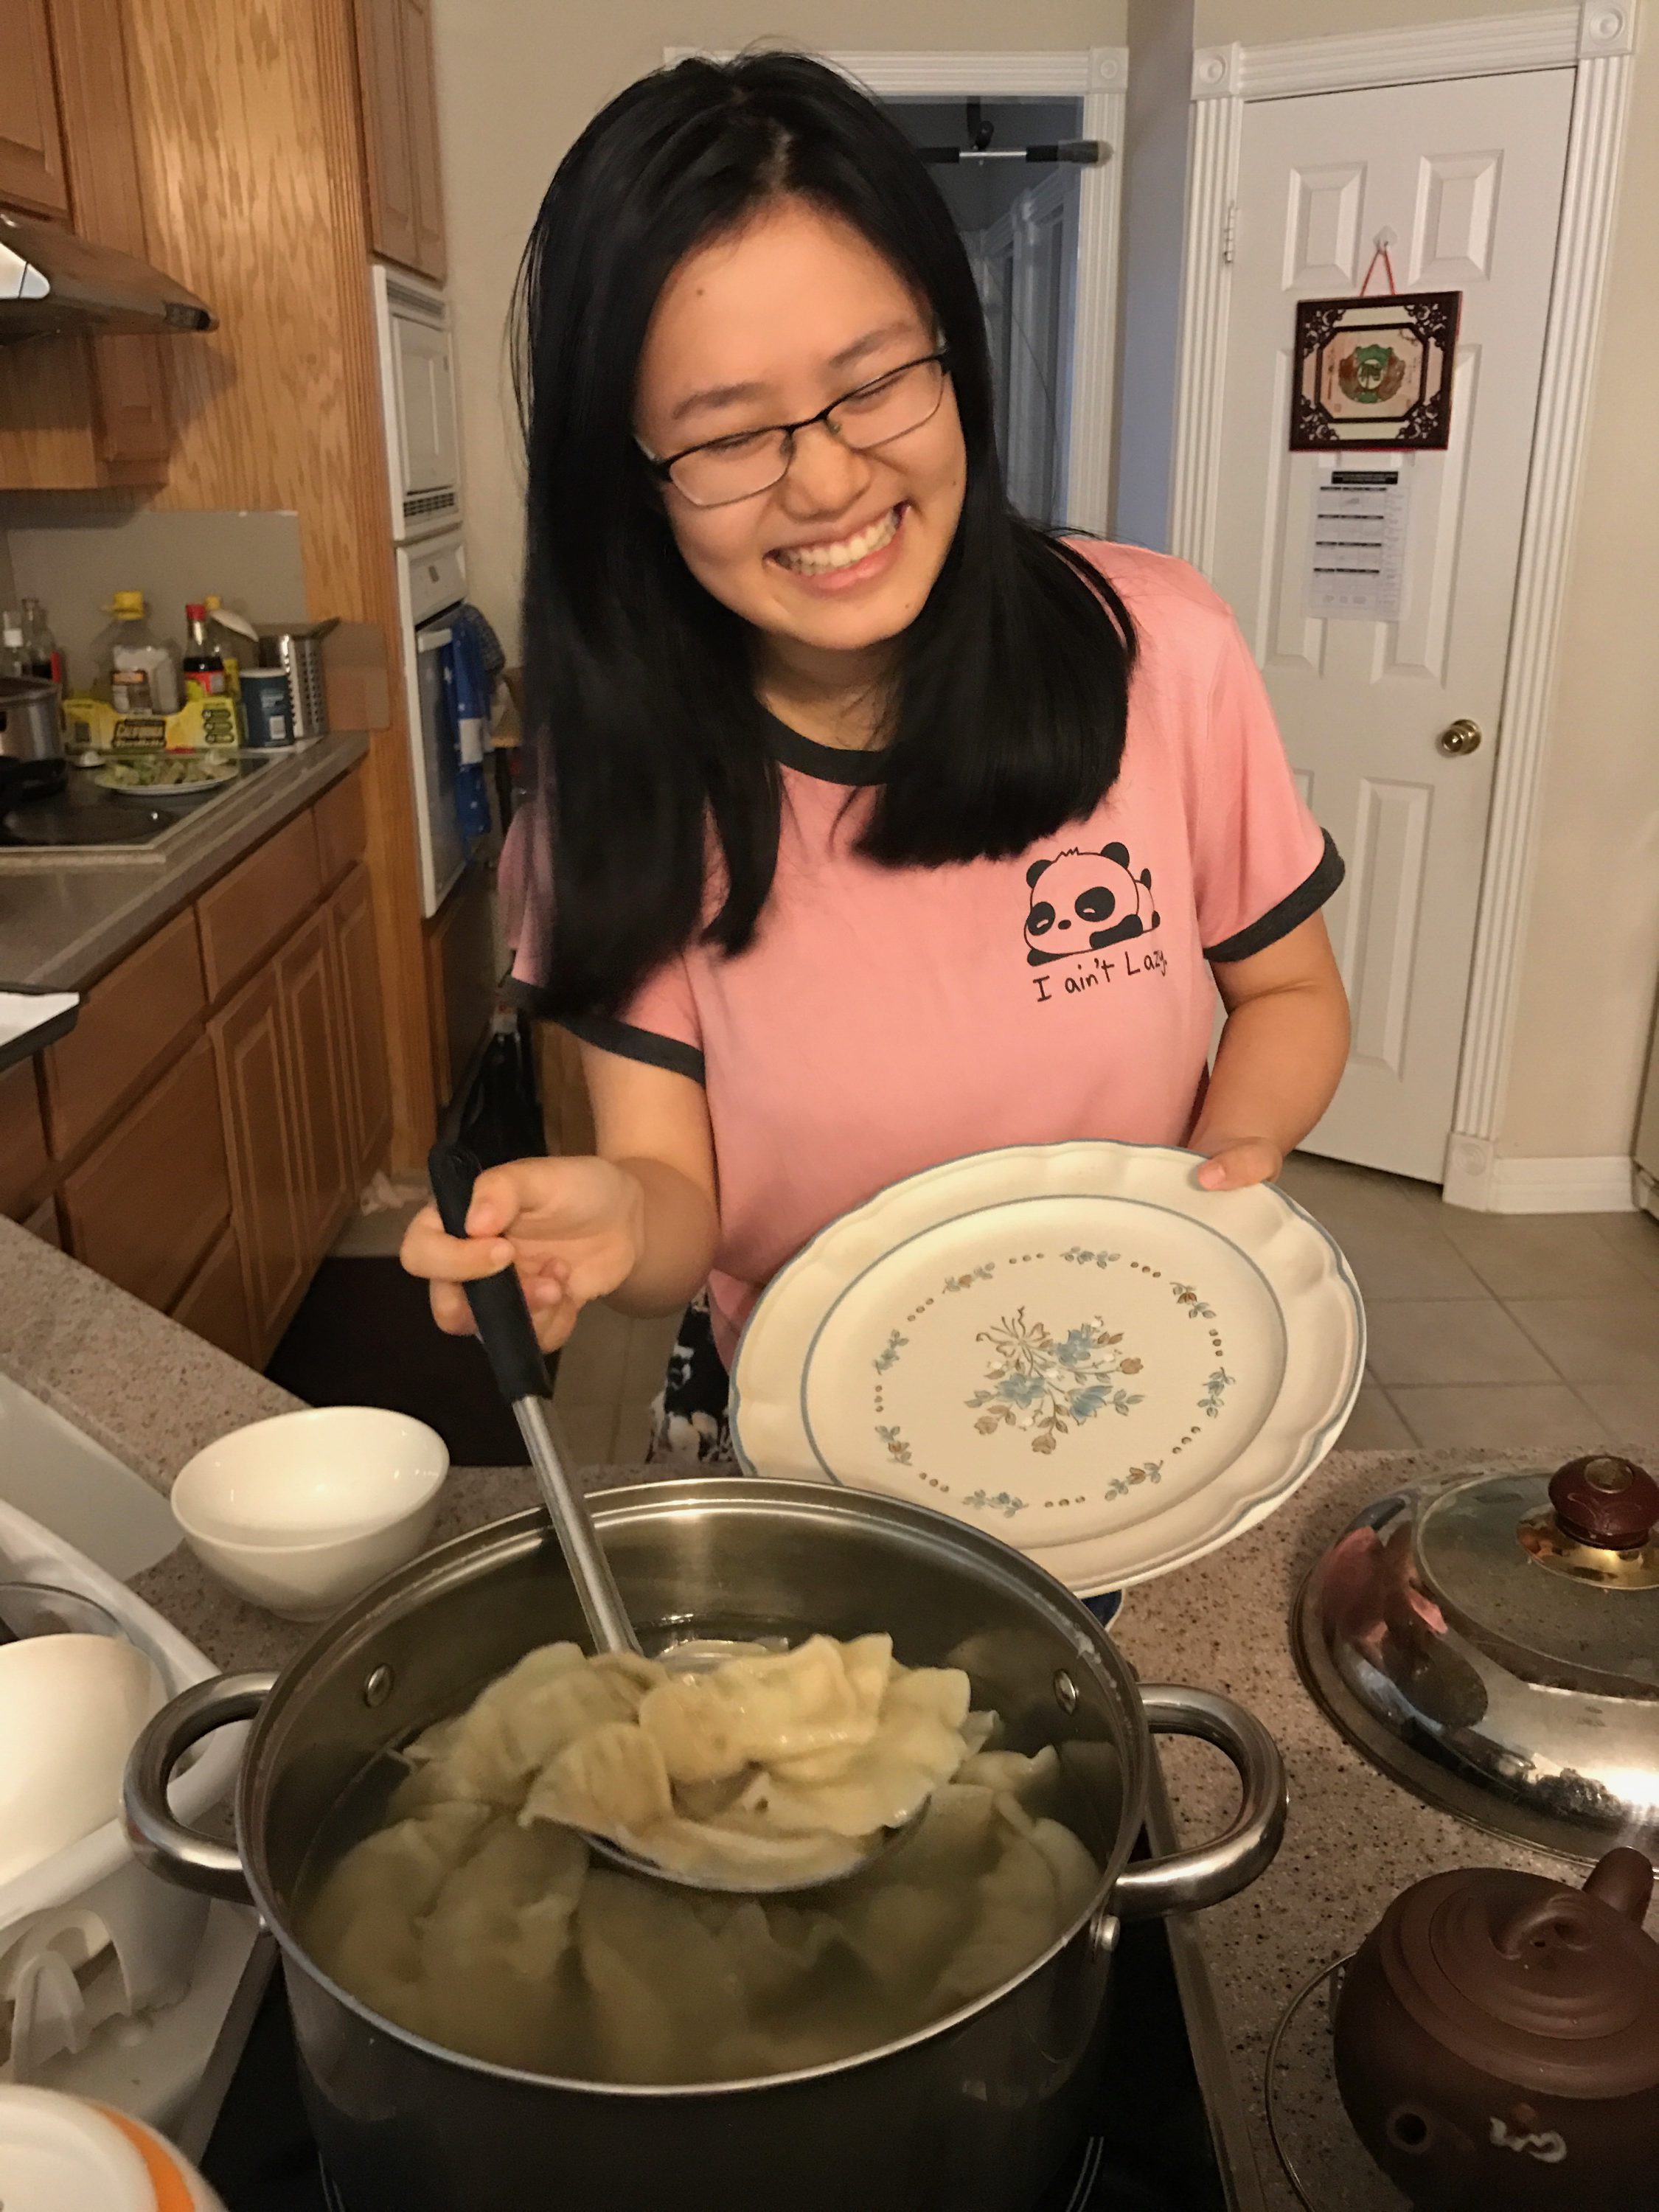
4. Fill a pot halfway with water and bring it to a boil. Put all the dumplings in.
M: As you’ve probably seen in our last post, Jennifer is really bad around heat/fire. So when you’re putting the dumplings in, remember that it is boiling water so bring the dumpling close to the water and quickly let it slip in. Do not throw it in or else the water will splash up and burn you. *cough Jennifer*
J: Okay, I’m just saying, it’s normal to get nervous around boiling water. But yeah. Be careful when you put them in.
5. Once the water comes to a boil again, bring the flame down to medium heat. Pour in 2 cups of cold water.
J: If the dumplings are boiling all the time on full heat, they’ll open up. At the same time they need to boil, so you know, they’re edible. So you’ve got to kind of play with the temperature a little bit.
M: We were very surprised at how fast it boiled after we added the cold cups of water. So make sure you keep an eye on it or else the dumpling will fall apart.
J: In hindsight, not paying attention to the pot is probably the reason that the dumplings turned out so soggy.
M: Once it boils again, repeat this step with another two cups of cold water, and then turn the heat off.
6. Use a strainer ladle to get the dumplings out of the pot without any water. Plate the dish and serve with soy sauce.
J: How much soy sauce you want is up to your own personal taste. But definitely don’t eat the dumplings without any. Soy sauce and dumplings are like ketchup and fries, salt and pepper, Maya and Jennifer…they’re supposed to be together.
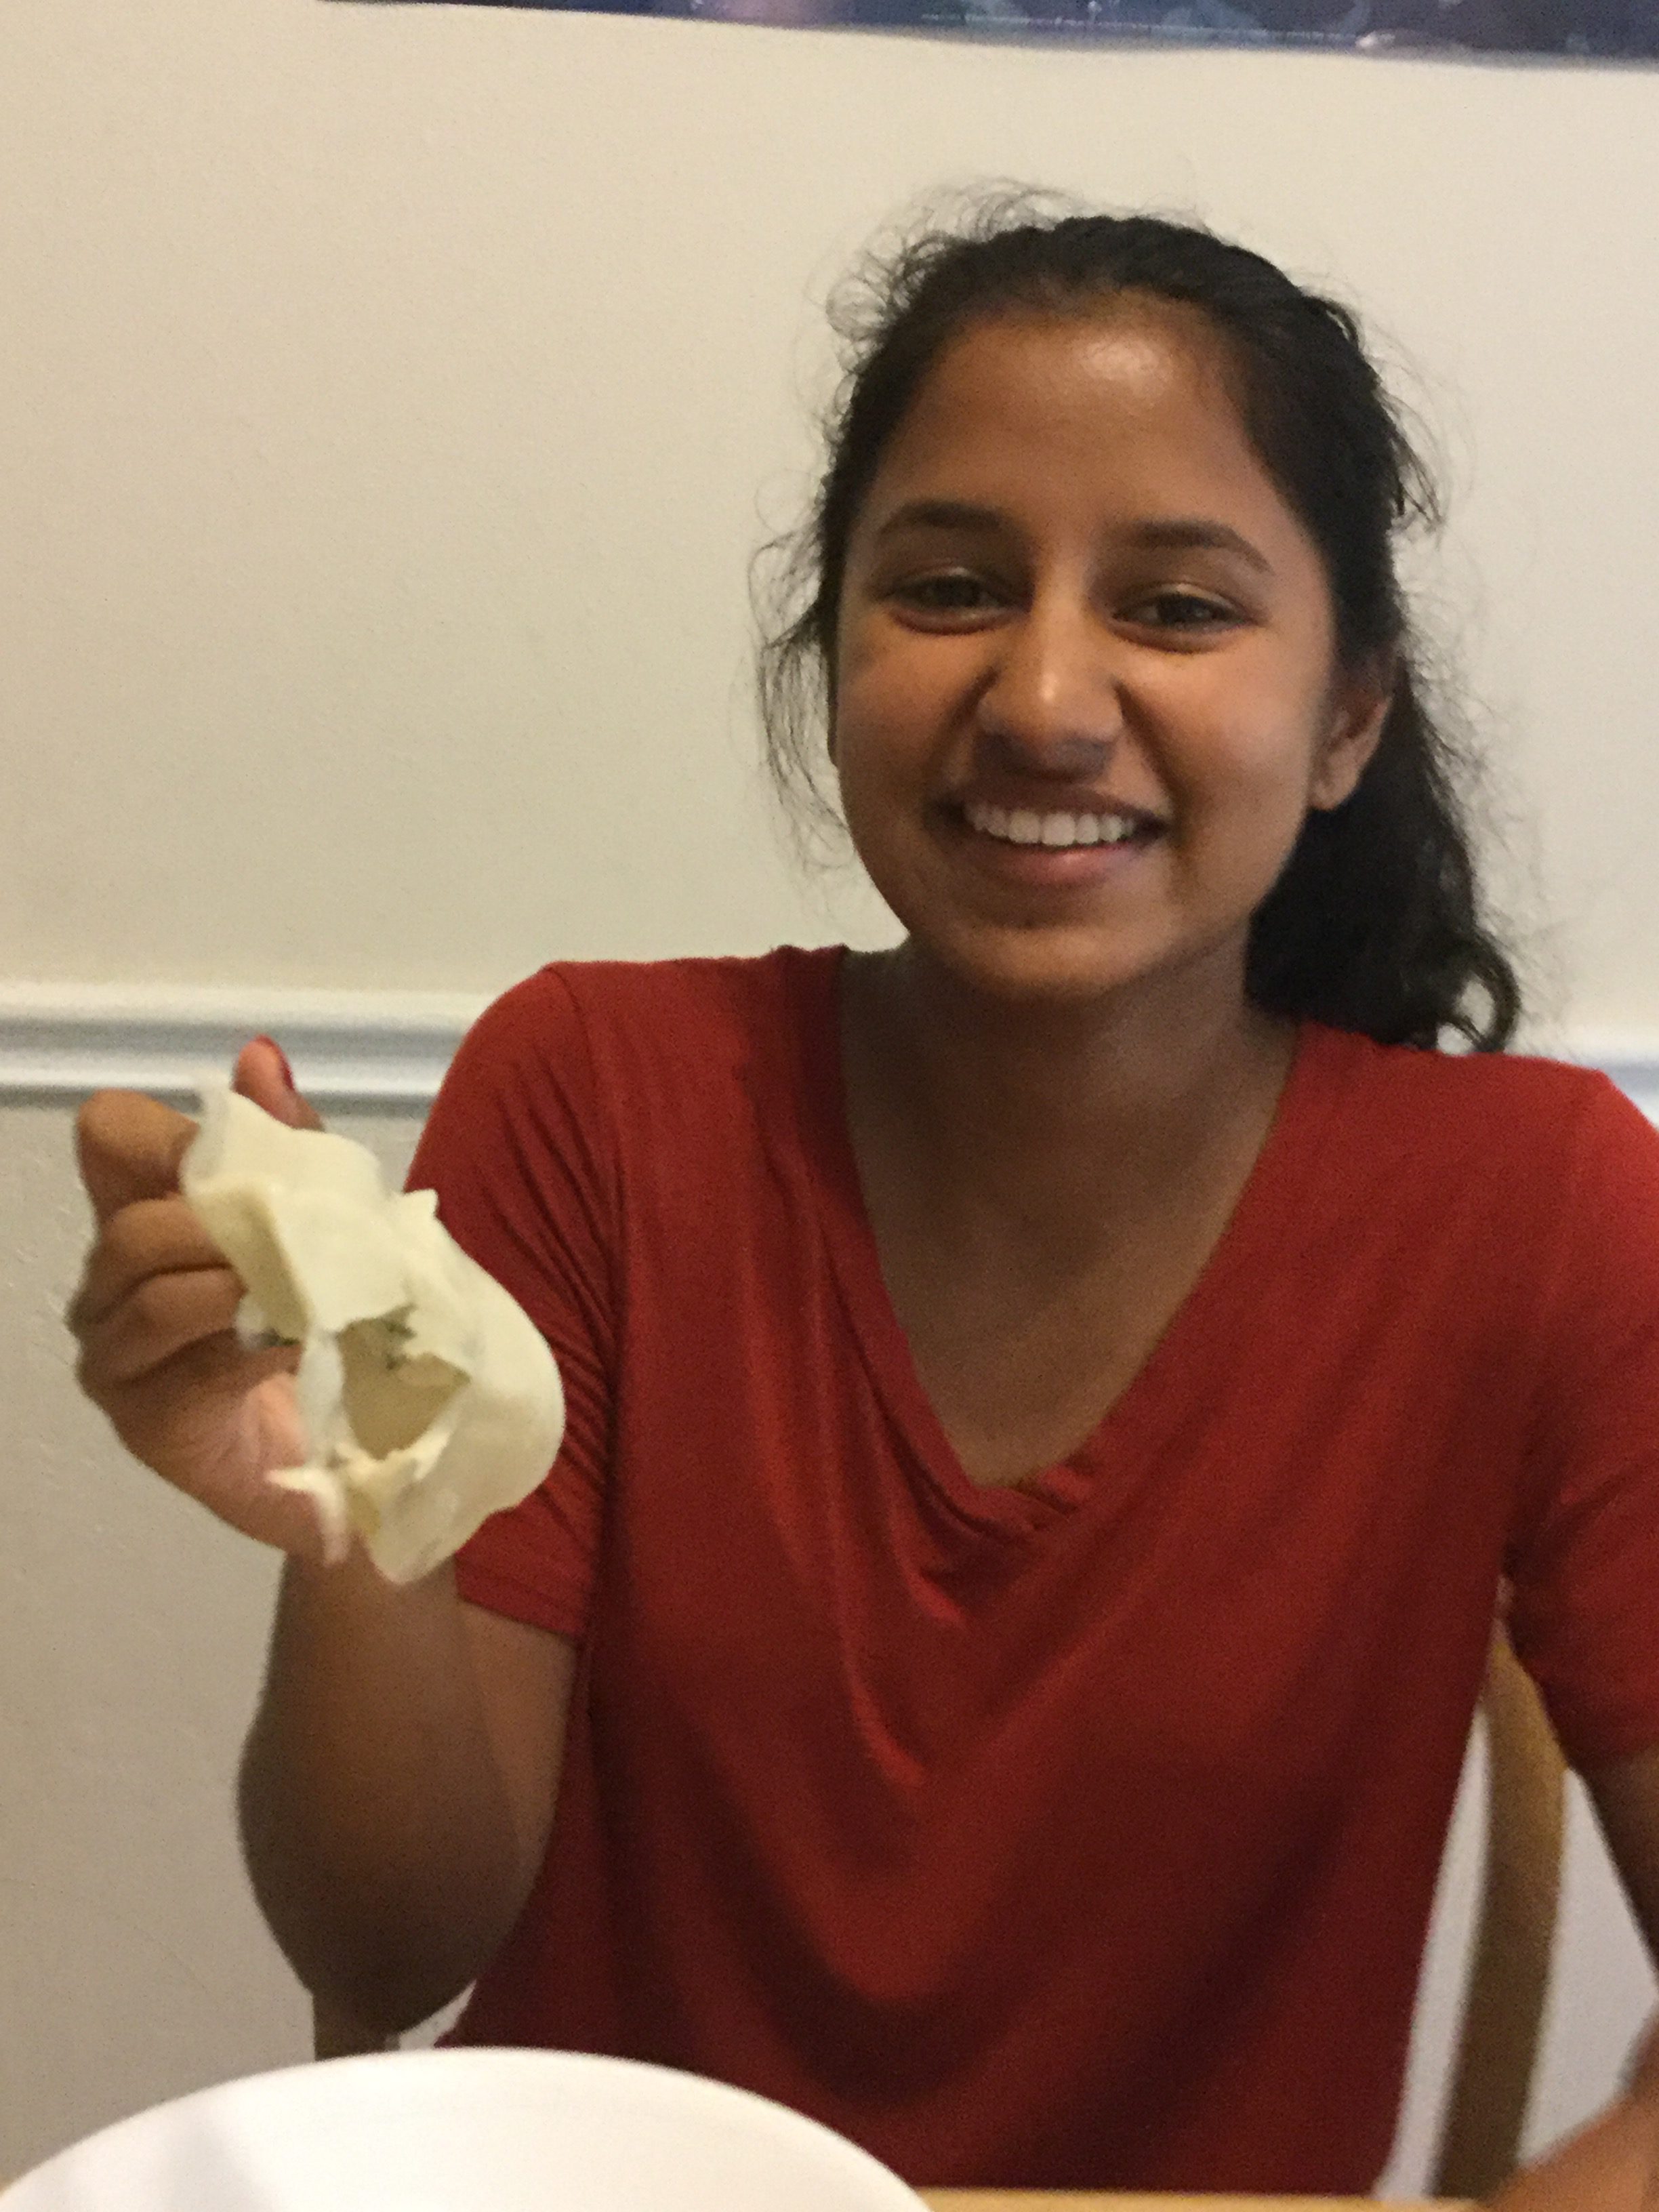
7. Enjoy!
J: Like I said, I’ve never tried chicken filling before. There’s more oil in pork so those dumplings taste a bit richer, but this option feels healthier. There’s still a lot of flavor and I’ll definitely have these again.
M: Even though half of them were broken, I was surprised that they still ended up tasting really delicious.
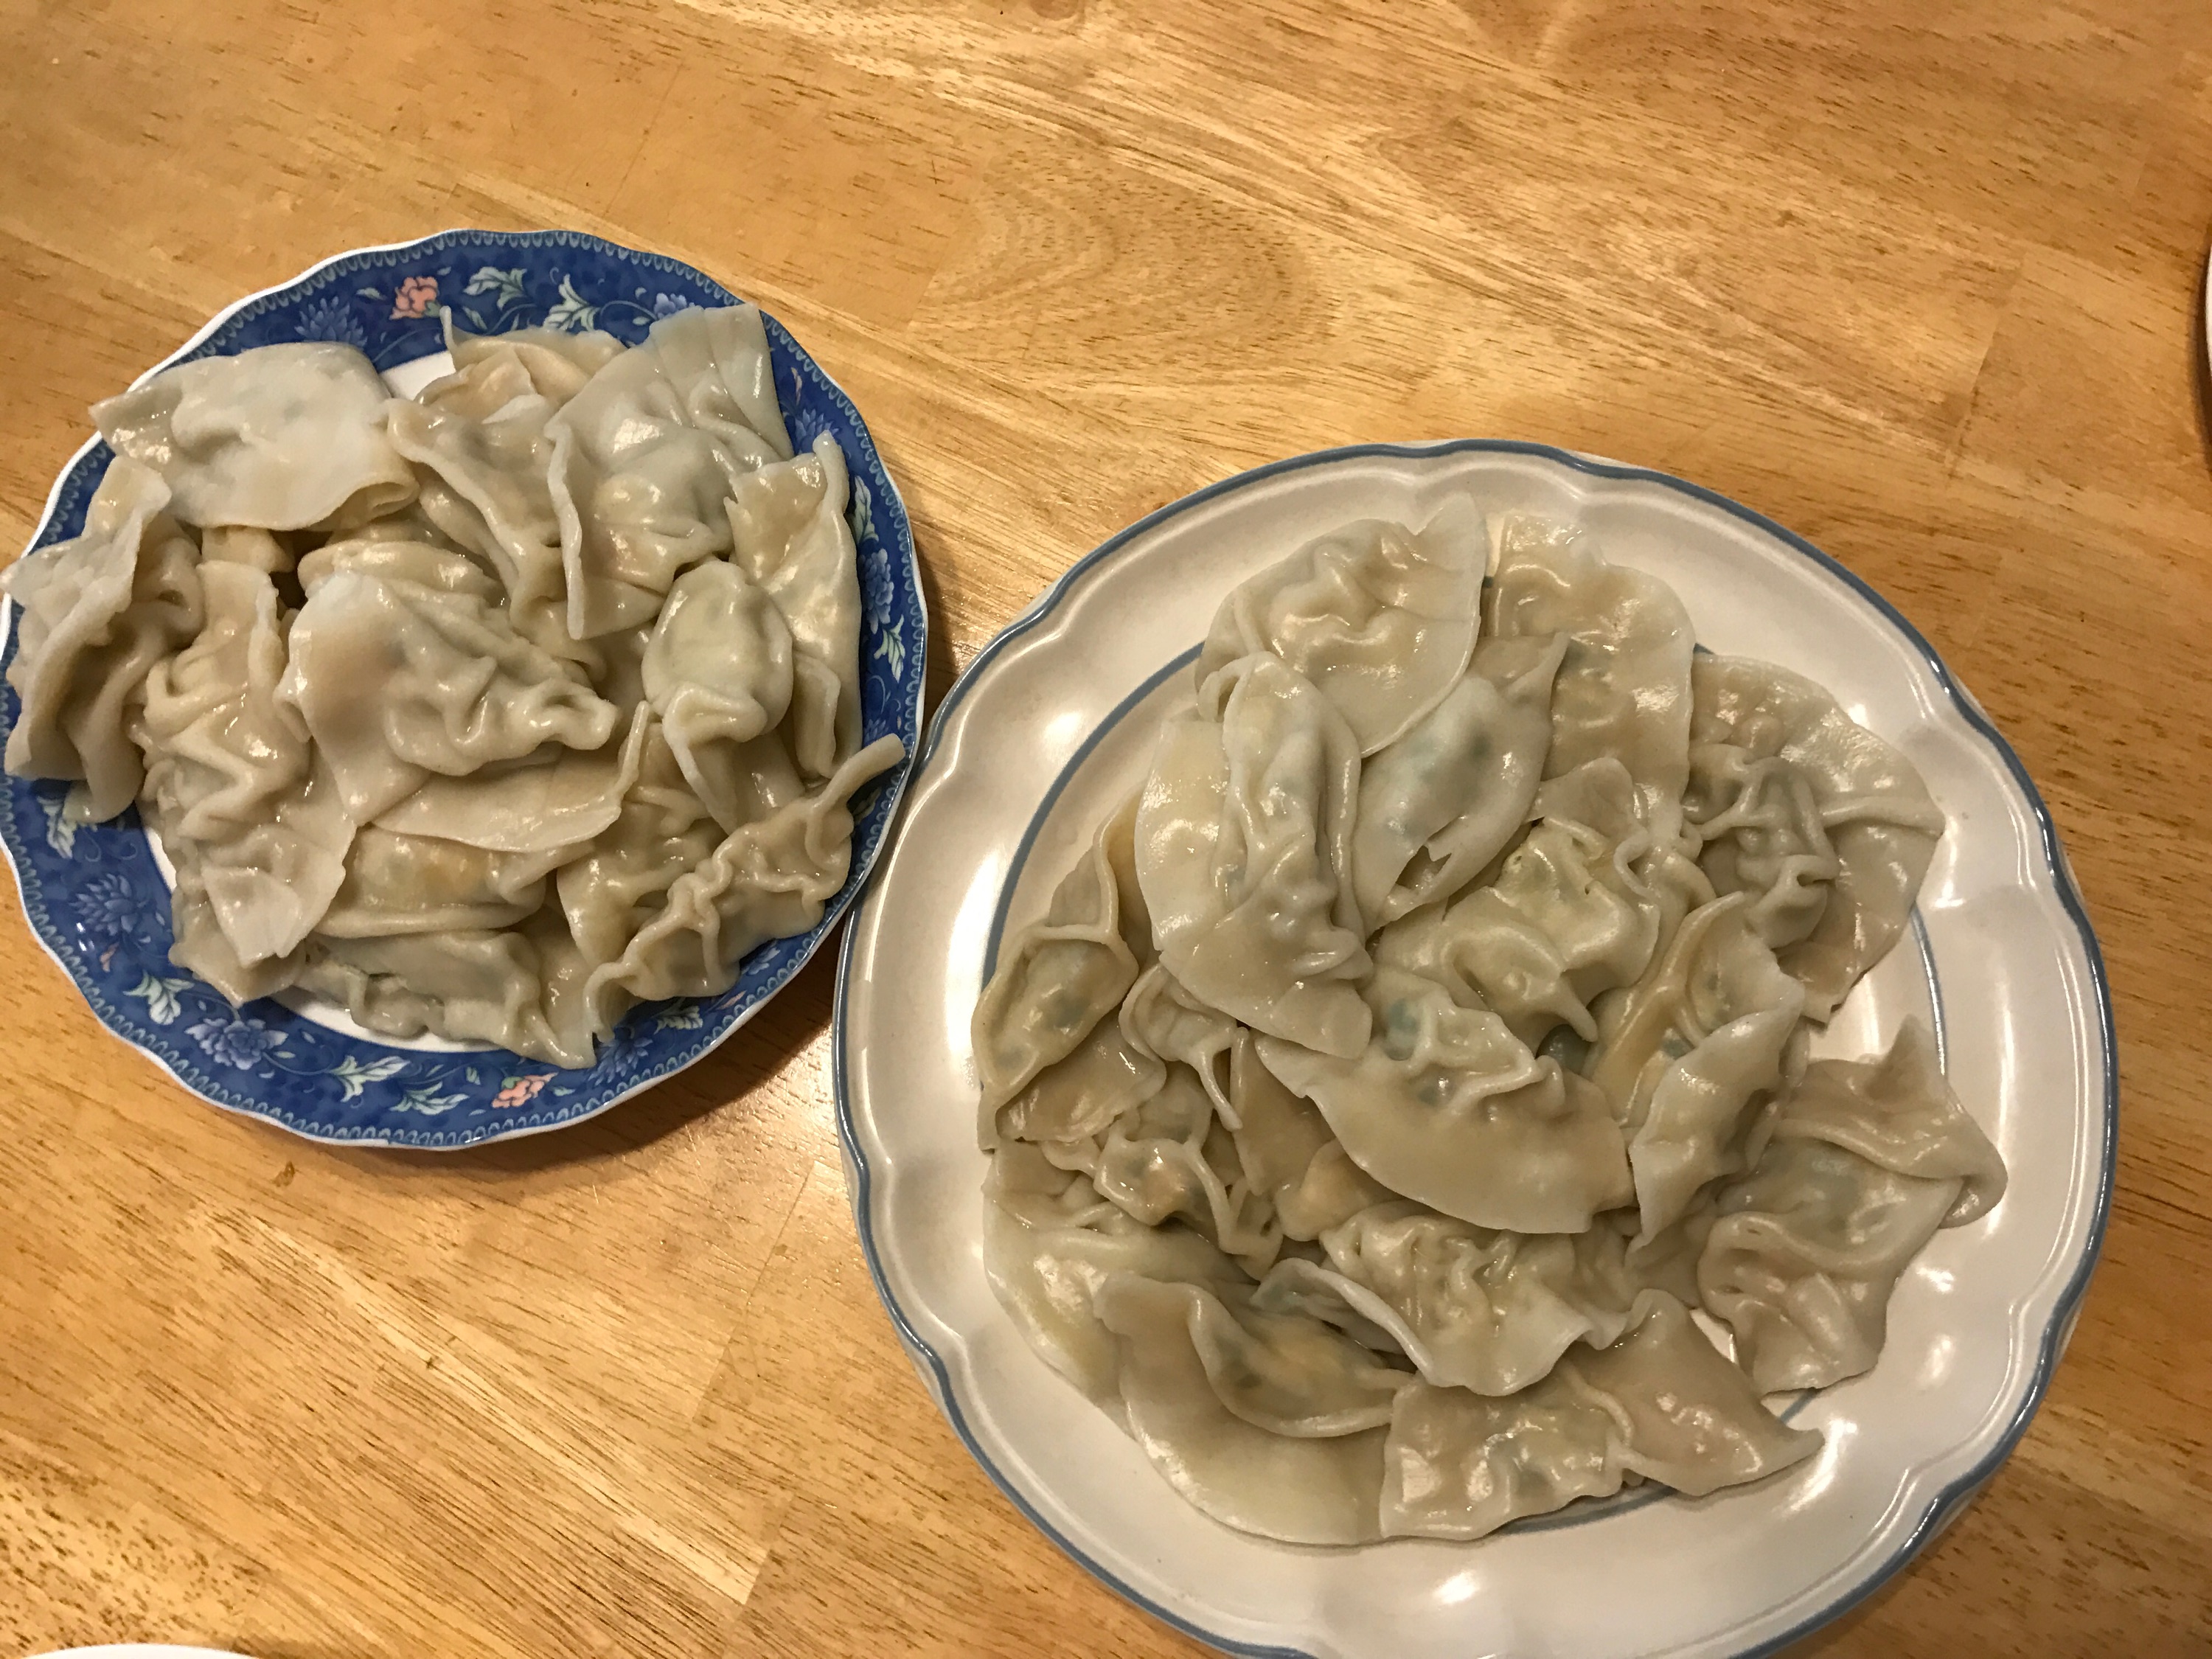
J: Hey, a sagging, floppy dumpling tastes the same once it’s in your mouth! I think if you’re super concerned about your dishes looking #aesthetic, you might not want to try making this. You’ll get frustrated.
M: Yeah, I got a lot of shade on Snapchat for my failure, but I didn’t really focus on the physical appeal. No matter how bad you are at wrapping- and we were bad- it’ll still taste good in the end because there’s not too many ingredients to mess it up.
J: It’s a fun dish to make with someone else, and it’s pretty simple. Give it a try!
Stay tuned for our next recipe!