
You might be surprised to know that even as a professional photographer, I often go on vacation without my big, professional camera. Depending on the situation I might pack my digital SLR, but there are times I like to rely on the very powerful camera at my fingertips – my smartphone. Carrying around another camera is often impractical and can weigh you down. If you find yourself wanting to just use your lightweight, convenient smartphone to take photos then read on.
In full disclosure, I am an iPhone user so most of my experience with smartphones comes from this perspective. Not surprisingly, though, after researching this article I learned that all of my favorite camera tips for iPhone apply to Android devices as well.
SHOOT PICTURES WITH LIVE PHOTO TURNED ON
How many times do you walk away from shooting a group photo and realize that Uncle Larry had his eyes shut again? Fortunately, iPhones have a great feature that allows you to shoot a mini hi-res video around the photo you shoot. You’re then able to edit and choose another frame where Uncle Larry has his eyes open.
How it works:
• iPhone: Make sure Live Photo is turned on in camera mode before you take a photo. It is the middle option at the top of the screen. When you are viewing the picture, click Edit. You’ll see a smart slider showing multiple hi-res shots. Click on the one that you like best and select Make Key Photo.
• To activate on an Android: Open your camera app, tap the gear icon. Then, scroll down and make sure "Motion photo" is enabled.

This was captured on a hike in the Smoky Mountains.

Using Live Photo use the Smart Slider in edit mode select the frame you like best and select Make Key Photo
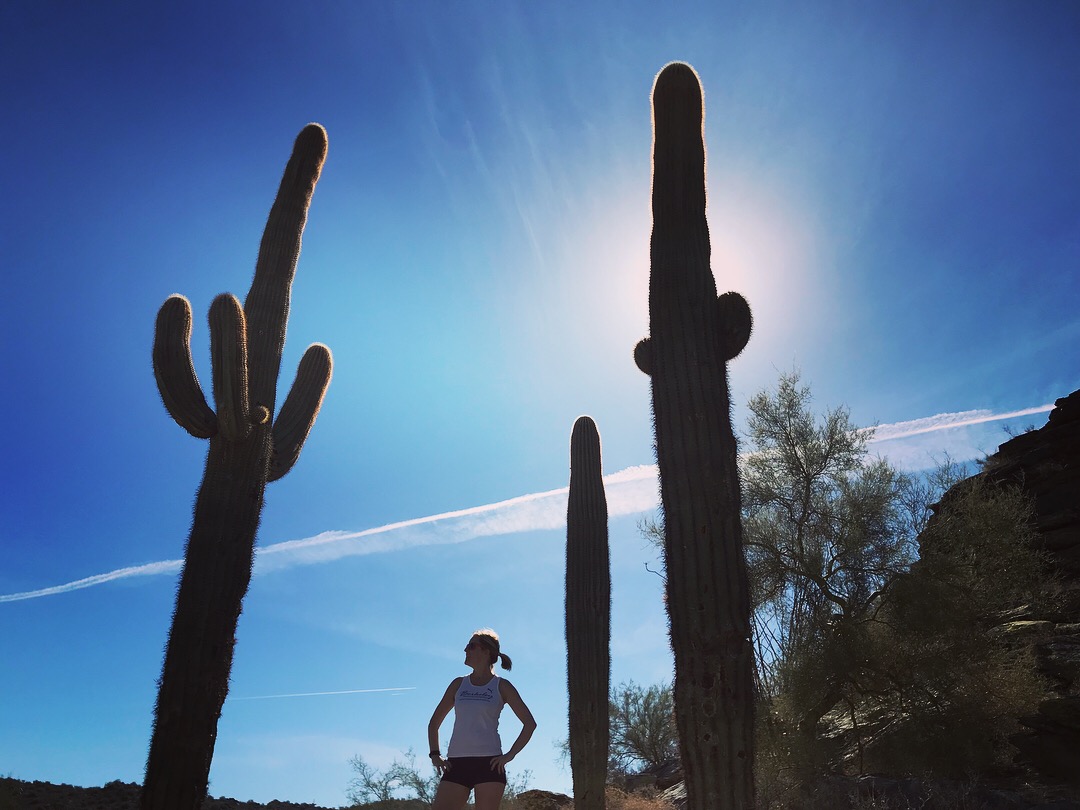
2. USE THE SUN AT YOUR BACK
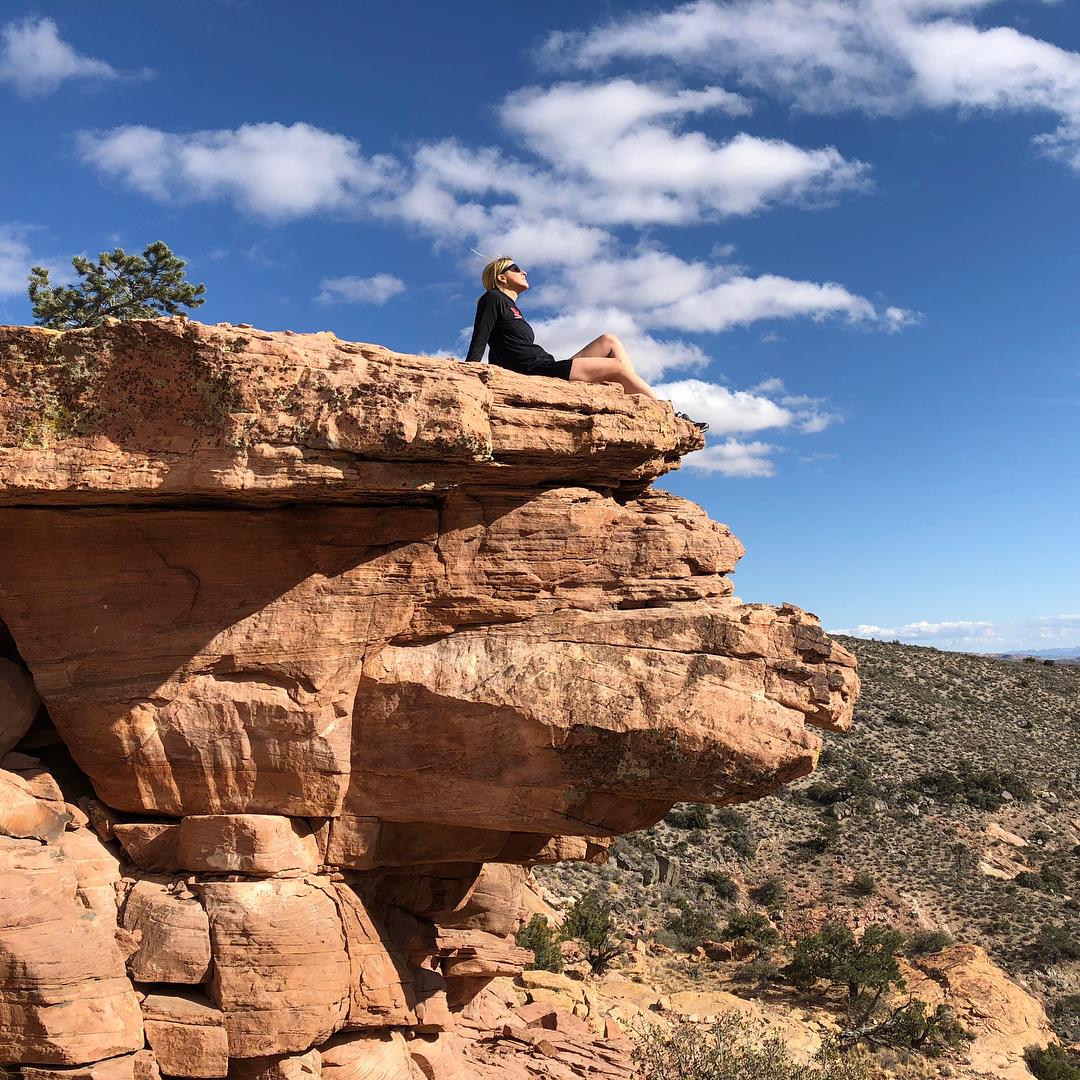
When the sun is a factor, you will create more beautiful images with the sun at your back and the scene all lit up. When you shoot with the sun in your face, you will tend to get washed out photos. However, if you “hide” the sun behind something, you can create some interesting silhouettes, especially if your goal is to create more artistic photos. Here are shots illustrating a bright blue sky a silhouette.

Mountain bike trip to Sedona, AZ

Hide the sun on a bright day and create silhouettes. Sedona, AZ
3. TOUCH THE SCREEN BEFORE YOU TAKE THE PICTURE
While smartphones are amazingly intuitive, they can’t read your mind. The camera will try adjusting a scene and can cause frustrating results that are out of focus and over- or under-exposed. These tips will help you get the image you originally had in mind.
Better Focus: Sometimes you want to have something in the foreground in sharp focus and the background a little blurred. Just touch the part of the screen you want in sharp focus before taking the picture.
Better Exposure: It can be a challenge to get a beautiful sunset photo when your phone keeps trying to adjust for the bright sky or dark foreground. When you touch the screen in a particular area it locks the exposure in before you take the photo. Touch the screen in multiple places until you get the ideal exposure for your photo.
(SAMPLE PHOTO- Sunset on Lake Mendota in Madison, WI and SAMPLE PHOTO-Sunset in Malaga, Spain)
Use Pro Features: The Samsung I tested for this article had a built in “Pro Mode” that allows you to control all the features of the camera. For advanced users this can create amazing results.You can control shutter speed, ISO, aperture, white balance, etc. For iPhone you may want to download an app. I like Camera+2, which can be a game changer when you want to get more creative than the phone’s camera will allow. Note that Apple has a fixed aperture so there are no controls for it.

Sunset on Lake Mendota in Madison, WI

Sunset in at the harbor in Malaga, Spain. Hide the Sun and touch the screen to lock in what you want the exposure to be.
4. EDIT YOUR PHOTOS
Select the photo you want to edit and click on Edit. There are three icons below the photo. I will go through them briefly, and the tips apply to both iPhones and Androids. The menus are slightly different and perhaps more intuitive on a Samsung interface.
The first edit option straightens the horizon. You can also crop the image here.
The second edit option is a series of pre-set filters. You can click on the different frames until you find the one that you like and hit save.
Sometimes the pre-set filters aren’t enough. When I edit photos I try to make the image seem as natural as possible. I rarely add funky colors or strange filters. Fixing photos are more about color and lighting. I rarely like to use filters that make a photo look unreal, unless it is the only way to save a picture that is important to me. Remember, you can adjust light, color and black-and-white settings which can make your photos more bright, vibrant and artistic. Here are the ones that I recommend and use the most. The most important rule is to not overdo it with the smart sliders and templates.
Light
Exposure:
Smart Phones have pretty amazing technology and create images that are great often as is. But sometimes they turn out brighter or darker than expected. This smart slider can really help.Shadows:
In a similar way adding a little brightness to the shadows can help a photo but don’t get too carried away or your image will look pixelated.Contrast:
I sometimes like to add some contrast after applying other edits.
Color
Cast:
Occasionally a photo will look too blue or too yellow. This Smart Slider will help make the white balance look more natural. But keep in mind that you don’t have to move it much to make a big difference.
5. DON’T BULLSEYE YOUR PHOTOS
When you are shooting a scene, your primary subject or point of interest should be in one of the corners of the frame to make it more visually appealing. Notice the grid that helps you frame the shot. When shooting scenes, the horizon should be on the top third or bottom third of the image.
On the other hand, when you have a group of people in a photo it makes sense to center them but still pay attention to the horizon. You don’t want the horizon to be centered if you can avoid it. It should be at the top third of the scene or the bottom third. Also, try not to have the horizon split through subjects’ heads.
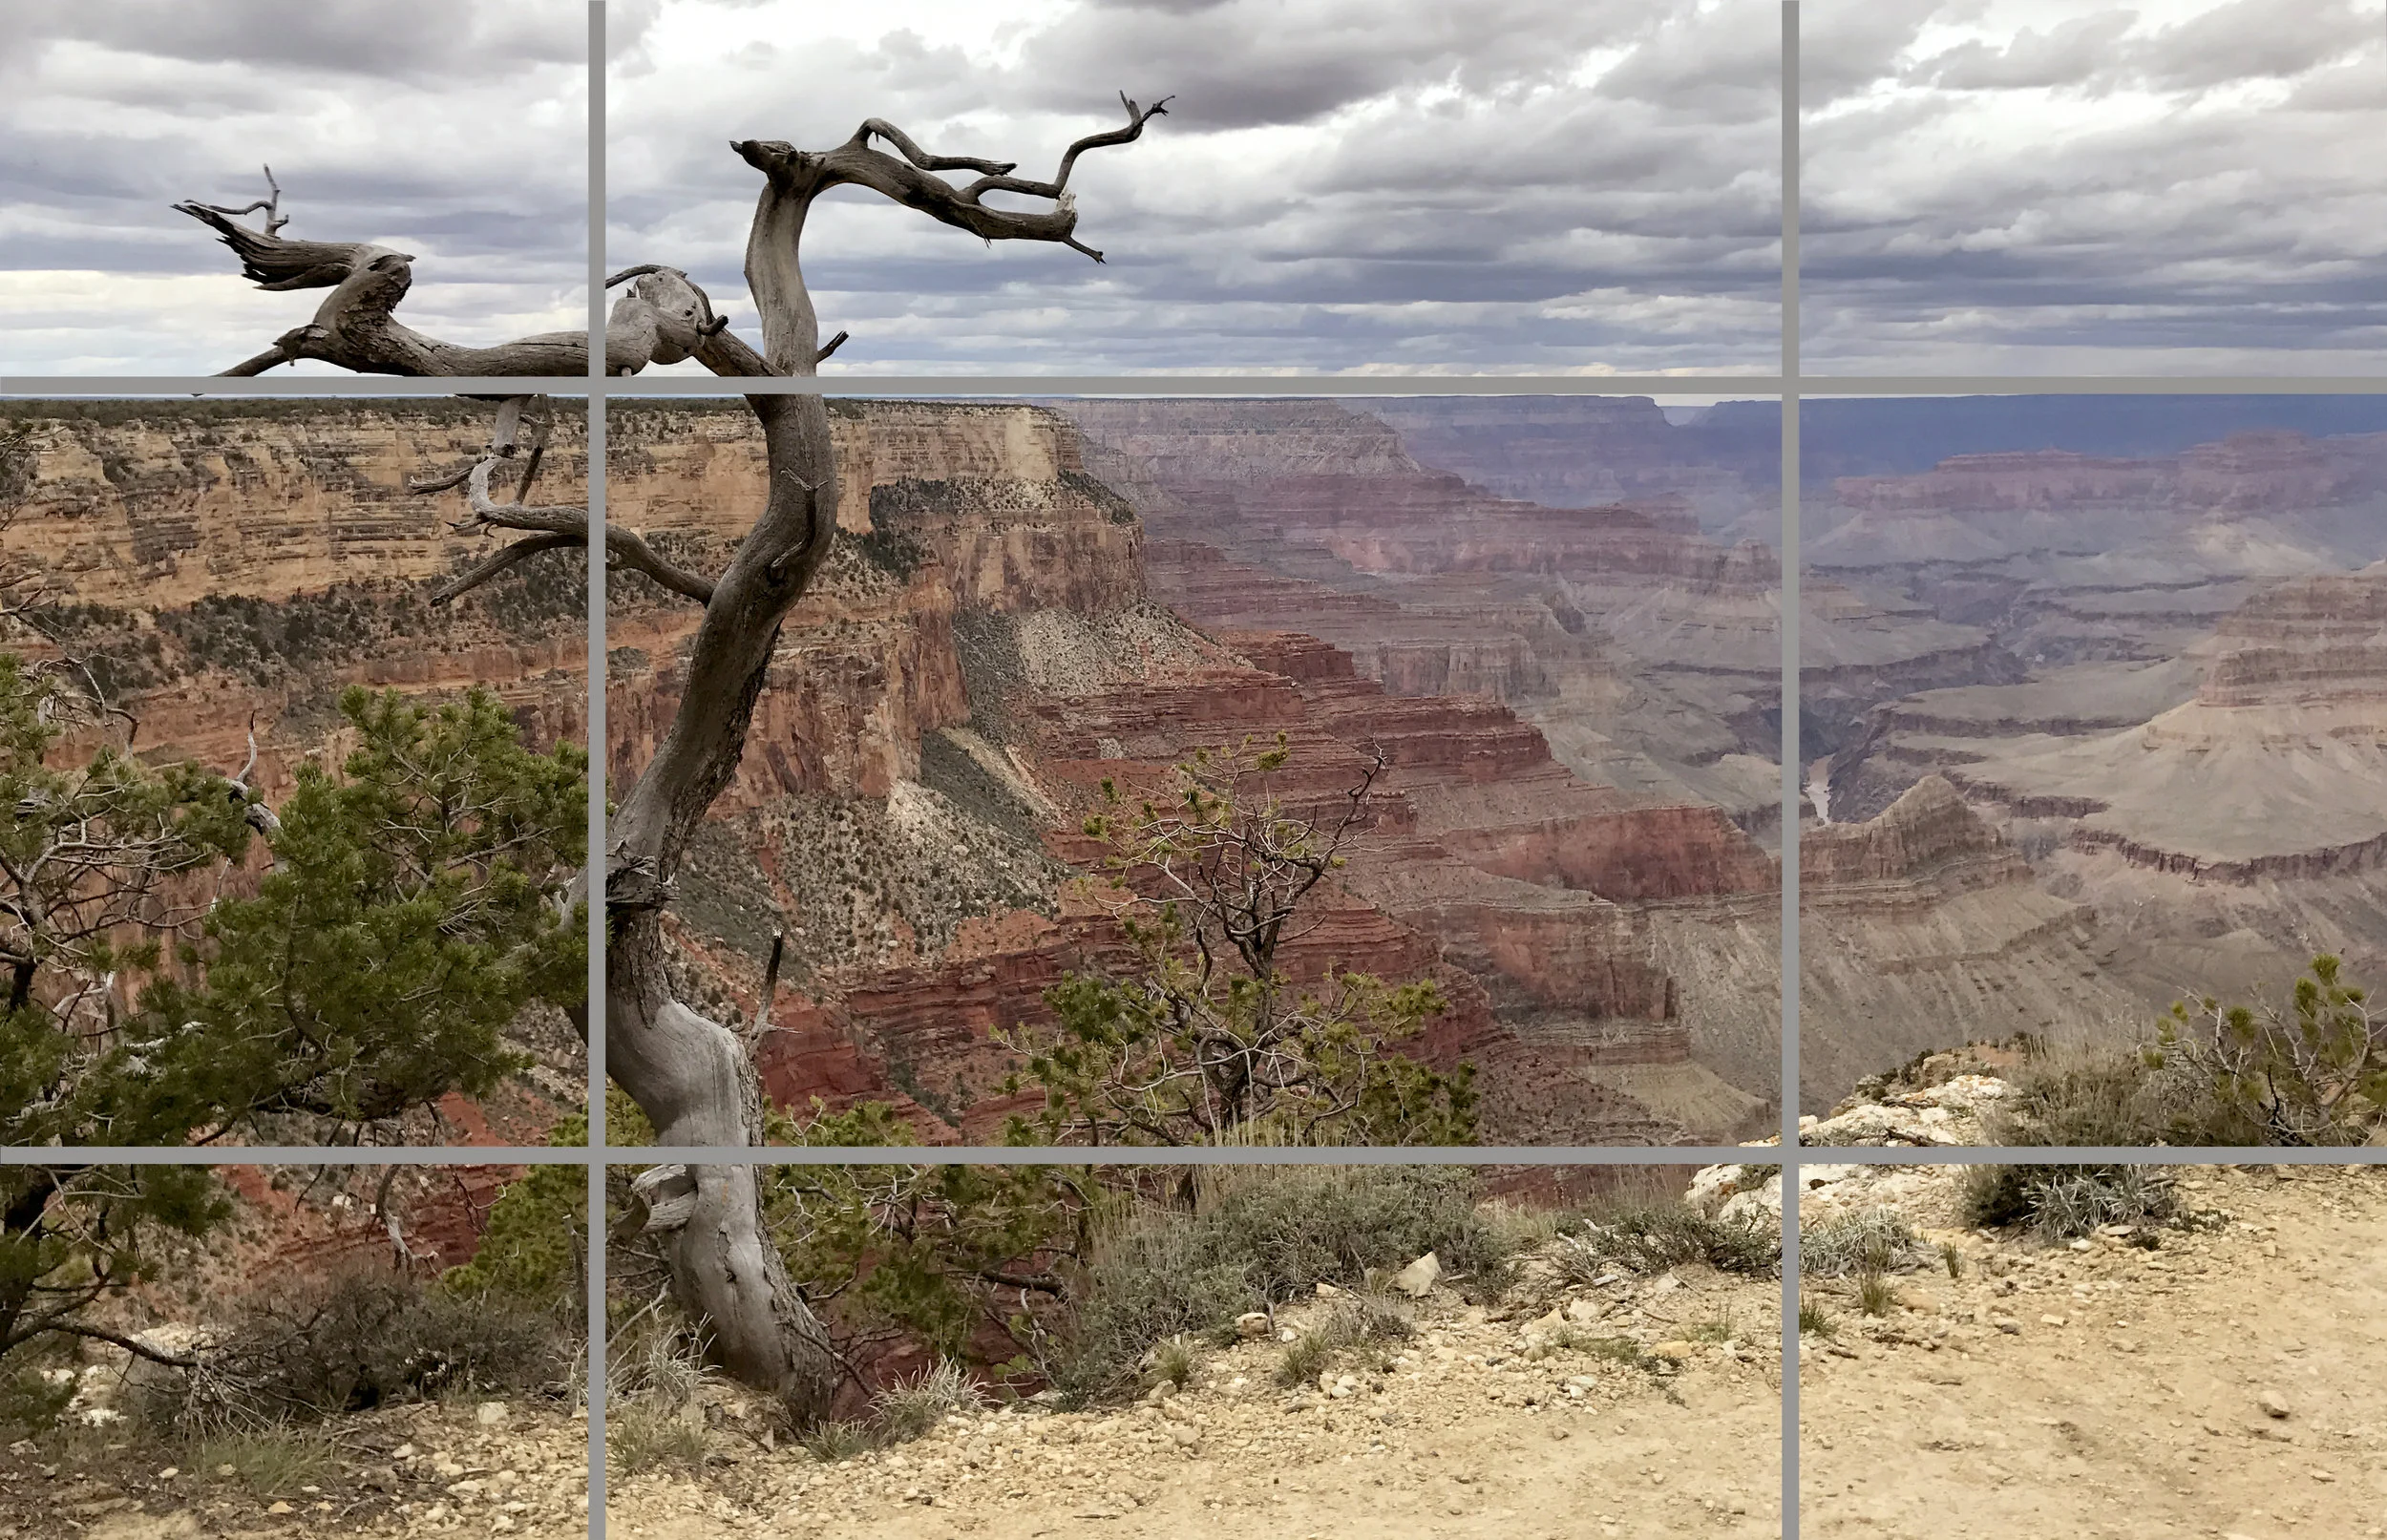
Imagine a tic tac toe grid and try to have your horizon on top third or bottom and your subject should be along one of the intersections of the grid. (Shot at the Grand Canyon)
6. USE A REMOTE TRIGGER OR TIMER
Apple Watches and Samsung Galaxy Watches have the ability to trigger the shutter button on your phone. Using this remote trigger is a nice alternative to the famous “selfie.” It can allow you to get more of the scene and tell a better story. I find it’s better to use the three second timer on my watch, so I have time to take the picture and pose. If you don’t have a smartwatch you can also set a timer on your smartphone and get into position. They also make aftermarket Bluetooth remote triggers to work with any smartphone.

Use a remote trigger or timer like the Apple Watch to capture photos you might otherwise not be able to get.
Shot on vacation at Red Rock Canyon
7. USE SHORTCUTS TO CAPTURE THE MOMENT.
On the iPhone swipe up from the home screen to get to the camera quickly without having to use your password. Getting your camera out fast can be the difference between capturing a moment or missing it. You can also get more out of your shooting experience by using the volume buttons as a shutter release instead of just the white virtual button on the screen. On an Android you can also quickly launch the camera application by double-clicking the home key, or by using the lock screen shortcut.
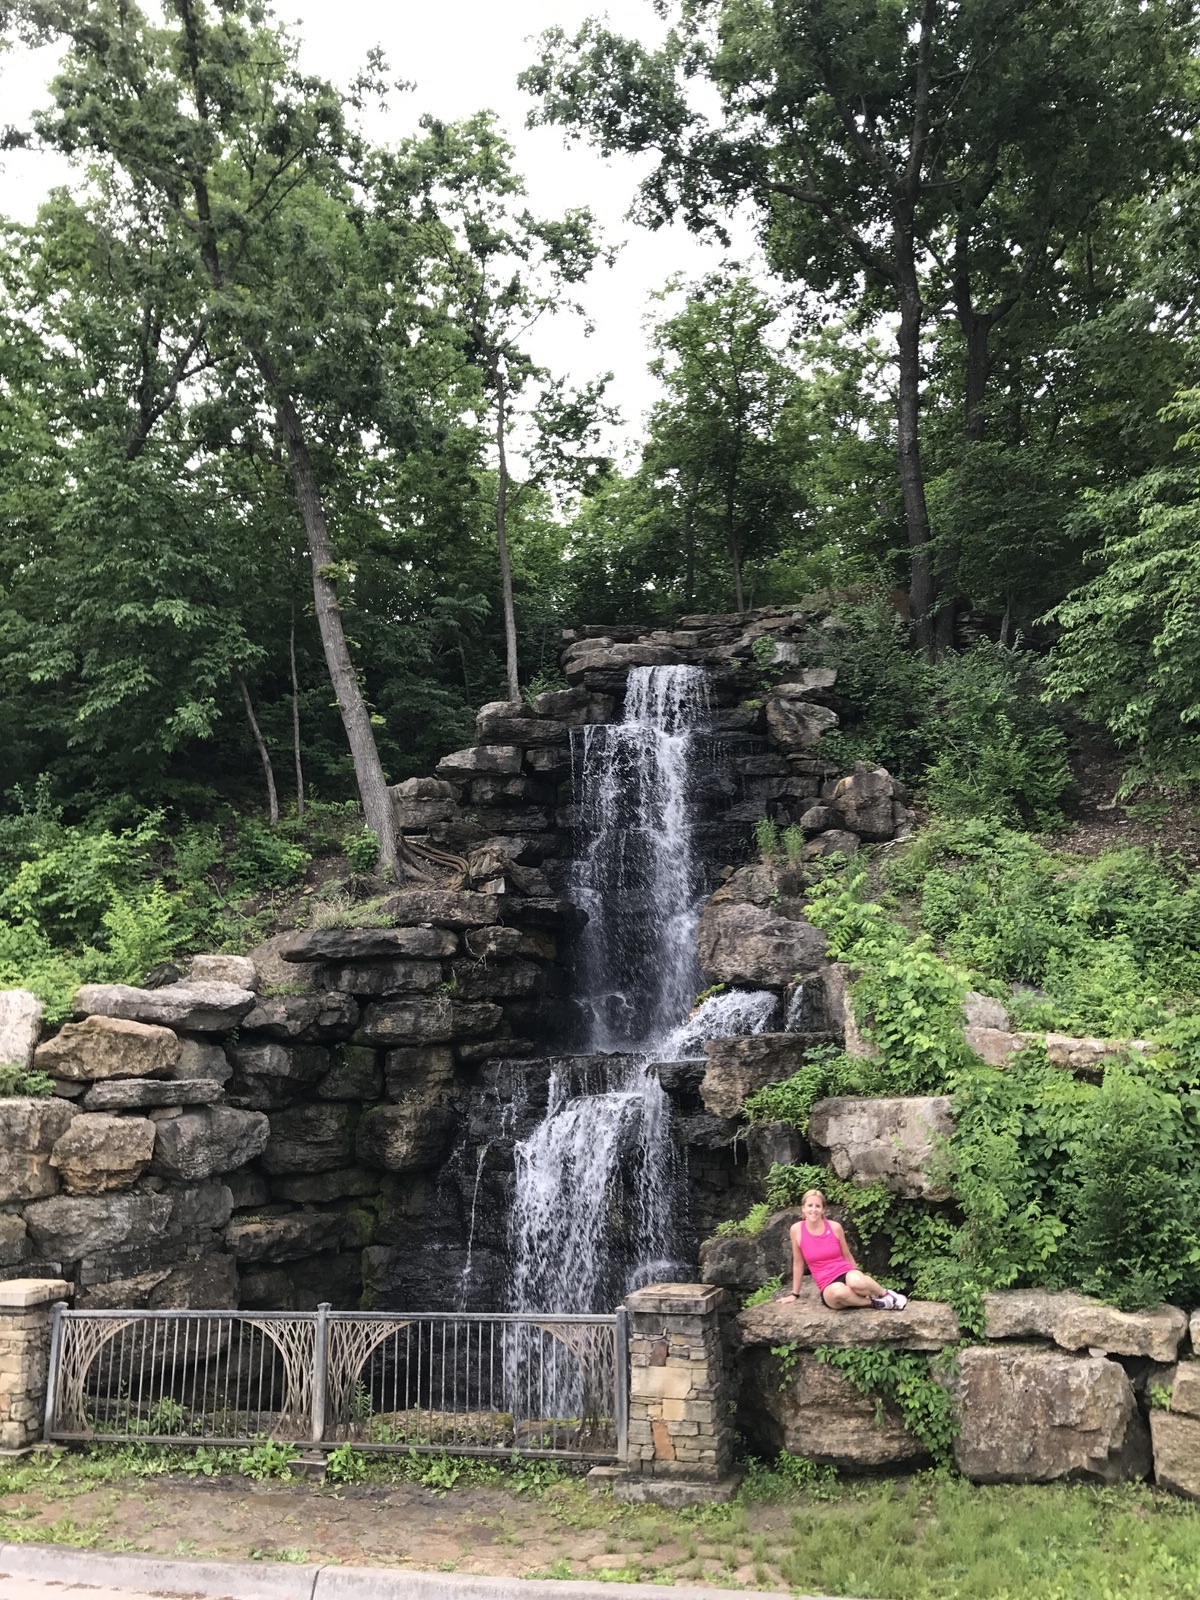
8. CHANGE YOUR PERSPECTIVE
Often a basic photo will turn into a work of art just by changing your perspective. It might mean climbing to a peak or getting down on the ground to make your image come to life.

Change the camera perspective to create more artistic images. (Shot at Lake Geneva Canopy Tours in Lake Geneva, WI.)
9. WHAT ABOUT FLASH?
My experience with the flash on a smartphone camera is generally not good. I prefer to find better lighting whenever possible, so you are not completely dependent on the flash for your light. Another option is to use another person’s smartphone flashlight feature. Just make sure to have the light off center and above the camera taking the picture so the light doesn’t make the subject look like a deer in the headlights.
10. USE THE PANORAMIC FEATURE AND CAPTURE MORE
One of my favorite features of my smartphone camera is the ability to make beautiful panoramic images. You will learn fast that you should hold your hands steady and turn slowly from left to right to get the best images. You might have to edit or reshoot if you are too unsteady.

Use the pano feature of your smartphone to tell a more interesting story in one frame. Shot on vacation from our hotel room outside of Plaza de la Constitución.
Below are some more smartphone photos you can see to provide more inspiration.


As you can see there are several ways to get the most out of your smartphone camera. Give these tips a try and most likely you’ll leave might that big, heavy camera behind the next time you head out of town.
Matt Mason is a Lake Geneva-based photographer and owner of Matt Mason Photography. Matt and his team are well known for photographing weddings as well as shooting family, senior and corporate portraits, and video productions. Matt and his wife, Cindy, photograph destination weddings together and travel throughout the country and the world shooting photos for pleasure.