
What makes animation so powerful is the combination of movement, imagery and audio. Whether it’s sound effects, music or a voice-over, the audio in your video plays an important role in communicating your message.
However, bad audio can be worse than having none at all, so how do you ensure your voice-over is not only right for your video but a high quality? To help answer those questions we’ve teamed up with international voice-over agency and audio production company, Voquent. Together we’ll share exactly why voice-overs are so important and how to record your own or have one recorded for you. Continue reading or use the links to jump to your specific question.
1. What is a voice-over?2. Why is a voice-over so important?
3. How are voice-overs used?
4. What makes a great voice-over?
5. Should you record your own voice-over or hire a professional?
6. How to record and edit your own voice-over
7. How to find and work with a professional voice-over artist
What is a voice-over?
First things first, a voice-over is an off-camera commentary that explains what’s happening on screen. A voice-over is usually read from a script by someone who may or may not appear in the video too. It might also play in conjunction with other audio like on-screen characters talking or background music.
Why is a voice-over such an important part of your video?
In many cases, your video just won’t make sense without a voice-over. It’s the other half of your production, there to complement your animations or on-screen action without overwhelming the audience with lots of on-screen text. They help you guide your audience through the video and highlight the information you want them to take away.
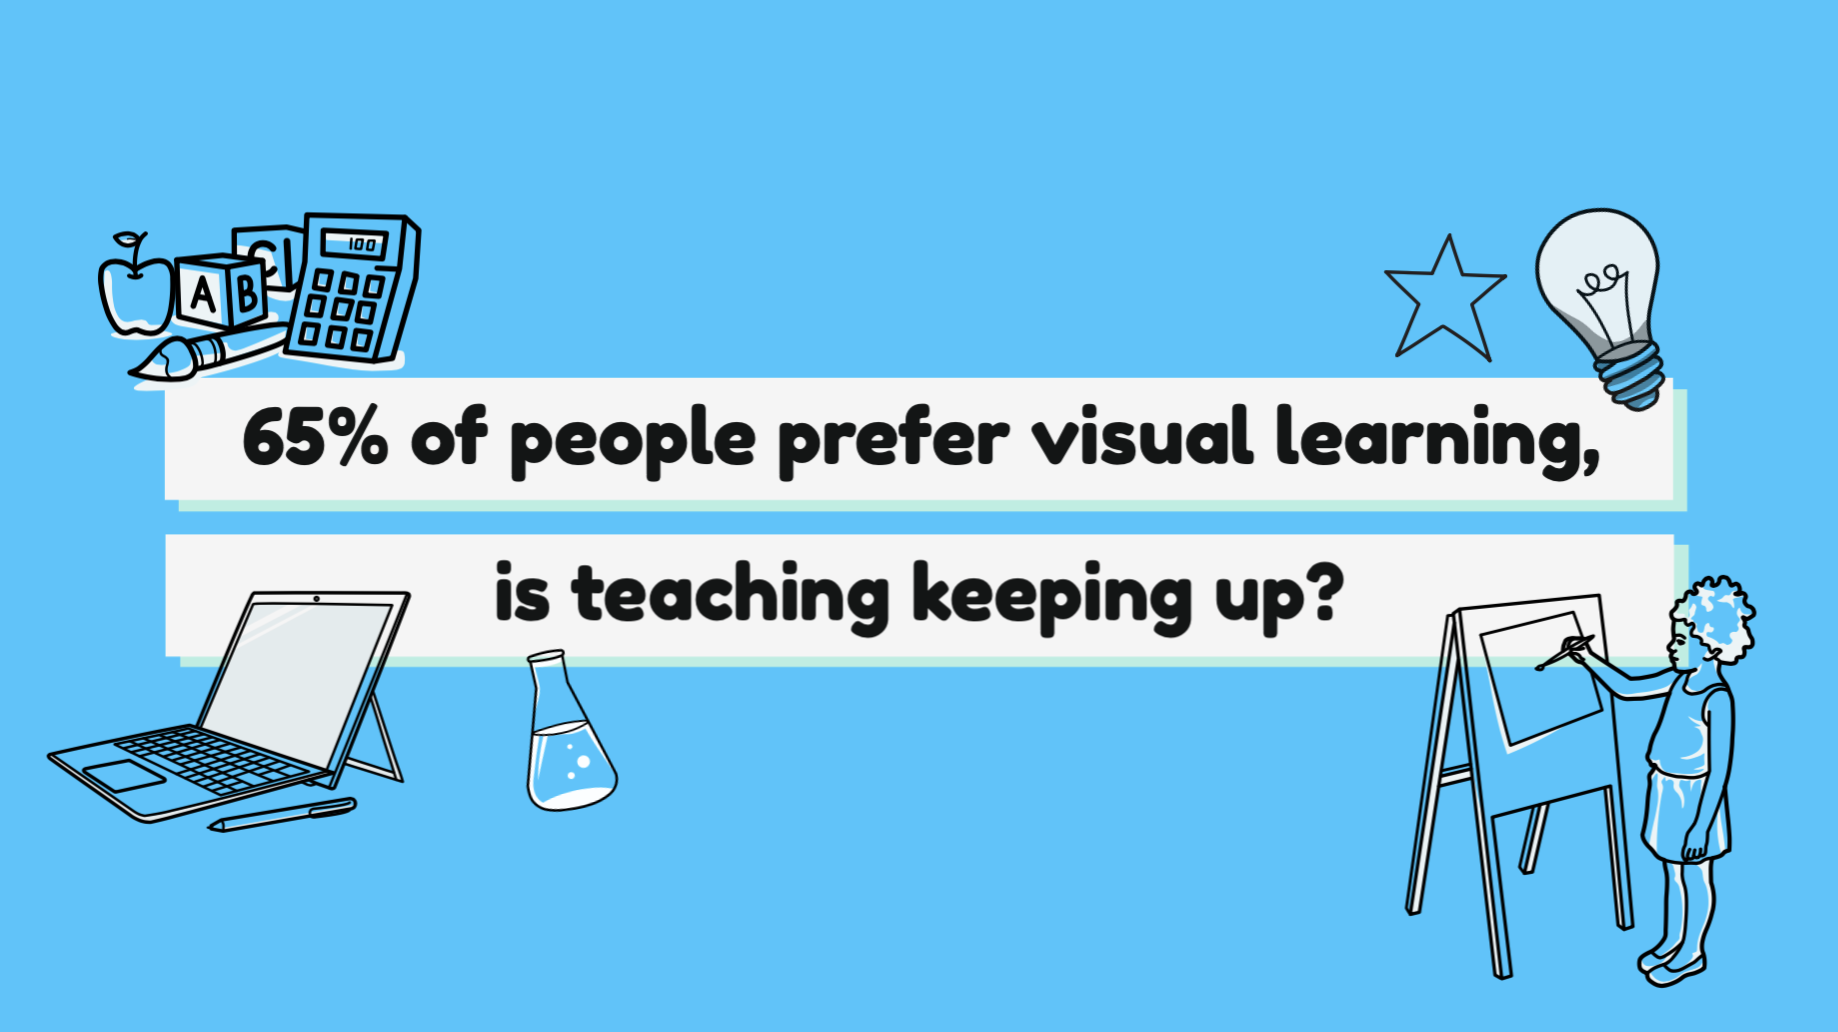
Voice-overs also support different types of learners. They stimulate more of our senses which makes content more memorable and for auditory learners, voice-overs are especially helpful because they absorb information best when it’s heard.
They also help your video to stand out. Just think, David Attenborough’s wildlife documentaries do feature beautifully filmed animals but would they be as popular without Attenborough’s famous voice narrating them? Which voice you choose to record your voice-over can give your video the edge and make it more memorable.

How are voice-overs used?
In marketing and sales:
There’s a reason why most adverts that you see on TV have a catchy jingle or phrase, it’s because we remember them more easily. Next time you need to compare the price of insurance deals, I’m sure at least a few websites spring to mind because of their catchphrases. Voice-overs can work in a similar way in your marketing videos.
From adverts and social media posts, to product explainers on your website and elevator pitches, voice-overs make your content sticky. By that we mean your audience are more likely to leave remembering a few sound bites that they’ll think of next time they need your product or services.
Voice-overs can also make your video more persuasive. A smooth and calming voice explaining how your product or service solves the customer's problem is more compelling than some on screen text. We feel the emotion in the voice and it can influence the way we feel or think about the video. If you’re a marketer or salesperson, this is an awesome opportunity to use to your advantage.
In education and training:
In any educational material, where possible it's important to appeal to each learning style. As we mentioned before, voice-overs are a great tool to support auditory learners. But it's not just this type of learner that benefits - most viewers will absorb more information if it's presented visually and reinforced through audio.
That's why voice-over is a key part of any e-learning, or remote teaching resources, acting as a guide for learners when the educator isn't able to be there in person. The tone and speed of the voice-over can provide extra support to learners. Hearing a voice they recognize can make the content feel more approachable, so if you're a teacher consider recording your own voice-overs for your class videos. Similarly, a calm and steady paced voice can make the learning experience more comfortable and avoid the feeling of being rushed through the information.
In communications:
If you've got an important company announcement or need to update your customers on changes to your business, use a voiced video. Unlike a paragraph of text in an email, a quick video that summarizes the information is harder to ignore and easier to absorb in a fraction of the time.
Your animations can convey the main points and you can use your voice-over to elaborate on any details your audience needs to know.

What makes a great voice-over?
Clarity and volume: the main purpose of your voice-over is to help viewers easily absorb the information you’re sharing. If they can’t actually hear the audio because it sounds like you’re talking through a chip packet or it’s at a volume only audible to dogs then it’s not doing its job. If nothing else, ensure your voice-over is clear and easy to understand with minimal background noise.
Pace: while some of us can process information much faster, most of us need to hear things at a slower pace to really take it in. With that in mind, make sure your script is read at a suitable pace, not too slow that it bores your audience, and not too fast that they can’t keep up. Around 150 words per minute is an average speed to record your voice-over. But adjust this depending on how complex your topic is and where it’ll be used.
Tone: just because you’re reading from a script doesn’t mean you should sound robotic. It’s important to consider your vocal tone to make sure your voice-over still sounds natural and engaging so check that you’re not accidentally becoming monotone.
Should you record your own voice-over or hire a professional?
The first decision to make is whether you want to record your own voice-over or hire a professional voice-over artist to record it for you.
The answer really boils down to the purpose of the video i.e. what do you want the audience to feel when they view it? For example, do you want the audience to come away feeling inspired to take action; reassured about their choice of product; concerned about an issue; or angry about something causing harm to others?
The reason why organizations choose a professional voice-over artist - sometimes at greater expense - rather than using their own staff is because a professional knows how to engage the audience emotionally by setting the tone of the content.
If your project is for personal use, or is being seen by a smaller audience then it’s probably not worth the expense of hiring professional voice talent. But where you want to influence how people feel about your message, the cost of a voice-over can pay for itself with the increased levels of audience engagement. For instance, through voquent.com, users can search for samples in 12 distinct tones: Angry, Authoritative, Comedic, Conversational, Eloquent, Enticing, Inspiring, Nurturing, Playful, Sad, Scared, and Unorthodox. Whatever you’re trying to say, it will be in one of these tones!
How to record and edit your own voice-over
If recording your own voice-over for your video is the right choice for you, follow these easy steps for the best results:
1. Prepare your script
The first step in recording your voice-over is to ensure you have a polished final script. Without a solid script to read from it’s very difficult to record a high-quality take that’s not got at least some umms and ahhs in.
So take the time to get your script right and to the correct length. Once you're happy with it, it’s time to think about equipment.
2. Choose a microphone
It goes without saying that having a good quality microphone makes a massive difference to your voice-over. If your video is just for internal use or will be shared with smaller audiences, you can often get a good recording from a headset microphone.
But if your video will be shared widely, it’s worth investing in a USB microphone. These don't have to cost a fortune and you can get good options starting at around $60. This blog has more detail on which microphone could be a good fit for you.
3. Select the right audio software for you
Next you need to decide what software you'll use to record your voice-over. There are lots of options but three good choices are:
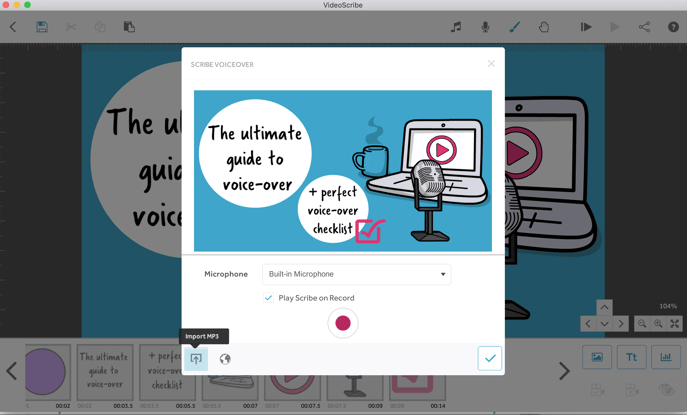
VideoScribe: If you’re using VideoScribe you can record one voice-over in the software directly. It’s just a case of clicking the microphone icon, choosing the microphone you want to record from and then hitting the play button to talk as your video plays. You can see this in the tutorial below.
Audacity: this easy-to-use, audio editor and recorder is suitable for Windows and Mac users and the best part is it's free.
Adobe Audition: this is part of the Adobe Creative Suite and so if you already pay for an Adobe license, it's worth using this tool for your recording as it has a broader range of audio features.
4. Set yourself up for voice-over success
To make sure your recording is crystal clear and your voice is engaging and friendly, consider the following factors:
- Where you’re recording - is it quiet and have you turned off any air conditioning units? How big is the space, do you need to reduce echo?
- Your voice - have you warmed your voice up? Is your posture and position right?
- Do you have all the right equipment? Have you got high quality headphones to listen back to your recording and is your microphone set up properly?
You can find our full list of tips and tricks to improve the quality of your voice-over in our downloadable checklist. This list is designed to be used before any voice-over recording to ensure you sound like a pro.

5. Do a test recording
Before you launch into a full take of your voice-over, run a test. This could just be reading the first couple of lines of your script. Often you'll spot things that aren't quite right like a window you forgot was open adding car noises to the background or that your microphone isn't sitting quite right.
Use this time to check your audio levels too. Finding the proper recording level for your audio ensures that it’s easily heard and not distorted. While you can adjust levels as necessary when you edit your audio, starting with the best possible audio level is always your best bet. There's a great article on how to set the right audio level here.
This is where having headphones to listen back to your practice is really important. The speakers in your computer will not be high quality enough to pick up little things that could affect the quality of your voice-over. So take the time to do one, two or more tests and make adjustments to your set up until you're happy with the audio quality.
6. Record your voice-over
Once you're satisfied with your set up, it's time to record the real thing! Some tips to bear in mind here are:
- Focus on your tone, for most videos you'll want to sound friendly and approachable. Smiling while you talk can help.
- Don't stop if you mess up. If you're recording your voice-over using tools like Adobe Audition or Audacity then you can edit those bits out later.
- Be patient with yourself, if you're struggling to get a couple of lines right stay calm, take a quick break then get back into it.
If you need to, refer back to our perfect voice-over checklist to for one final look through before you get going.
7. Edit your voice-over
Once you've recorded your voice-over, you'll probably have a couple of bits to edit out. It could be long pauses between sections or a word that you messed up, either way it's easy to cut these bits out in tools like Audacity or Adobe Audition.
Just make sure you listen to the entire recording a couple of times because there will be bits that you miss the first time around. Once you've finished editing you're ready to put your video together!
8. Upload it into your video editing software
If you recorded your voice-over in a standalone audio editor then you'll need to save the file and import it into your video editor.
This is easy to do in most editing software. If you're using VideoScribe simply click on the microphone icon in the top panel and then click the import button in the bottom left-hand corner that you can see on screen. Then select your audio file. Just like that your voice-over is imported and you can build your animations around it.
How to find and work with a professional voice-over artist
If instead of recording the voice-over yourself, you’d like to work with a voice-over artist, there are four different routes you can take to find and work with a professional:
- A general freelancer platform
- A dedicated voice-over freelance platform
- Voice-over agencies, studios and production companies
- An exclusive agent
Each of these options has its advantages and disadvantages and which method you choose comes down to the needs of your project.
A general freelancer platform such as Upwork or PeoplePerHour are likely to be the cheapest, but they are also full of amateur voices, many of which are not using professional audio equipment. It’s also very difficult to filter your search on the general platforms, since they are a catchall for many different types of jobs. If you’re looking for a specific tone or style, it’s unlikely you’ll be able to find this quickly.
A dedicated freelancer platform like Voice123 or Bodalgo makes it easier to find suitable demos by professional voices. You can also post a project and get auditions of your script or search and buy a voice direct. The downside of these platforms is you often have to manage the artist yourself and most do not moderate the voices that join, so again you could end up with audio problems.
Studios, production companies and voice-over agencies like Voquent.com are generally a bit more expensive (but not always) than hiring freelancers directly, but the major benefit is they only want to work with professional talent and know the voice-over community very well. So, with one call or email, they’ll give you a selection of voices to choose from, available within your budget and timescales. They’ll also take care to ensure the audio is edited to a high standard and many agencies can also help with soundtrack mixes and translations too.
Lastly, an exclusive agent represents ‘known’ talent, with a small roster of actors, comedians or broadcasters. Hiring talent via an exclusive agent will be the most expensive option, but the major benefit is that your project is now associated with a well-known voice.
That brings us to the end of this guide. By now you’ve probably realized how powerful voice-overs are and will be thinking about which option to choose to record the audio on your next video project.
Remember that if you do want to record your own voice-over, our perfect recording checklist is available to download to ensure you get a high quality take. Happy recording!
.png "VideoScribe")


COMMENTS