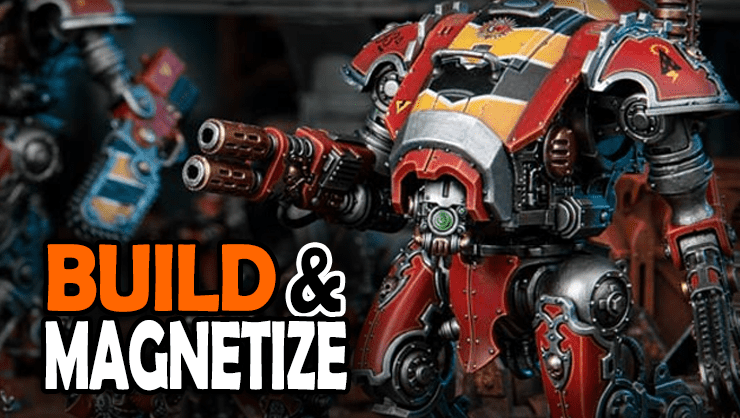
 Here are the best magnet sizes to use when you magnetize Warhammer 40k minis to future-proof them against new rules and meta changes!
With so many changes and new editions for Warhammer 40k, it’s good to future-proof your minis against them. One of the best ways to do that is with magnets! While some units have bigger parts than others, these are the best magnet sizes to magnetize Warhammer 40k miniatures!
List of Tools You’ll Need To Magnetize Warhammer 40k Models
- Hand Sized Pin Vice: For larger projects like Knights, Forge World kits etc.
- Pin Vice For Miniatures: We like the army painter one, but there are a ton to choose from
- Drill Bits For Magnets (small quick release set) Larger Bits (for vehicles etc.) quick-release set
- Wowstick Motorized Drill: makes pinning and drilling out barrels a breeze and helps with magnetizing miniatures, but you still need a pin vice to bore out pilot holes over 1/8″ in diameter.
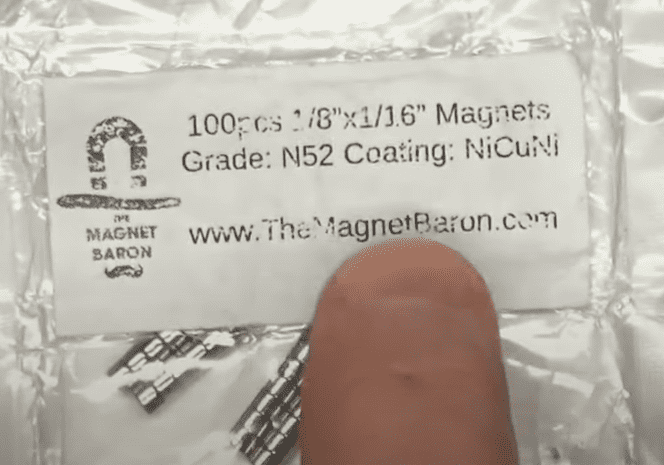
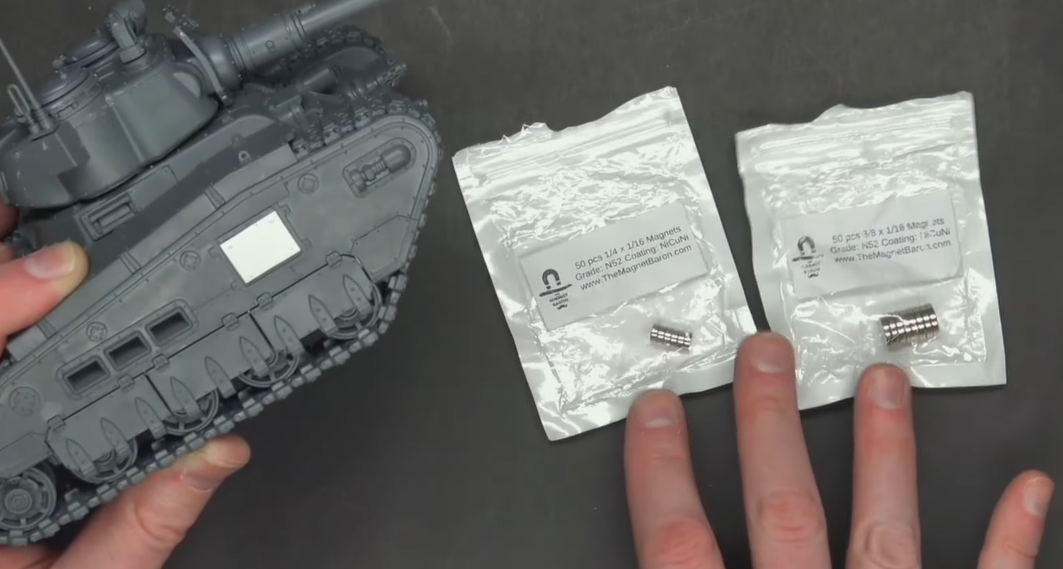
- We get all our magnets for hobbying from The Magnet Baron. Use coupon code Spikey10off to get 10% off your next order with them!
What Are The Best Magnet Sizes to Use for Warhammer 40k?
Starting with infantry, 1/8 x 1/16″ diameter magnets for backpacks and shoulder joints, and if you don’t have that much room to work with, you can use a smaller thickness of 1/32″.
 For his infantry, Rob uses the Magnet Baron 1/8 x 1/16″ N52 strength magnets (roughly 3 x 2 mm) for backpacks and shoulder joints.
 These magnets fit perfectly once you drill a small hole in both parts.
 For wrist joints, 1/16 x 1/32 (roughly 2 x 1 mm) will work for Space Marines, Orks, or any models about that size. This will allow you to do weapon swaps with relative ease.
Infantry magnet sizes:
Larger Tanks & Vehicles
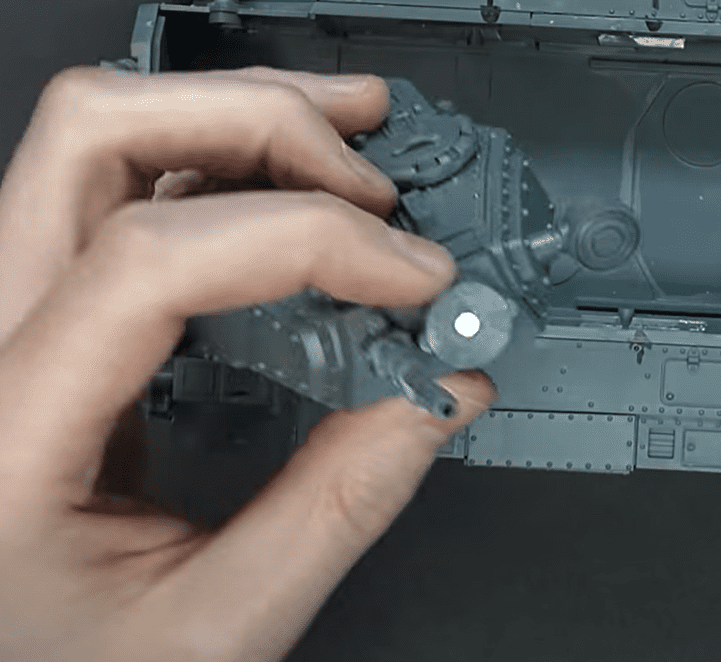 For the Baneblade, Rob used a 10mm x 2mm (Approximately 3/8″ x 1/16″) for each weapon and another for the turret mount itself (pictured above). Make sure you magnetize each weapon and check the polarization before you glue.
When working with longer barrels, you may have to double stack magnets or go up to a full 1/2″ or down to 1/4″ or even 1/8″ diameter, depending on the size and width of the weapon(s).
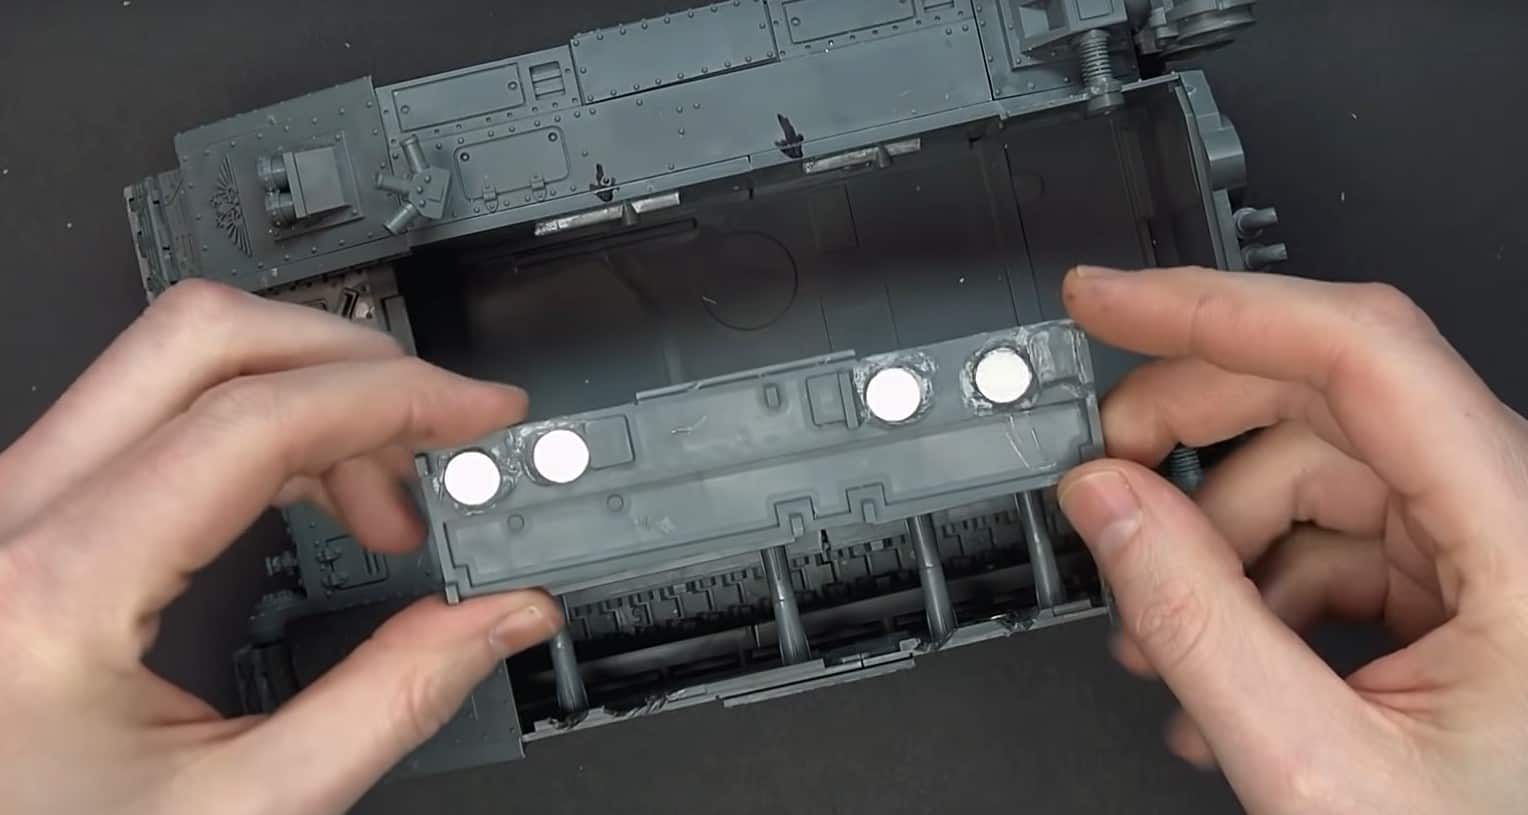 Sponsons are a little harder to do, as you also need some metal strips. He uses two 3/8″ magnets for the inside piece and just a little piece of ferrous metal on each of the sponsons, as pictured below.
OR, if you want to drill it out, use a 1/4″ magnet for attaching the sponson to later on.
 To learn more about magnetizing sponsons on vehicles like the Baneblade, you can check that out here.
Smaller Tanks & Vehicles
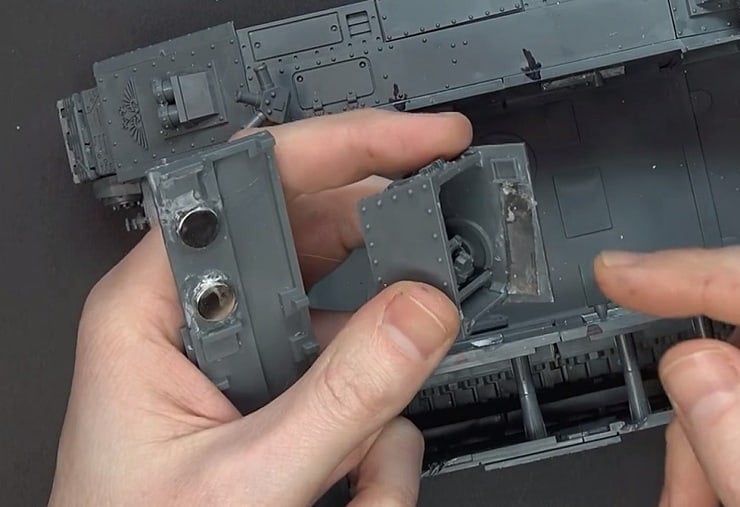
 For smaller tanks’ sponsons, like the Rogal Dorn, there are two main magnets we’re going to use here, 3/8 x 1/16″ and 1/4 x 1/16″. You can either drill through the white section above and use smaller magnets.
Or you can just use the bigger magnets, which should hold fine through the plastic hull. To see how to magnetize the smaller sponsons on tanks, you can check that out here.
Vehicle magnet sizes:
- Turrets: 3/8 x 1/16″ generally for the main turret and individual weapon barrels.
- Sponsons: 3/8″ and 1/4″, depending on what method you want to use.
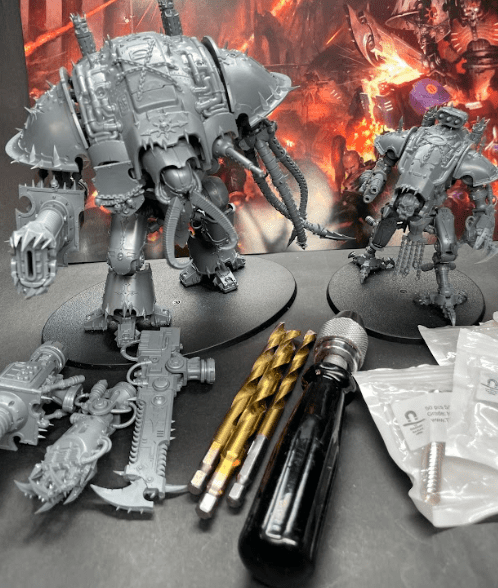
Magnetizing Knights
We’re going to look at how to magnetize Armigers in this article, but if you want to magnetize bigger knights, you can check out those our below!
- Magnetize Dominus Class Imperial Knights
- Magnetize Questoris Class Imperial Knights
- Magnetize Armigers
- Magnetize Chaos Knights & Armigers
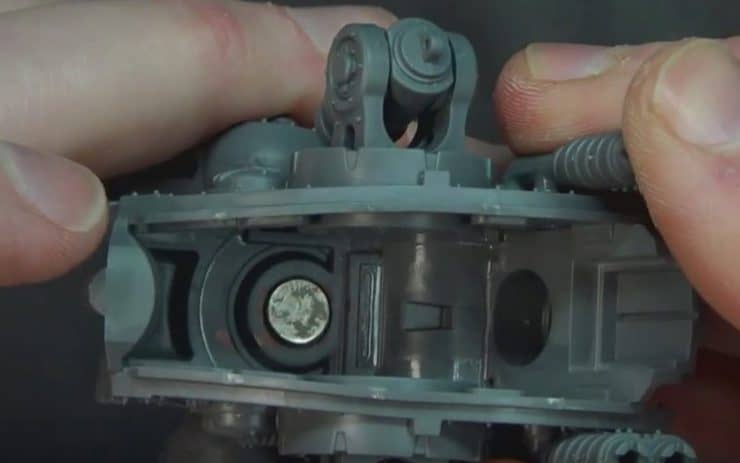
 The torso will be magnetized to the legs, so it can swivel and let you make Pew Pew Pew noises! To do this and get the idea of where to put the magnet, get the torso flush on the legs and mark the top with a Sharpie.
Next, score the marks and snip the excess off the top so the magnet can stay flush (like Rob is doing in the picture above). Since there is a pilot hole already (thanks to the mold), drilling will be fairly easy.
If you are using a power drill, go slowly. 1/4″ x 1/16″ magnets are used to magnetize the legs.
 A 3/8″ magnet will be glued into the torso, with plastic putty put around the larger magnet inside here to create extra support for the magnets.

 To get the arms magnetized, the arm joints need to be trimmed down to give the magnet a good spot to rest. Drill a hole once again very slowly until you have the depth you need for the 1/4″ magnet.
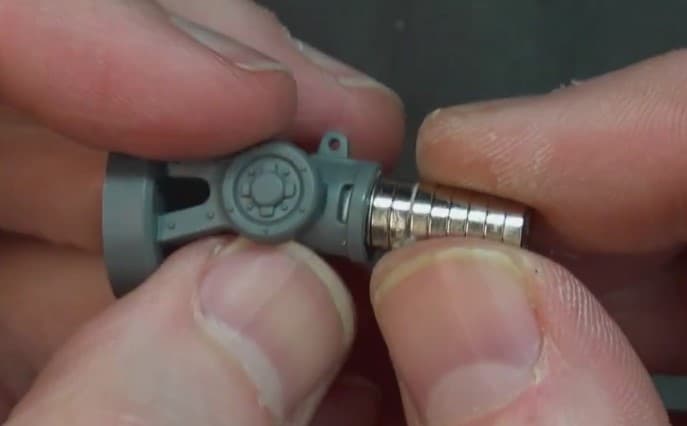
To make magnetizing easier, use the stack of magnets to insert into the hole easily, then remove once the glue is dry enough to hold.
When the stack successfully spins, the stack can be safely removed! Do this for both sides.
 For the weapons, you want to dry fit where the magnet will go. On the gun, the socket is the perfect size to hold the magnet itself. Before gluing the magnet, be sure to check the polarity against the arm that will be holding it. Once that is good, glue it down and let it dry!
 For the chain weapon, use a 1/8″ x 1/16″ magnet, and glue it into the socket of the chain weapon as well as on the support arm. This will keep the range of movement and allow weapons to be switched out for that particular arm.
Magnet List:
- Torso- 1/4″ x 1/16″ magnets for the legs, and a 3/8″ magnet for the torso
- Arms- 1/4″ in the arm socket and a 1/8″ x 1/16 for the weapons
The Ultimate Tutorial Guide to Magnetizing Imperial Questoris Knights
 Learn how to magnetize a 40k Imperial Questoris Knight and future-proof your expensive miniatures with this titanic tutorial. Read the whole tutorial here!
What Tools Will You Need to Magnetize Warhammer 40k Models?
 We recommend this Hand Sized Pin Vice and drill bits to get the holes ready to go quickly for all the magnets.
 Wowstick Motorized Drill Watch us use at around the 24:00 mark in this video by clicking here.
- Hand Sized Pin Vice For larger projects like Knights, Forge World kits etc.
- Pin Vice For Miniatures We like the army painter one, but there are a ton to choose from
- Drill Bits For Magnets (small quick release) Larger Bits (for vehicles etc.) Quick-release set
- Wowstick Motorized Drill makes pinning and drilling out barrels a breeze and helps with magnetizing miniatures, but you still need a pin vice to bore out pilot holes over 1/8″ in diameter.
- We get all our magnets for hobbying from The Magnet Baron. Use coupon code Spikey10off to get 10% off your next order with them!
How to Tutorial: Magnetize Resin & Plastic Bases For Miniatures
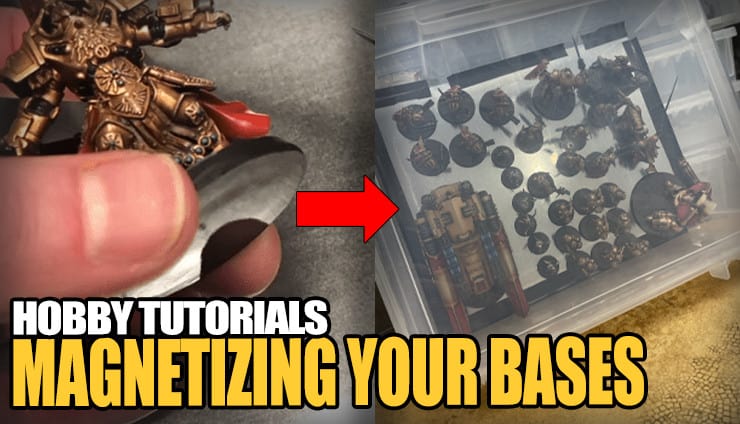
If you liked this article, here is another great tutorial on how to magnetize resin and plastic bases for miniatures with all the sizes you’ll need and tips to make it easy! There are some major differences between magnetizing your miniatures and your resin/plastic bases, so we’ll show you how to do both here!
Get Your Magnets Here 10% OFF Use Code Spikeybits10
What do you think about the list of magnets for magnetizing your Warhammer 40k miniatures?
Let us know in the comments of our Facebook Hobby Group, or our new Discord server, and make sure you enter the latest monthly giveaway for FREE today!

Click Here To Follow Us On Google News
Get ad-free access to our hobby videos, a monthly drop of miniatures, and support some of the best creators out there for as little as $6 a month on Patreon!